Introduction to Arduino Microcontrollers Workshop
This workshop provides a basic introduction to Arduino microcontrollers, teaching participants how to connect their Arduino to a breadboard and activate an LED light. Sessions cover hardware, coding challenges, IDE basics, and more. No tools are required—just curiosity and patience!

Download Presentation

Please find below an Image/Link to download the presentation.
The content on the website is provided AS IS for your information and personal use only. It may not be sold, licensed, or shared on other websites without obtaining consent from the author. Download presentation by click this link. If you encounter any issues during the download, it is possible that the publisher has removed the file from their server.
E N D
Presentation Transcript
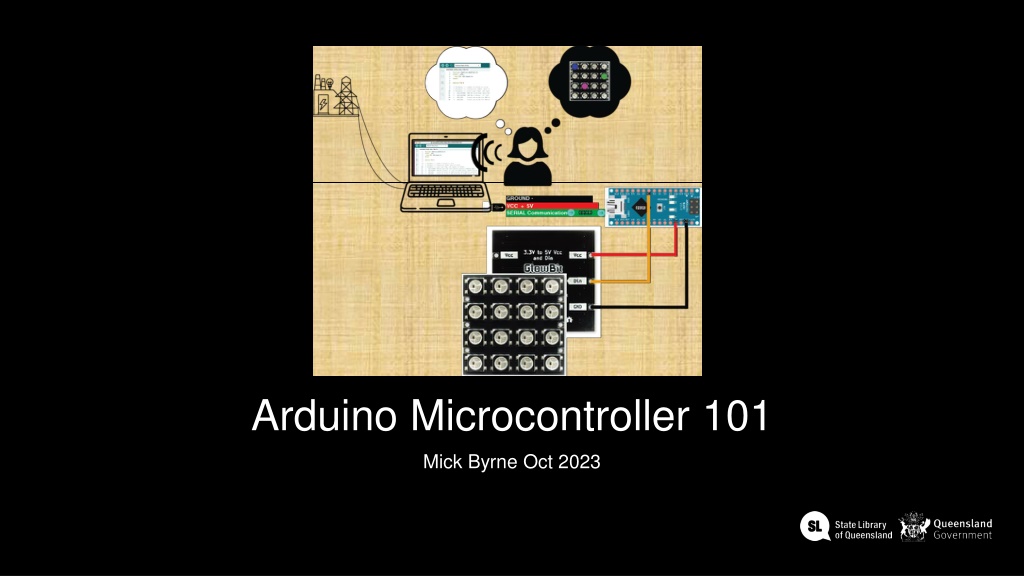
Arduino Microcontroller 101 Mick Byrne Oct 2023
Acknowledgement of Country We acknowledge Aboriginal and Torres Strait Islander peoples and their continuing connection to land and as custodians of stories for millennia. We respectfully acknowledge the land on which we all meet today, and pay our respects to elders past, present and emerging.
This workshop is a basic introduction to Arduino microcontrollers using available code libraries. You will learn how to connect your Arduino to a breadboard and activate an LED light, no soldering just plug-and-play basics. WORKSHOP SUMMARY 101 skills development workshops give you the basic skills you need to start your new creative journey.
Part 1 Welcome & Intro to Microcontrollers Part 2 Hardware and components The hands-on bit * Anatomy of an Arduino board * Making a circuit. * Input /Output - Cause & effect * Testing * What s a Micro controller ? * Why are we using Arduinos? SESSION Part 3 Arduino IDE basics The grammar & syntax bit Part 4 Our coding challenge and using Libraries Lets have a go at coding OVERVIEW * Connect to our board * Introduction to Sketches * File setup * Design * Colour * Movement * Design * Cutting
Apart from the Computer in front of you. No tools required just what you brought with you: Your eyes, your ears, your hands your curiosity and patience. TOOLS
Arduino Nano ($20) Breadboard ($1.50) Jumper leads ($1) Usb Cable ($1.5) 9 gram servo ($6) NeoPixel ring ($4.5) MATERIALS LED We can sell you a kit at the caf if you like -
Health & Safety Running this workshop at The Edge?.. You should familiarise yourself and your participants with: DML Risk Assessment Innovation Lab Risk Assessment
Welcome PART ONE What s a nice person like you doing in a place like this? Whats an MCU & why Arduino?
Hardware and components The hands-on bit PART TWO Anatomy of an Arduino board Making a circuit. Input /Output - Cause & effect Connect to our our computer to our board Blink test
Anatomy of Anatomy of the Arduino the Arduino Nano Nano USB connector VIN 2x Ground Pins +5 Volt Power 3.3V Analog pins Digital Pins Builtin LED
Using a Breadboard Breadboards a great for learning and prototyping. Less juggling parts Easy to keep things tidy No tools, no solder Easy connections, less shorts Can be confusing until you know what is going on inside.
Using a Breadboard Anode (+) side of the LED to the 5V Pin and Cathode (-) side Ground pin Connect the When there s power to the board there is always +3.3V on the 3v3 Pin +5V on the 5V Pin You can put an LED across it or measure the potential with a multimeter.
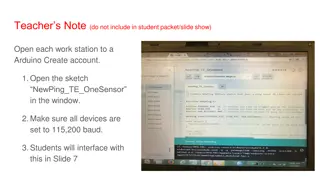
ARDUINO IDE Using a Breadboard the computer (via usb) So the Nano is connected to but is the computer connecting to the board??? Open up Arduino IDE Open this dropdown Use the search bar to look for your Nano And select the Serial Port (USB) to connect via the cable. And hit OK
Using a Breadboard Lets run our first test. We ll open an example sketch Blink
Arduino IDE basics The grammar & syntax bit PART THREE Connect to our our computer to our board Introduction to basics sketches structure, functions, constants and variables.
https://www.arduino.cc/reference/en/ Open up this web page and grab your cheat sheet and lets go thru the Coding Structures, Functions, Constants, variables and syntax we use to program our Arduinos to monitor and control circuits and components.
Our coding challenge & using Libraries Lets have a go at coding Libraries Colour & Movement PART FOUR
Lets combine what weve learnt and these sketches to make something new Remember the point is to familarise ourselves of some of the basics and where we can find more information. If your sketch doesn t work its not a failure. It s a failure if you don t learn anything