GitHub and Arduino: A Guide to Posting, Downloading, and Uploading Code
In this comprehensive guide, learn how to effectively utilize GitHub and Arduino for your projects. From creating a repository to uploading code downloaded from GitHub to Arduino, this walkthrough covers each step in detail with accompanying images for visual reference.

Download Presentation

Please find below an Image/Link to download the presentation.
The content on the website is provided AS IS for your information and personal use only. It may not be sold, licensed, or shared on other websites without obtaining consent from the author. Download presentation by click this link. If you encounter any issues during the download, it is possible that the publisher has removed the file from their server.
E N D
Presentation Transcript
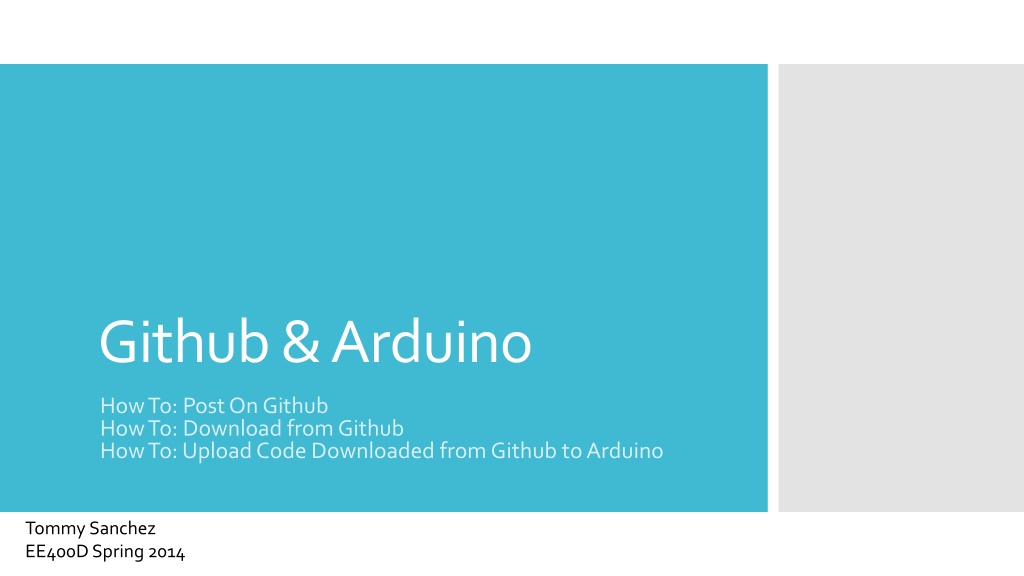
Github& Arduino How To: Post On Github How To: Download from Github How To: Upload Code Downloaded from Github to Arduino Tommy Sanchez EE400D Spring 2014
The Web Interface There are two interfaces to add files to Github. The slides will cover both. (The program method is best/easiest for multiple files) & The Program Interface
Account Visit www.github.com and create an account if you don t have one.
In order to upload any files you need to create what is called a repository. To create one, click on the + sign at the top right of the Github page. Once the drop menu show click New repository . The Web Interface
On the New repository page give it a name, choose public or private, initialize a Readme file if desired, and click Create repository . The Web Interface
To add a file to your new repository click + icon. The Web Interface
If you want to add a file to a folder, under the Name your file box follow this example: MyFirstRepository/NewFolder/File Your file name should include its extension. I will add an Arduino blink file to Github into a folder called blink. After this you add the Blink code to the black Windows space: Click commit new file(at the bottom of the page) once done with these steps
If you want to add a file to the main repository, under the Name your file box follow this example: MyFirstRepository/File Your file name should include its extension. I will add an Arduino blink file to Github into a folder called blink. After this you add the Blink code to the black Windows space: Click commit new file(at the bottom of the page) once done with these steps
After committing the new file youll see the files in your Repository as shown below. The Blink folder also contains a Blink.ino file. The Web Interface
The Program Interface To use the program interface you first need to download it from either of the following links depending on your computer s operating system https://windows.github.com/ https://mac.github.com/
When you open the program youll see the following: Click login The Program Interface Type in your account info
The Program Interface There are two way of creating a repository on the program
The Program Interface When you hit create a New repository the New repository screen will show up. Here you give your repository a name and description and then hit create.
From the previouse slide, I named the repository MyNewRepository. The window above is shown once you hit create button which was shown on the previous slide. double clicking on the new repository brings you to the window below. In the Uncommitted changes form fill out the summary section with a name or short summary. Once you do, hit Commit to master and then hit publish. The Program Interface Only clickable once summary text field has text.
The Program Interface The easiest method is to drag the folder or individual files you want to the program to immediately have a repository created for it.
A Blink example. I have dragged a folder name Blink that has a Blink.ino file inside. The Program Interface The file name was automatically filled out and all you need to do is hit create.
The Program Interface The window above is shown once you hit create button which was shown on the previous slide. double clicking on the new repository brings you to the window below. In the Uncommitted changes form fill out the summary section with a name or short summary. Once you do, hit Commit to master and then hit publish. Only clickable once summary text field has text.
The Program Interface If you notice, dragging a folder into the program creates a repository that includes all the code files in the folder. So if your folder contained many Arduino sketches they would all automatically be included.
Back On The Web Interface If you notice there are two new repositories now: MyNewRepository created using the first method on the program interface, And Blink using the second method on the program interface. You can also see the MyFirstRepository created from the web interface.
Back On The Web Interface Clicking on the Blink folder will show you all its contents on the web interface.
To download from Github you first click on a repository you want to download. In this instance I will be choosing Arxterra_Robot from Arxterra s Github page as an example. Downloading Code From Github
Once in the repository you can fine a Download ZIP button on the bottom right which will allow you to download the files in the repository. In this case it will be the arxterra_Robot_v1 folder. Downloading Code From Github
Once you extract the zip file to a folder of your choosing, open to find it s content. In this instance the contents of the arxterra_Robot_v1 is what I want. I open the sketch by double clicking on its main part, the file named arxterra_Robot_v1.ino Uploading to Arduino
In order to make sure code uploads properly, two this are very important: One is you must define the board you are using and the Serial Port your device is connected to. If you do have communication issues, one thing you can check is your serial baudrate. Uploading to Arduino You can read a little on baudrate here: http://arduino.cc/en/Serial/begin
This check icon is clicked to compile your code and check for errors. This right arrow icon is clicked to compile your code and check for errors first, and then upload it to your board. Uploading to Arduino Finally once you have the correct board and serial port connected click the check icon to compile the code, and click the right arrow icon to compile and upload.
If at the bottom of the Arduino program you see an error after trying to compile or upload, here is where you can get an idea of where you begin your troubleshooting. Uploading to Arduino