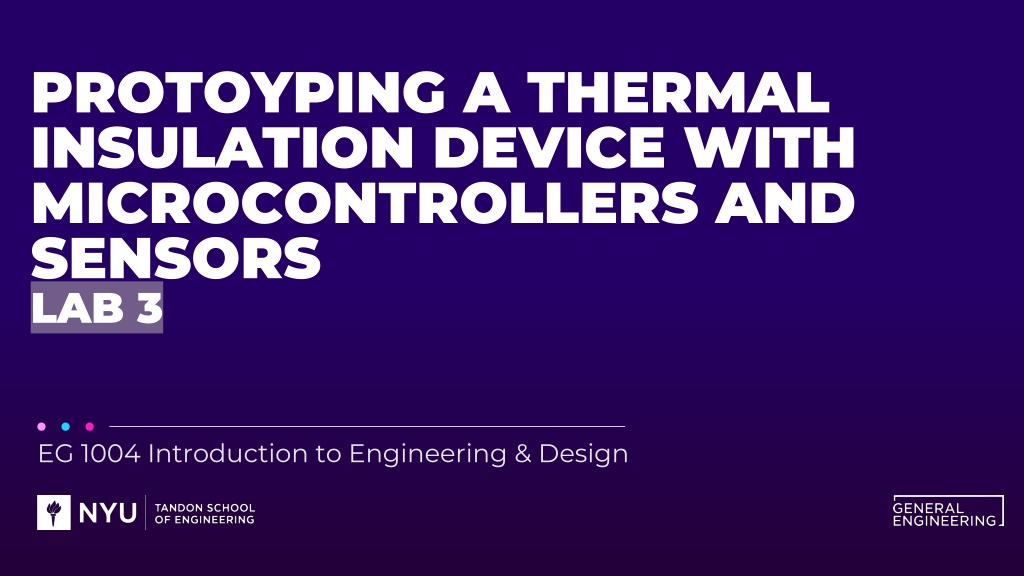
Prototyping a Thermal Insulation Device with Microcontrollers and Sensors
In this lab project for Introduction to Engineering & Design, students work on prototyping a thermal insulation device using microcontrollers and sensors. The objective is to control an LED with a button, test a design prototype, and create a device to slow the rate of heat loss. Background information covers prototyping processes, electricity basics, and common electrical components like breadboards, resistors, and LEDs. The project also involves using Arduino boards and IDE to implement the design.

Download Presentation

Please find below an Image/Link to download the presentation.
The content on the website is provided AS IS for your information and personal use only. It may not be sold, licensed, or shared on other websites without obtaining consent from the author. Download presentation by click this link. If you encounter any issues during the download, it is possible that the publisher has removed the file from their server.
E N D
Presentation Transcript
PROTOYPING A THERMAL INSULATION DEVICE WITH MICROCONTROLLERS AND SENSORS LAB 3 EG 1004 Introduction to Engineering & Design
OVERVIEW Objective Background Information Materials Procedure Competition Rules IDBE Implementation Assignment Closing Figure 1: Prototyping with Arduino Board
OBJECTIVE Utilize electrical components, an Arduino board, and the Arduino IDE to: Control an LED with a button Test a design prototype To design a device to slow the rate of heat loss Enter the device into a competition to obtain the lowest minimal design equation
BACKGROUND INFORMATION Prototyping process of designing and building an early model of a product Electricity the movement of electrons Ohm s Law: V = IR Current [A]: Flow of electrons Resistance [?]: Opposition to current Voltage [V]: Difference in charge Figure 3: Ohm s Law Courtesy of Instructables
BACKGROUND INFORMATION Common electrical components: Breadboards DC voltage sources Resistors Push-buttons and switches Diodes and transistors Light emitting diodes Figure 4: Electrical Components courtesy of Wikipedia
BACKGROUND INFORMATION Breadboards Small boards used for circuit prototyping Allow temporary connection between circuit components Power rails connected vertically (Sections A & D) Non-colored rows connected horizontally (Sections B & C) Figure 5: Breadboard Diagram
BACKGROUND INFORMATION Thermistor Resistors DC Voltage Sources Thermal resistor used to measure temperature Reduce the current flowing through a circuit Power circuits with voltage difference Color coded to indicate resistance value Figure 6: DC Voltage Source (Left), Resistor (Middle), Thermistor (Right)
BACKGROUND INFORMATION Light Emitting Diodes (LEDs) Diodes & Transistors Push Buttons & Switches Allow current to pass in only on direction Interrupt or divert current Diodes that use low voltage and current Figure 8: Transistor (Left), LED (Right) Figure 7: Push Button (Left), Switch (Right)
BACKGROUND INFORMATION Microcontroller inexpensive, programmable computer 3.3 V GND Ground pin (0 V) Typically used to power low voltage sensors VIN 5 V Can be used to power board with battery Commonly used to power circuits Figure 9: Arduino Redboard
BACKGROUND INFORMATION Arduino IDE program to edit, compile, and upload code to the Arduino board Code written in the Arduino programming language (based on C/C++) Figure 10: Arduino IDE
BACKGROUND INFORMATION Operators Datatypes Variables and Constants Perform operations on variables or constants Different data values Hold data according to datatype (eg. Int, double, char) (eg.+, =, ==, <=) Figure 11: Examples of Constants and Variables
BACKGROUND INFORMATION Conditional Statements Run code enclosed by curly brackets when condition is met Figure 12: Conditional Statements
BACKGROUND INFORMATION While loops Runs code until end condition is met Loops Run sections of code repeatedly For loops Runs code for a specific number of times Figure 13: While and For Loops
BACKGROUND INFORMATION Heat form of energy Heat transfer process of thermal energy moving from one body to another Conduction Through solids Convection Within a fluid medium (liquid or gas) Radiation Emitted energy in all directions with or without a medium Figure 14: Modes of Heat Transfer Courtesy of Mr. Oey s Science Classes
MATERIALS Arduino RedBoard and USB cable Computer with Arduino IDE Breadboard Jumper wires 220 resistor 10 k resistor 2.2 k resistor LED Push-button Thermistor Figure 16: Prototyping with Breadboard Courtesy of SparkFun
PROCEDURE Part 1: Build an LED and Button circuit Part 2: Thermal insulation device competition Goal is to slow heat loss from a heated jar of beeswax Add code to the Arduino program for the thermistor Build the thermistor circuit using the Arduino board Design and build a thermal insulating device Test the thermal insulating device and analyze the data Figure 17: Jar of Beeswax with Thermistor
COMPETITION RULES Competition will be judged by the lowest minimal design equation (MDE): ????[$] ??[ ?] ??? = ?? ? ??? 1 ??[ ?] Insulating capacity (IC) is the change in temperature over time of the beeswax Cost is the total cost of the insulating device TRis the room temperature (obtain from TA) TFis the final temperature of the beeswax (obtain from data) 10 minute run starts from the same temperature ( 1 F) for all groups
COMPETITION RULES Table 1: Material Costs for Thermal Insulation Device Competition Material Large foam cup Pack of clay Wool fabric Cotton balls Popsicle sticks Styrofoam pieces Tape Aluminum foil Plastic wrap Unit 1 1 bag 2 pieces 3 balls 1 Cost Per Unit $0.50 $0.20 $0.10 $0.05 $0.01 5 $0.05 1 ft 1 ft2 1 ft2 $0.10 $0.30 $0.02
COMPETITION RULES Cannot move thermistor placement with respect to the lid Insulating device cannot be touched while testing External heat sources are prohibited Jar of beeswax must be inside the container within 30 seconds of receiving Jar of beeswax cannot be returned (no restarts) A minimum of $0.40 must be used in the design of the insulating device Try not to touch the hot jar or beeswax 10 minute run starts from the same temperature ( 1 F) for all groups
IDBE IMPLEMENTATION Socially-conscious Engineering What is the goal of our designs? Social, Economic, and Environmental Implications Who is involved in the design and who are we innovating for? Engineering impacts all areas of daily life Connect the following inventions to the above implications: cars, antibiotics, the internet Figure 18: Socially Conscious Engineers
ASSIGNMENT Individual lab report: Answer discussion questions in manual Include original graph (temperature vs. time) of insulating device Provide minimal design ratio calculation Provide price list and design improvements Include spreadsheet with competition results Due at 11:59 PM the night before Lab 4 Team presentation: Address discussion points in manual Describe the design of the insulating device LED Circuit Diagram does not need to be included in report or presentation
CLOSING Think safety! Don t touch hot wax or jar Submit all work electronically Take pictures of the insulating device Clean up workstations Return all unused materials to the TA