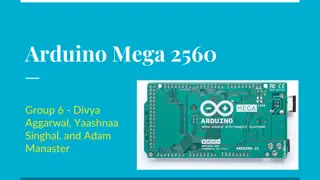
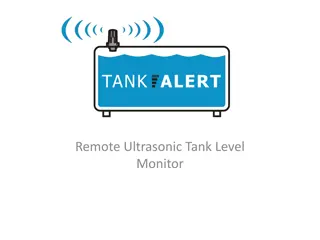
Setting Up Arduino Mega 2560 Microcontroller & Sunfounder HCSR04 Ultrasonic Sensor
Connect your Arduino Mega 2560 to a computer, power the Sunfounder Ultrasonic Sensor, and interface with Arduino Create. Follow steps to set up the hardware and verify the code for a smooth operation.

Download Presentation

Please find below an Image/Link to download the presentation.
The content on the website is provided AS IS for your information and personal use only. It may not be sold, licensed, or shared on other websites without obtaining consent from the author. Download presentation by click this link. If you encounter any issues during the download, it is possible that the publisher has removed the file from their server.
E N D
Presentation Transcript
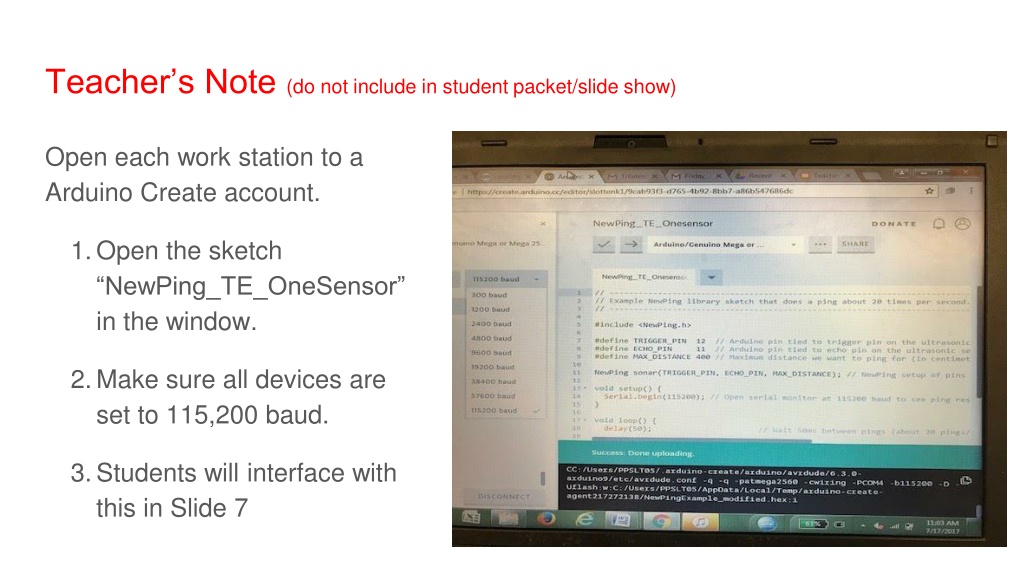
Teachers Note (do not include in student packet/slide show) Open each work station to a Arduino Create account. 1.Open the sketch NewPing_TE_OneSensor in the window. 2.Make sure all devices are set to 115,200 baud. 3.Students will interface with this in Slide 7
Setting Up Arduino Mega 2560 Microcontroller & Sunfounder HCSRO4 Ultrasonic Sensor
Step 1: Connect the Microcontroller to a Computer 1.Connect a USB to the computer and the Arduino Microcontroller. 2.If done correctly, two LED lights on board should light up.
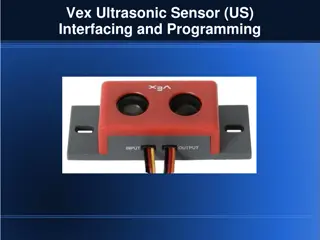
Step 2: Connect the Power Connection Use the wires that are on the Sunfounder Ultrasonic Sensor: 1.Find the wire that is labeled GND (this is your ground) connect it to the pin labeled GND on the breadboard. 2.Find the wire labeled VCC and connect that to the 5V pin next to the ground pin.
Step 3: Check the Power Connection If the power was connected correctly, a blue LED light should appear on the back of the sensor.
Step 4: Connect the Trigger and Echo Pins Use the wires that are on the Sunfounder Ultrasonic Sensor 1.Find the wire that is labeled ECHO and connect it to the pin 11 on the breadboard. 2.Find the wire that is labeled trigger and connect it to the pin 12 on the breadboard.
Step 5: Connect to Arduino Create Using Google Chrome, please make sure you are logged into Arduino Create, and that your screen looks exactly like the photo example at the right, if not raise your hand to ask for teacher support.
Step 6: Verify the Code When you are working in a program that involves coding, it is always a good practice to verify a code before you upload it into the program. If you get an error, it will be explained in the black window at the bottom of the screen.
Step 7: Upload Code 1.Once you have verified the code and there are no errors, select upload. 2. Next to the upload button it should read, Arduino/Genuino Mega or Mega 2560 or Arduino/Genuino Uno .
Step 8: Share Code with the Microcontroller 1. Select Serial Monitor. 2. Make sure it is set to 112500 baud. This will give you measurement values in the window.
Step 9: Measuring Distance Practice 1.Hold the Ultrasonic Sensor above the tabletop with the trigger and echo sensors facing down. This means the LED should be facing upwards. 2.Allow each group member the opportunity to move and adjust sensor before moving on to Part 3 of the activity. The receiver should point in the direction of the object
Step 10: Reading Distance with Ultrasonic Sensor 1. As one person moves the sensor from the table, the other group members should observe the distance measurements in the serial monitor in Arduino Create . 2. Before moving onto Part 3, activity, record a short video that shows the readings from the serial monitor.