Understanding Microsoft Office 2010 Essentials
Explore the significance of Microsoft Office 2010 in business environments, covering key applications like Word, Excel, and PowerPoint. Learn about the interface elements such as Ribbon, Quick Access Toolbar, Shortcut Menu, and ScreenTip to enhance efficiency and productivity in using Office tools.

Download Presentation

Please find below an Image/Link to download the presentation.
The content on the website is provided AS IS for your information and personal use only. It may not be sold, licensed, or shared on other websites without obtaining consent from the author. Download presentation by click this link. If you encounter any issues during the download, it is possible that the publisher has removed the file from their server.
E N D
Presentation Transcript
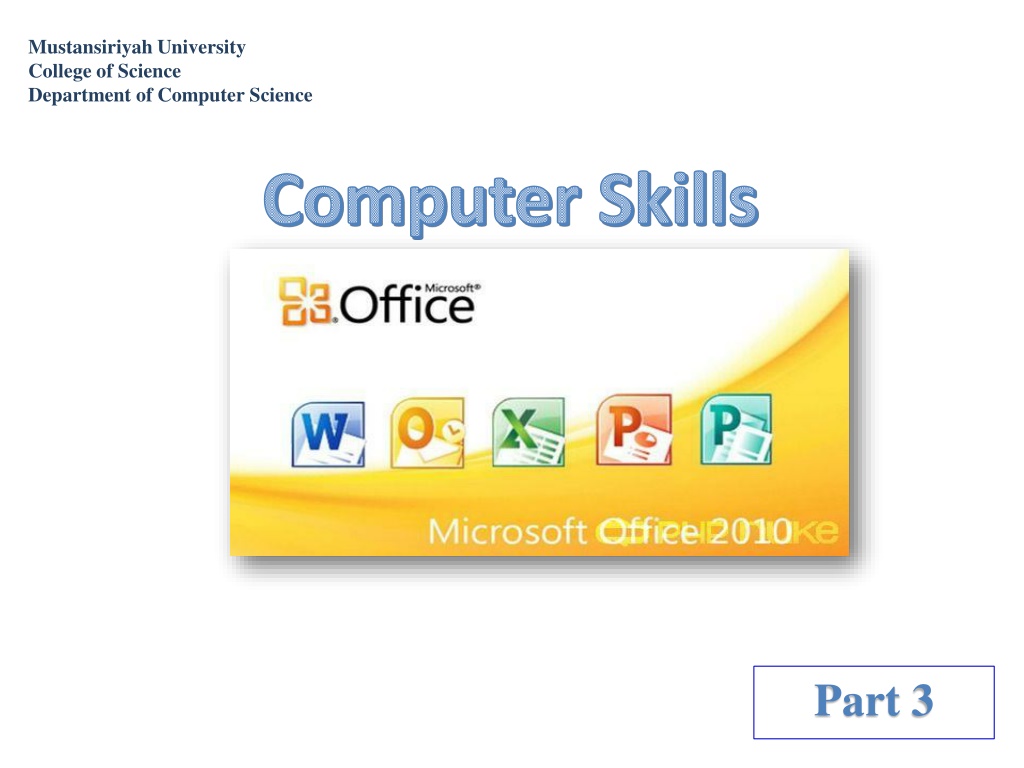
Mustansiriyah University College of Science Department of Computer Science Computer Skills Part 3
Microsoft Office 2010 is the most popular suite of business applications in the world. Its core products Word, Excel, and PowerPoint are considered the standard tools in millions of offices. In many companies, newly hired business professionals and support staff are expected to come into their positions already knowing how to use these tools.
Office 2010 Interface Each Office 2010 application has the same basic controls, so once you have mastered one application, learning another application is easy. Ribbon The main toolbar in Office applications and some other Windows applications, consisting of multiple tabbed pages of commands. TabAtabbed page of a Ribbon, or the name of a particular tabbed page. GroupAnamed section of a Ribbon tab. Dialog box launcher An icon in the lower-right corner of a group on the Ribbon; when clicked, it opens a dialog box or task pane. Some tabs are common to all applications, such as Home, Insert, and View; others are unique to a particular application, such as the Mailings tab in Word and the Formulas tab in Excel.
Quick Access Toolbar Above the Ribbon, on the left end of the title bar, is the Quick Access Toolbar (QAT). You can customize this toolbar by adding and removing commands from it. This toolbar remains constant no matter which tab is displayed, so you can keep your favorite commands close at hand on the QAT without having to remember contains them. The down-pointing arrow at the right end of the QAT opens a menu of common commands that you can toggle on and off on the QAT by selecting them, as shown in the Figure below. You can also choose More Commands from that menu commands to it that aren t on the list. which tab to add other
Shortcut Menu When you right-click, a shortcut menu appears (also called a context menu). Its commands depend on what you right-clicked. If you right-click a selected block of text, for example, commands appear that will help you format it, move or copy it, and check its spelling, as shown in the figure below. If you right-click on a graphic, commands appear for formatting and positioning the graphic. The shortcut menu that appears when you right-click a button on the Ribbon offers an option to add that command to the Quick Access Toolbar.
ScreenTip When you hover the mouse pointer over a button or command on the Ribbon, a ScreenTip appears, telling you its name and purpose. In some cases, ScreenTips also contain keyboard shortcut prompts. For example, when you point at the Justify button on the Home tab, you find out that Ctrl+J is the keyboard shortcut setting that alignment, as shown in the figure below. To use a keyboard shortcut, hold down the first key while you tap (press and release) the second key.
Zoom controls At the right end of the status bar are the Zoom controls. The Zoom controls enable you to zoom in and out to view your work at different magnifications. You can drag the slider, or you can click the (-) minus or (+) plus button on its ends to increment the zoom out (-) or in (+). The current zoom level is reported to the left of the Zoom slider; click the current Zoom level to open a Zoom dialog box in which you can set the zoom level more precisely. You can see the Zoom and View controls in the figures below. The View tab also has Zoom controls that perform the same functions (plus a few others).
Office application windows size As with any window, you can adjust an Office application window s size. To resize a window, drag its border, and to move a window, drag its title bar. You Maximize button (in the upper right corner of the window), and then restore it to pre- maximized size by clicking the Restore button, which replaces the Maximize button when the window is maximized. You can minimize the window down to a button on the taskbar with the Minimize button, and you can close the window (which closes the application and any open files) by clicking the Close button. can maximize it by clicking its The figure below points out the window controls in an Office application s window.
Using Basic Features of OfficeApplications Office applications have many commands and features in common. Getting Help To get help in any Office application, do any of the following: 1. Press the F1 key. If you do this while a dialog box is open, the help provided is context-sensitive. 2. Click the Help button. It s the question mark in a blue circle above the right Ribbon. You can see it in Figure 8.7, below the Close button. 3. Click the File tab and click Help. end of the In the Help window that appears, you can search for a particular topic by typing a keyword in the Search box, or you can browse the Help system by clicking on one of the hyperlinks on the home page of the Help system
Changing Views Each application has its own unique set of views that you can switch among while working with your data. Different views are useful in different situations. in PowerPoint, you use Normal view for general slide editing and Slide Sorter view to reorder and organize the slides. In Word, you use Print Layout view for most editing, but you can switch to Outline view to organize sections of a document or Web Layout to see how a document will appear when saved as a web page. To switch views, select the desired view from the View tab on the Ribbon.
MovingAround As you create content in an application, you might have more content then you can see onscreen at once, so you might need to scroll to view different parts of it. You can scroll using the scroll bars with your mouse. The figure below shows a scroll bar. In Excel, the vertical and horizontal scroll bars are always available. In Word and PowerPoint, the vertical scroll bar is always available, but the horizontal one only displayed document is wider than the screen width. appears if the As you gain experience with the applications, you might find using keyboard shortcuts more convenient than using the scroll bar. For example, pressing Ctrl+Home takes you to the beginning of the file in most Office applications.
Selecting Content Most of the commands you issue apply to whatever text or object is selected. For example, to italicize text, you first select the text to affect. Then when you click the Italics button, only the selected text is affected. When you select in Excel, you usually want to select entire cells rather than individual characters of text. When a cell is selected, any formatting commands that you issue apply to everything in that cell. You can select a contiguous range (all in one rectangular block area) or a non-contiguous range (multiple cells are not adjacent to one another). or other To select an object (such as a graphic), click it.
Clipboard This temporary holding area enables you to cut or copy an item from one location and then paste it into another location, effectively moving or copying it. The Clipboard can also be used to cut, copy, and paste snippets of data from different applications and data files into a single file. For example, you can copy a paragraph from Word and paste it into an Excel worksheet or PowerPoint slide, or into a different location in Word (either in the same document or a different document). Microsoft Office has an enhanced version of the Clipboard Clipboard. It uses the Windows Clipboard as its basis, but adds the capability to store up to 24 objects at a time. (On the Windows Clipboard, when you cut or copy another object, the previously saved object is removed from the Clipboard.) called the Office
Undo and Redo If you make a mistake in an Office application, you can easily undo your last action with the Undo command. You can either click it on the Quick Access Toolbar After you have used Undo, a Redo button becomes available to its right on the QAT. Redo undoes the Undo operation. Text Entry and Formatting All the Office applications have similar controls for text formatting. After you select some text, you can use the commands in the Font group on the Home tab to change the: font, size, and color of text, as well as apply attributes like bold, italics, and underlining
Creating Bulleted and Numbered Lists Bulleted and numbered lists are both ways of making certain paragraphs stand out. Use bulleted lists for lists where the order is not important. use numbered lists where the order is significant, such as a set of instructions for making a recipe. To make a bulleted or numbered list, select the paragraphs to include and then click the Bullets or Numbering button on the Home tab (in the Paragraph group). For the default style, click the face of the button. To choose from a gallery of other styles, click the down arrow to the right of the button. The figure below shows the choices from the Bullets button s menu, For example. You can also choose Define New Bullet from that library to use any character you like for the bullets.
Creating Tab Stops When you press the Tab key, the insertion point moves to the right until it encounters a tab stop. By default, body paragraphs have tab stops every half-inch, but you can set custom tab stops for any paragraph at any position. Tab stops are left aligned by default, meaning that when the insertion point stops at the tab stop, the text that you type at that point is left aligned with the tab stop. Tab alignments, though. The figure below shows some examples of the various tab stop types. stops can have several other
Understanding Themes and Color Palettes Each application enables users to apply themes, which are groups of formatting presets. A theme contains definitions of three key formatting aspects: fonts, colors, and effects (applied to graphic objects). In some applications, a theme may contain elements; for PowerPoint, a contain a background image that is applied to each slide. You can override a theme s settings in one or more of those areas by applying theme, font theme, or effect theme. additional example, theme in may a color
Moving and Resizing Objects Each application includes the capability to insert content in movable and resizable frames that either float over the top of the regular content (as is the case in Excel) or interact with the text on the underlying page in a way you specify (as in Word). In PowerPoint, all content is in frames. The content within one of these frames is known as an object. An object can be a graphic, a chart, a drawing, or any of several other items. A text box can also be an object. To resize an object, drag one of its selection handles. A selection handle is a small marker in a corner of the object s frame or at the midpoint along one side of the frame. Depending on the application and the type of object
Saving, Opening, and Creating Files Each application has similar procedures for working with data files. You can create, save, and open files in much the same way. Saving Files As you work in an application, the content you create is stored in the computer s memory. This memory is only temporary storage. When you exit the application or shut down the computer, whatever memory is flushed away forever unless you save it. The steps for saving and opening data files are almost exactly the same in each application, so mastering it in one program gives you a head start in other programs. is stored in
Password-Protecting Files You can password-protect an Office application s data file as you save it. To do so, from the Save As dialog box, click the Tools button, and then choose General Options from the menu. In the dialog box that appears, you can assign a password to the file. There are two password prompts: 1. Password to Open 2. Password to Modify. The former allows read-only access; the user cannot save changes back to the same file. The latter enables changes to be saved. You can assign two different passwords to allow some people one type of access and others the other type.
Opening and Closing Files To open an existing file, click the File tab and click Open, and then make your selection in the Open dialog box, after navigating to the location where the file is stored. After you have created a file and saved it, you can reopen the file to review or edit it. If you want to open a recently used file, there s a quicker method. After clicking the File tab, click Recent, and then click the shortcut for one of the recently used files that appear on the list, as shown in the figure below. When you are finished with a file, you can close it by clicking the File tab and then clicking Close. Closing a file frees up some of your computer s memory for other uses. When you exit the application, all open files are automatically closed, and you are prompted to save any unsaved changes to them.
Creating New Files Using a Template In each application, starting the program starts a new blank data file. You can start using this data file, or you can start another one using a template. A template is a file containing preset settings and, in some cases, sample content. Templates serve as shortcuts to creating documents with complex formatting, such as newsletters. Each application has a few templates stored locally on Office.com provides professional quality templates for each application, and you can access them from within each application, provided you have an Internet connection. You can also create and save your own templates for personal use. For example, you could modify one of the downloaded templates and then save a customized version. your hard drive. more hundreds
Printing and Sharing Files Each application has a similar Print function that you can use to generate hard copies of your work. You can also share your work electronically with others by sending it to people via email. Printing a File To print a file, first set it up the way you want it in the application, including hiding or collapsing any content you don t want to show, setting font sizes and spacing, and so on. Then click the File tab and click Print, and make your selections of the options that appear. The options are slightly different in each application; Figure below points out some of the common features. You can choose which printer to use, the number of copies to print, whether those copies should be collated, orientation to use, and more. what page
Sending a File as an EmailAttachment In your email software, you can attach files to your outgoing messages, but you can also attach and send files directly from within Office applications, without opening your email software separately. You can send a file in its native format (for example, docx for Word, pptx for PowerPoint, and so on), or you can choose to send it in some format, such as PDF. other When the recipient gets your attached file, he or she can double click it to open it in whatever application associated with that file type on his or her PC. is