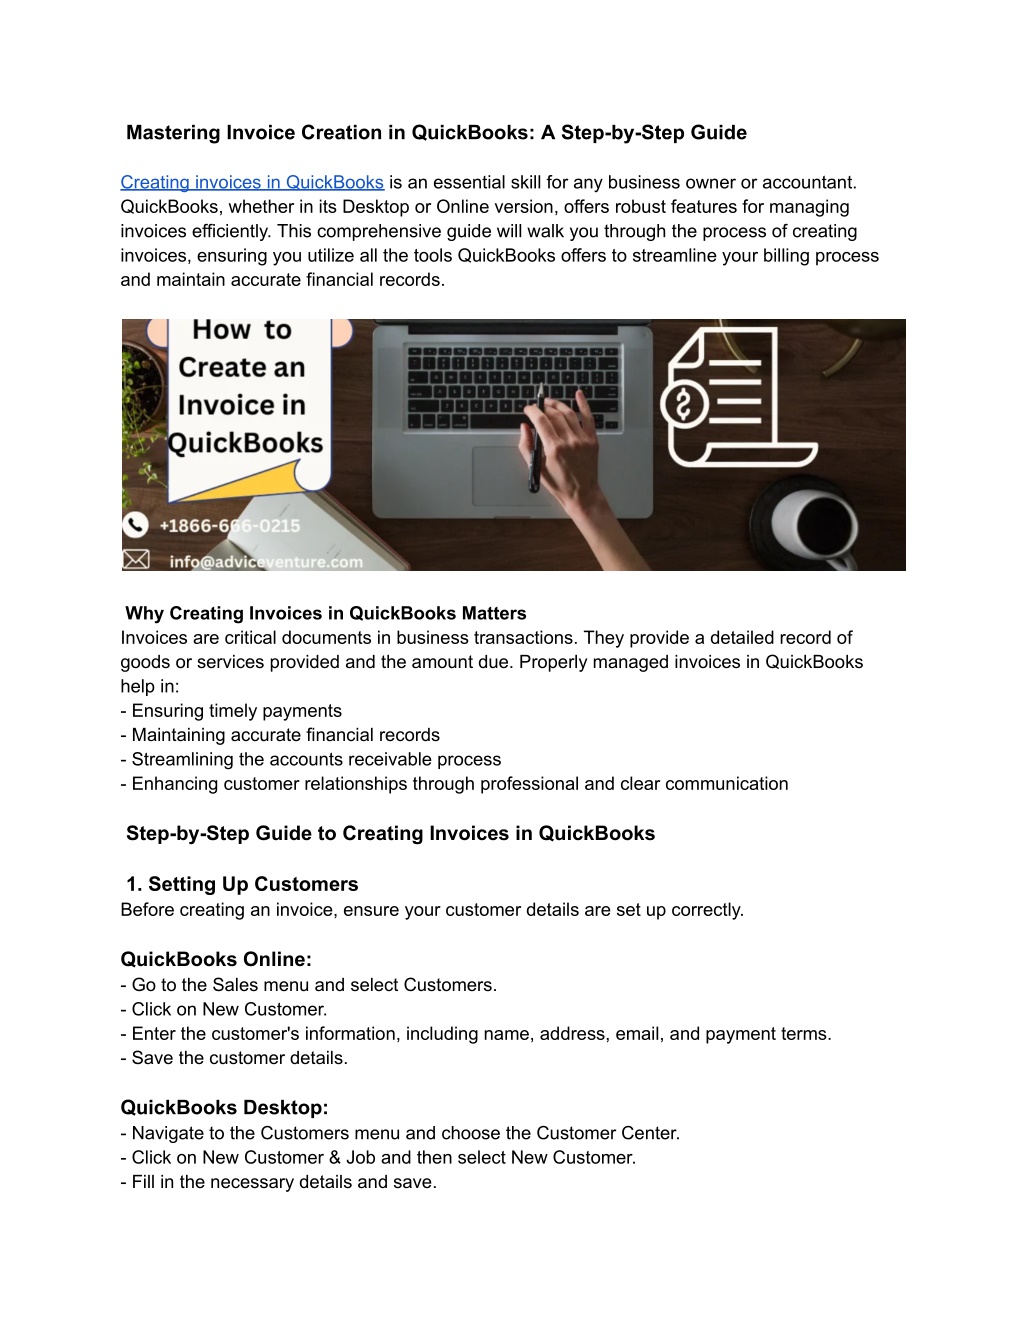
Mastering Invoice Creation in QuickBooks_ A Step-by-Step Guide
Learn how to create an invoice in QuickBooks with our detailed guide. Whether you're using QuickBooks Online or Desktop, we'll walk you through each step, from setting up customers to customizing invoice templates and sending out professional invoices. Our guide ensures you can efficiently manage your billing process, track payments, and keep your financial records up-to-date. Perfect for beginners and seasoned users, this resource helps streamline your invoicing workflow, saving you time and enhancing your business's financial management.

Download Presentation

Please find below an Image/Link to download the presentation.
The content on the website is provided AS IS for your information and personal use only. It may not be sold, licensed, or shared on other websites without obtaining consent from the author. Download presentation by click this link. If you encounter any issues during the download, it is possible that the publisher has removed the file from their server.
E N D
Presentation Transcript
Mastering Invoice Creation in QuickBooks: A Step-by-Step Guide Creating invoices in QuickBooks is an essential skill for any business owner or accountant. QuickBooks, whether in its Desktop or Online version, offers robust features for managing invoices efficiently. This comprehensive guide will walk you through the process of creating invoices, ensuring you utilize all the tools QuickBooks offers to streamline your billing process and maintain accurate financial records. Why Creating Invoices in QuickBooks Matters Invoices are critical documents in business transactions. They provide a detailed record of goods or services provided and the amount due. Properly managed invoices in QuickBooks help in: - Ensuring timely payments - Maintaining accurate financial records - Streamlining the accounts receivable process - Enhancing customer relationships through professional and clear communication Step-by-Step Guide to Creating Invoices in QuickBooks 1. Setting Up Customers Before creating an invoice, ensure your customer details are set up correctly. QuickBooks Online: - Go to the Sales menu and select Customers. - Click on New Customer. - Enter the customer's information, including name, address, email, and payment terms. - Save the customer details. QuickBooks Desktop: - Navigate to the Customers menu and choose the Customer Center. - Click on New Customer & Job and then select New Customer. - Fill in the necessary details and save.
2. Creating the Invoice Once your customers are set up, you can proceed to create an invoice. QuickBooks Online: - From the + New button, select Invoice. - Choose the customer from the drop-down list. This action automatically populates the customer's information on the invoice. - Enter the invoice date, due date, and invoice number if required. - Add the products or services you are billing for. QuickBooks allows you to either select existing items from your product/service list or add new ones. - Specify the quantity, rate, and tax (if applicable). - Review the total amount and any applicable taxes. - You can add a custom message for your customer and any necessary attachments. - Click Save and Send to email the invoice, or choose Save and Close if you want to send it later. QuickBooks Desktop: - Go to the Customers menu and select Create Invoices. - Select the appropriate customer or job from the Customer:Job drop-down list. - Fill in the invoice date, due date, and invoice number. - Add items to the invoice by selecting them from the Item column. You can add new items if necessary. - Enter the quantity, rate, and sales tax. - Review the total amount and make any necessary adjustments. - Use the Email button to send the invoice directly to the customer, or print it if needed. 3. Customizing Your Invoice Customization adds a professional touch and aligns invoices with your brand. QuickBooks Online: - Go to the Gear icon and select Custom Form Styles. - Click on New Style and choose Invoice. - Customize the template with your logo, color scheme, and the information fields you want to include. - Save the customized template and apply it to your invoices. QuickBooks Desktop: - Navigate to the Lists menu and choose Templates. - Select the invoice template you wish to customize and click on Edit Template. - Add your logo, change fonts, and adjust the layout as needed. - Save the customized template and set it as the default if desired.
4. Tracking Invoices and Payments Efficient tracking ensures you stay on top of your receivables. QuickBooks Online: - Use the Sales menu to view Invoices. This section shows all invoices and their statuses (paid, unpaid, overdue). - Apply payments to invoices by selecting the invoice and clicking Receive Payment. Enter the payment details and save. QuickBooks Desktop: - Go to the Customers menu and choose the Customer Center. - View open invoices and their statuses under the Transactions tab. - Apply received payments by selecting Receive Payments from the Customers menu, entering the payment details, and applying them to the correct invoices. 5. Automating Recurring Invoices For customers with regular billing cycles, automating invoices can save time and reduce errors. QuickBooks Online: - When creating an invoice, click on Make Recurring. - Set the template name, type (scheduled, reminder, or unscheduled), and frequency. - Save the recurring invoice template. QuickBooks Desktop: - Create an invoice as usual, then go to the Edit menu and select Memorize Invoice. - Set the schedule for the recurring invoice and save. 6. Reporting and Analysis Regularly analyzing your invoices can provide insights into your business s financial health. QuickBooks Online: - Navigate to the Reports menu and select Sales and customers. - Generate reports such as Invoices and Received Payments or Customer Balance Detail to review outstanding invoices and payment history. QuickBooks Desktop: - Go to the Reports menu and choose Sales. - Use reports like Sales by Customer Summary or Open Invoices to monitor receivables and identify trends.
Best Practices for Managing Invoices in QuickBooks - Regular Updates: Keep QuickBooks updated to the latest version to ensure you have the newest features and security updates. - Consistent Follow-Up: Set reminders to follow up on overdue invoices promptly. - Detailed Descriptions: Provide clear descriptions for products and services to avoid any confusion with customers. - Early Payment Discounts: Encourage early payments by offering discounts, which can improve cash flow. - Backup Data: Regularly backup your QuickBooks data to prevent loss of important financial information. Conclusion Mastering invoice creation in QuickBooks is a vital skill for maintaining a smooth billing process and ensuring accurate financial records. By following this step-by-step guide, you can efficiently create, customize, and manage invoices in both QuickBooks Desktop and Online. Implementing these practices will enhance your business operations, improve cash flow, and foster better relationships with your customers. Stay proactive and leverage QuickBooks powerful invoicing features to keep your business running smoothly. Visit for more info https://www.adviceventure.com/create-an-invoice-in-quickbooks/