Create Your Own Buttons - Step-by-Step Guide
Select elements from available options, customize them, save as a PNG file, upload to Canvas, and turn into hyperlinks. Follow the detailed steps provided to create personalized buttons for your Canvas course.
Download Presentation

Please find below an Image/Link to download the presentation.
The content on the website is provided AS IS for your information and personal use only. It may not be sold, licensed, or shared on other websites without obtaining consent from the author.If you encounter any issues during the download, it is possible that the publisher has removed the file from their server.
You are allowed to download the files provided on this website for personal or commercial use, subject to the condition that they are used lawfully. All files are the property of their respective owners.
The content on the website is provided AS IS for your information and personal use only. It may not be sold, licensed, or shared on other websites without obtaining consent from the author.
E N D
Presentation Transcript
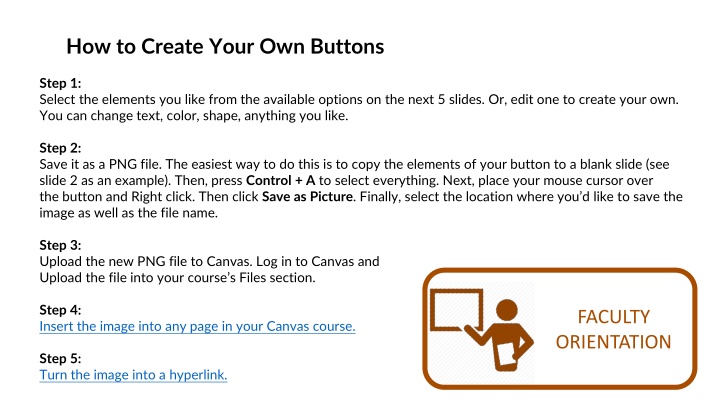
How to Create Your Own Buttons Step 1: Select the elements you like from the available options on the next 5 slides. Or, edit one to create your own. You can change text, color, shape, anything you like. Step 2: Save it as a PNG file. The easiest way to do this is to copy the elements of your button to a blank slide (see slide 2 as an example). Then, press Control + A to select everything. Next, place your mouse cursor over the button and Right click. Then click Save as Picture. Finally, select the location where you d like to save the image as well as the file name. Step 3: Upload the new PNG file to Canvas. Log in to Canvas and Upload the file into your course s Files section. Step 4: Insert the image into any page in your Canvas course. FACULTY ORIENTATION Step 5: Turn the image into a hyperlink.
FACULTY ORIENTATION
SOPH 2 MASTER CALENDAR J 1 QUALTRICS EVALUATION J 2
MASTER CALENDAR SIMULATION STAFF PRIVACY & EDITING INFO SIMULATION COMMITTEE
MASTER CALENDAR NLN MODULES SIMULATION TEMPLATES FACULTY ORIENTATION ORIENTATION RESOURCES POLICIES
Faculty Faculty Resources Resources Tenured Tenured Tenure Track Tenure Track Faculty Faculty Development Development Clinical Clinical Non Non- -Tenured Tenured Non Non- -Tenure Track Tenure Track Calendar Calendar New Faculty New Faculty Orientation Orientation
