DIY Fortune Cookie Craft: Step-by-Step Guide for Fun at Home
Learn how to make your own fortune cookies with this step-by-step guide. From cutting out the template to adding your own personalized messages, this fun craft activity is perfect for all ages. Dive into the history of fortune cookies and get creative with writing your own fortunes. Stay safe and enjoy the process of creating these unique treats at home!
Download Presentation

Please find below an Image/Link to download the presentation.
The content on the website is provided AS IS for your information and personal use only. It may not be sold, licensed, or shared on other websites without obtaining consent from the author.If you encounter any issues during the download, it is possible that the publisher has removed the file from their server.
You are allowed to download the files provided on this website for personal or commercial use, subject to the condition that they are used lawfully. All files are the property of their respective owners.
The content on the website is provided AS IS for your information and personal use only. It may not be sold, licensed, or shared on other websites without obtaining consent from the author.
E N D
Presentation Transcript
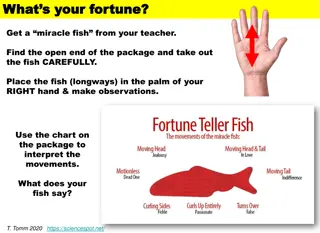
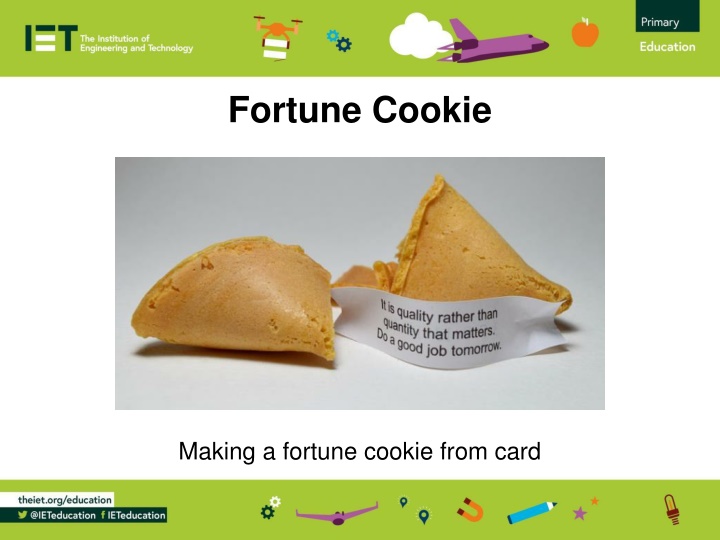
Fortune Cookie Making a fortune cookie from card
Stay safe Whether you are a scientist researching a new medicine or an engineer solving climate change, safety always comes first. An adult must always be around and supervising when doing this activity. You are responsible for: ensuring that any equipment used for this activity is in good working condition behaving sensibly and following any safety instructions so as not to hurt or injure yourself or others Please note that in the absence of any negligence or other breach of duty by us, this activity is carried out at your own risk. It is important to take extra care at the stages marked with this symbol:
Fortune Cookies The fortune cookie first appeared in 1890 in San Francisco, USA They have a typical shape and contain a message on paper It became a Chinese New Year tradition Fortune cookies only reached China in 1989!
Step 1 Cutting out the Template Print the template onto card Safely cut out the circles and messages with scissors
Step 2 Make Crease Fold the cookie template in half Make a 10 mm crease just in the centre Hint: you can do this by pinching the centre Crease
Step 3 Bend Bend the circle in half so that the crease is horizontal
Step 4 Folding Push the crease line in Fold together Fortune cookie Fold together Push in
Step 5 Add a Message and Assemble Unfold the cookie and add a message Fold back together and glue with a glue stick Paper clip may be needed until glue dries Completed Fortune Cookie Glue
Extension Write your own fortune cookie messages


![GET [✔PDF✔] DOWNLOAD✔ The Ultimate Burger: Plus DIY Condiments, Sides, and](/thumb/68033/get-pdf-download-the-ultimate-burger-plus-diy-condiments-sides-and.jpg)

