DIY Tiny Book Workshop: Create Your Own Miniature Book
Experience the joy of crafting your very own tiny book with this detailed workshop guide. From selecting a book to sewing the pages together, follow step-by-step instructions accompanied by visuals to bring your miniature masterpiece to life.
Download Presentation

Please find below an Image/Link to download the presentation.
The content on the website is provided AS IS for your information and personal use only. It may not be sold, licensed, or shared on other websites without obtaining consent from the author.If you encounter any issues during the download, it is possible that the publisher has removed the file from their server.
You are allowed to download the files provided on this website for personal or commercial use, subject to the condition that they are used lawfully. All files are the property of their respective owners.
The content on the website is provided AS IS for your information and personal use only. It may not be sold, licensed, or shared on other websites without obtaining consent from the author.
E N D
Presentation Transcript
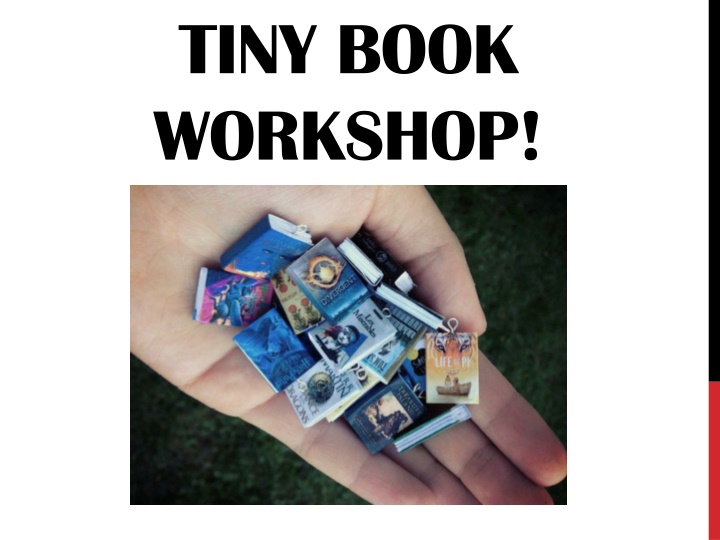
TINY BOOK WORKSHOP!
STEP 1: PICK YOUR TINY BOOK Choose a book to make and cut out the tiny front cover and the tiny back cover
STEP 2: CUT OUT A TEMPLATE Choose the colour you d like the spine of the book to be, and cut out one template along the outside lines.
STEP THREE: SEAL ON THE COVERS - Glue the front cover on the right side of the template, and the back cover on the left side. - Brush Mod Podge on top of the covers. - Set aside to dry.
STEP FOUR: CUT THE INSIDE PAGES - Take a stack of 4 8 sheets of white paper - Cut out a small stack that is approximately 5cm wide and 4cm tall - Fold in half
STEP FIVE: SEW THE PAGES - Push one end of thread through the eye of a needle - Push the needle through cut stack of paper, near the top of the folded middle line, and pull thread through
STEP FIVE CONTINUED - Use the threaded needle to push through a new hole below the 1sthole, near the bottom of the folded line - Thread the needle through the top hole and the bottom hole 2 or 3 more times, securing the binding. - Cut the thread , and tie both ends together
STEP SIX: PUNCH A HOLE - Use the small hole punch to punch a hole in the cardstock, near the top of the spine
STEP SEVEN: ATTACHING THE PAGES - Fold all the flaps on the lines - Flip the cardstock cover piece upside down, and apply glue to the entire back side
STEP SEVEN CONTINUED - Press the front and back page from your bound booklet onto the glue on the cardstock cover
STEP SEVEN CONTINUED - Fold the flaps onto the front and back pages, and press them firmly. Apply more glue if necessary.
STEP EIGHT: ATTACH TO JEWELRY - Once dry, put a jump ring through the hole in the spine AND through a necklace cord, keychain, or earring. - Use pressure or plyers to close the jump ring
ENJOY YOUR TINY BOOKS!

![GET [✔PDF✔] DOWNLOAD✔ The Ultimate Burger: Plus DIY Condiments, Sides, and](/thumb/68033/get-pdf-download-the-ultimate-burger-plus-diy-condiments-sides-and.jpg)


