DIY Jellyfish Plush Toy: Step-by-Step Guide
Create your own adorable jellyfish plush toy with this step-by-step guide. You'll need felt, scissors, glue, needle, thread, wool, and stuffing to craft this cute companion. Follow the detailed instructions from designing and cutting the fabric to stitching and stuffing to bring your jellyfish toy to life. Watch the helpful clip provided for visual guidance.
Download Presentation

Please find below an Image/Link to download the presentation.
The content on the website is provided AS IS for your information and personal use only. It may not be sold, licensed, or shared on other websites without obtaining consent from the author.If you encounter any issues during the download, it is possible that the publisher has removed the file from their server.
You are allowed to download the files provided on this website for personal or commercial use, subject to the condition that they are used lawfully. All files are the property of their respective owners.
The content on the website is provided AS IS for your information and personal use only. It may not be sold, licensed, or shared on other websites without obtaining consent from the author.
E N D
Presentation Transcript
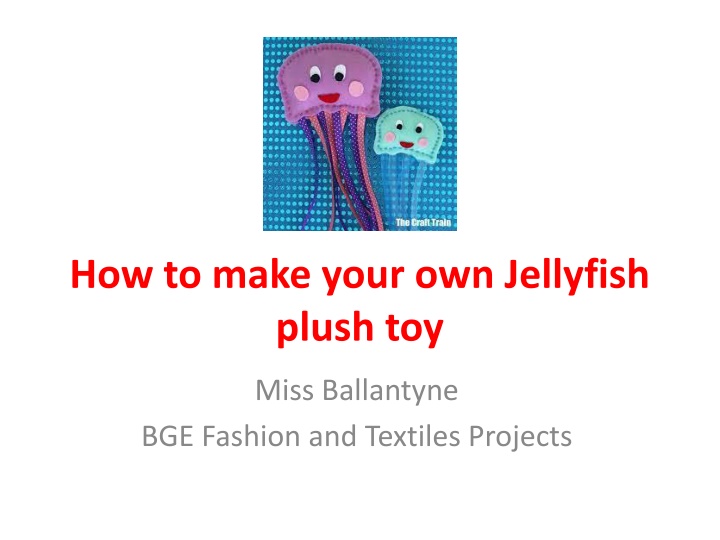
How to make your own Jellyfish plush toy Miss Ballantyne BGE Fashion and Textiles Projects
What Do I Need? You need the following: - A piece of felt colour of your choosing. - Scrap pieces of felt for the eyes, mouth and cheeks. - A pair of scissors - Glue - Needle - Thread - wool - Stuffing
Clip to help Watch this clip on how to make it: https://www.thecrafttrain.com/hand-sewn- jellyfish-craft/
Task 1&2 This is the bit you need You need to design your own jellyfish and colour it in. This is your paper template. Once you have done this you need to cut round the head of the jellyfish. YOU DO NOT NEED THE FEET!
Task 3 Pin the paper pattern (jellyfish head) to your fabric. Cut around this. It is exactly the same process as your fabric butterfly. Repeat the process so you have two jellyfish heads. You should be left with two of these in fabric form.
Task 4 Cut out the pieces of fabric you wish to use for the following: Cheeks Eyes Mouth Once you have done this, glue them on to ONE side of your jellyfish face
Task 5 1. Collect the colours of wool you would like and cut long strands off. This is for the jellyfish legs. 2. Place the strands of wool at the bottom of ONE of your jellyfish heads and stick them on with PVA glue. 3. Place the second jellyfish head on top. The one with the face, cheeks and mouth on it. Remember that the video uses ribbons for the legs but we are using wool. You can replay the video if that helps you
Task 6 1. Pin the jellyfish head that is on top (the one with the face) to the other jellyfish head. 2. Start to stitch round the jellyfish head but leave a small gap at the top (just like your butterflies) so you can stuff it. 3. Double stitch at the start and double stitch at the end! This makes sure it is nice and secure.
Task 7 1. Once you have left a gap at the top, you can break up some stuffing and place it into your jellyfish head. Just like the butterflies. 2. Once it is full, you can stitch the top up so it is completely closed. Finished!

![GET [✔PDF✔] DOWNLOAD✔ The Ultimate Burger: Plus DIY Condiments, Sides, and](/thumb/68033/get-pdf-download-the-ultimate-burger-plus-diy-condiments-sides-and.jpg)


