Managing E-Reimbursements for Expense Reports

Efficiently handle e-reimbursement processes by selecting, changing, and customizing funding options for expense reports and travel authorizations. Follow step-by-step instructions to input funding details, lock settings, and manage different funding sources effectively.

Download Presentation

Please find below an Image/Link to download the presentation.
The content on the website is provided AS IS for your information and personal use only. It may not be sold, licensed, or shared on other websites without obtaining consent from the author.If you encounter any issues during the download, it is possible that the publisher has removed the file from their server.
You are allowed to download the files provided on this website for personal or commercial use, subject to the condition that they are used lawfully. All files are the property of their respective owners.
The content on the website is provided AS IS for your information and personal use only. It may not be sold, licensed, or shared on other websites without obtaining consent from the author.
E N D
Presentation Transcript
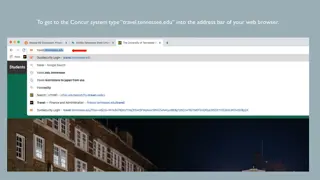
Select Funding Change for E-Reimbursement
Screen pops up to choose funding for this Expense Report or Travel Authorization. Jobs terminated within 90 days will still show and allowed to be selected. Traveler can hit OK to bring in the row marked as Picked or hit the Select button on a different row to change the funding.
Reimbursement from a campus you dont have a job for or a different funding string. Choose the Use Custom Values button.
Input the funding for this expense report or travel authorization. You can also choose the Lock these settings button to lock down your funding.