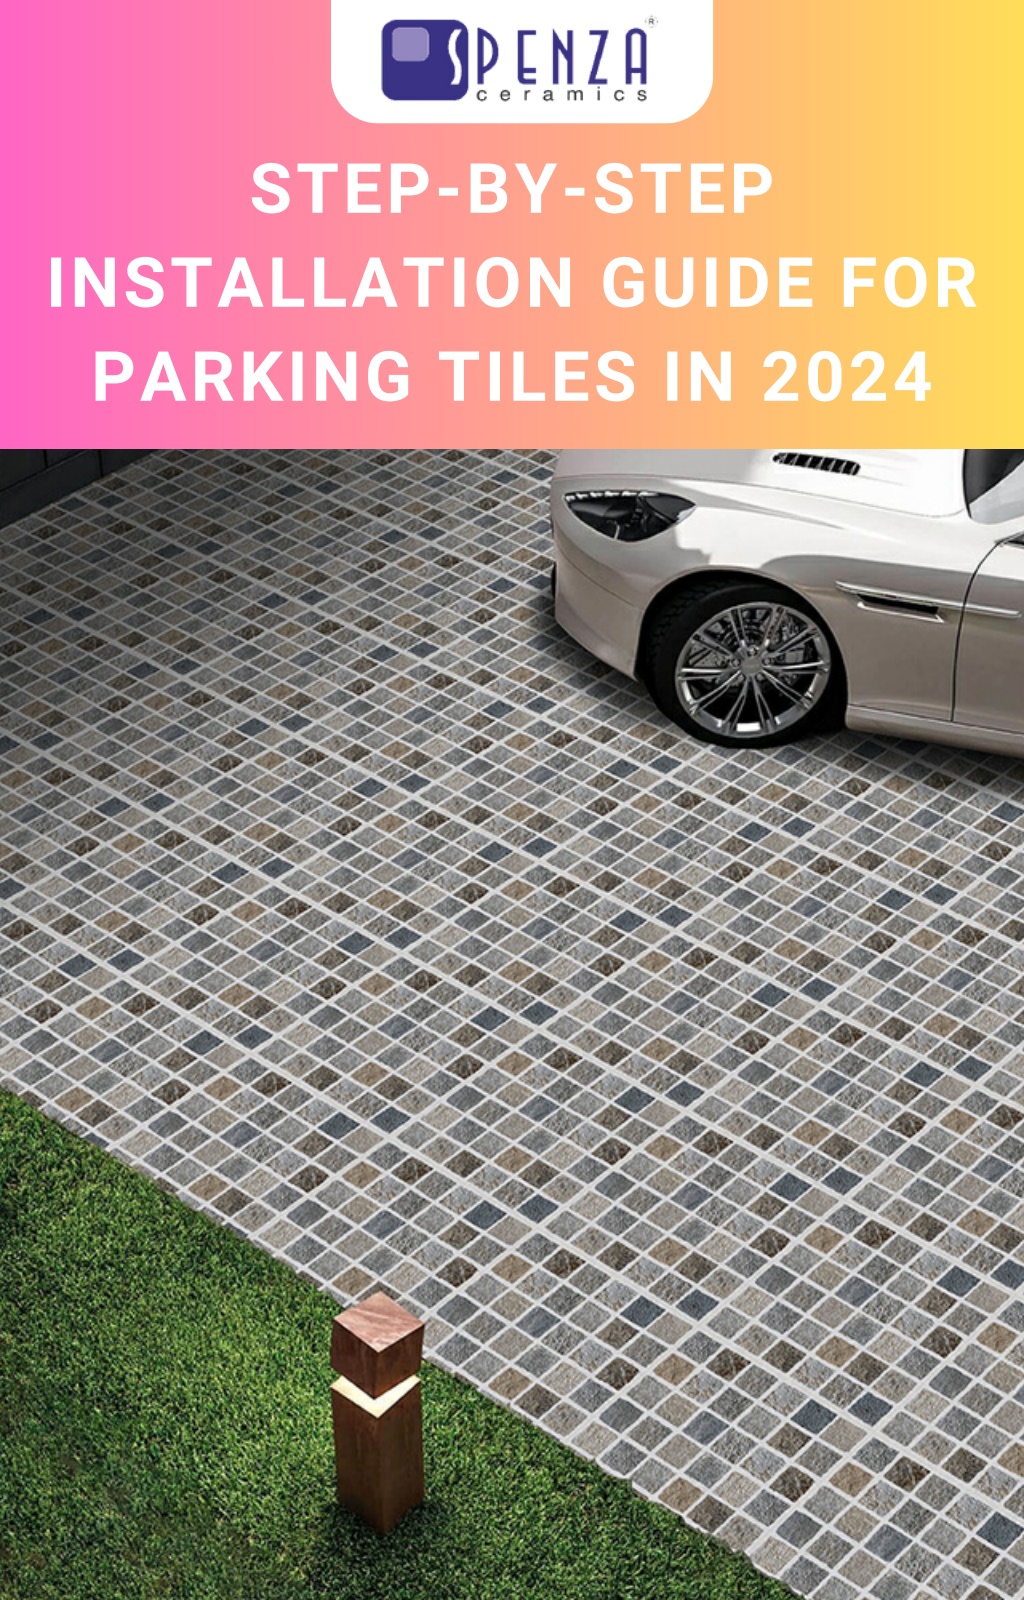
Step-by-Step Installation Guide for Parking Tiles in 2024
In 2024, installing parking tiles has become efficient with this step-by-step guide. Prepare the surface, apply adhesive evenly, secure tiles with a rubber mallet, and fill joints with grout. Achieve a durable and visually pleasing finish for driveways and pathways. To learn more, visit our website today: //spenzaceramics.com
Download Presentation
Please find below an Image/Link to download the presentation.
The content on the website is provided AS IS for your information and personal use only. It may not be sold, licensed, or shared on other websites without obtaining consent from the author. Download presentation by click this link. If you encounter any issues during the download, it is possible that the publisher has removed the file from their server.
- parking tiles design
- parking tiles design at home
- parking tiles for home
- car parking tiles
- house car parking tiles design pattern
- outdoor parking tiles design at home
- parking tile
- parking tiles models

Presentation Transcript
STEP-BY-STEP INSTALLATION GUIDE FOR PARKING TILES IN 2024
In 2024, installing parking tiles has become a streamlined process, thanks to advancements in technology and materials. The step-by-step installation guide for parking tiles ensures a durable and aesthetically pleasing finish for parking areas, driveways, and pathways. Before beginning the installation process, gather all necessary materials including the parking tiles, adhesive, grout, and tools such as a trowel, rubber mallet, and level.
The first step in installing parking tiles is to prepare the surface. Ensure that the substrate is clean, level, and free from any debris or contaminants. Depending on the surface material, it may be necessary to apply a primer or leveling compound to create a smooth and even base for the tiles. Proper preparation of the substrate is crucial for ensuring the longevity and stability of the parking tile installation.
Once the surface is prepared, the next step is to apply the adhesive. Use a notched trowel to spread the adhesive evenly over the substrate, taking care to maintain consistent coverage. Press the parking tiles firmly into the adhesive, using a rubber mallet to ensure they are level and securely bonded to the surface. Pay attention to alignment and spacing between tiles to achieve a uniform and professional-looking finish.
After all the parking tiles are installed, allow the adhesive to cure according to the manufacturer's instructions. Once the adhesive has set, fill the joints between tiles with grout, using a grout float to press the grout into the gaps. Wipe away any excess grout with a damp sponge, taking care not to disturb the tiles. Allow the grout to dry completely before opening the area to vehicular traffic. Following these step-by- step instructions will result in a durable and visually appealing parking tile installation that enhances the functionality and aesthetic of any outdoor space in 2024. www.spenzaceramics.com