Introductory Level Lighting Design Project Worksheet
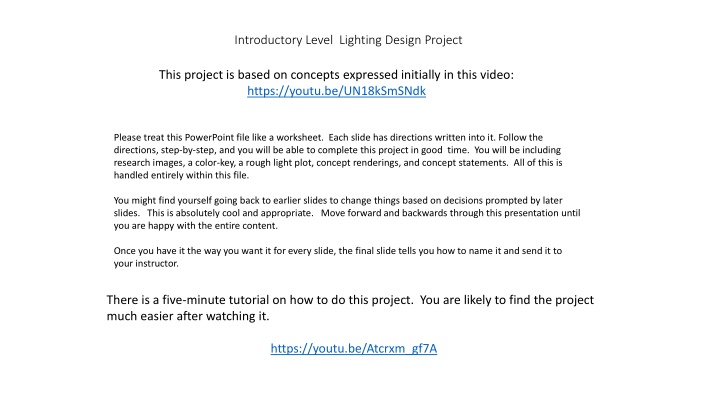
Dive into a hands-on lighting design project based on concepts from a video tutorial. Follow step-by-step directions to include research images, a color key, rough light plot, concept renderings, and statements. Use the provided images and resources to create a complete lighting design within a PowerPoint file.
Download Presentation

Please find below an Image/Link to download the presentation.
The content on the website is provided AS IS for your information and personal use only. It may not be sold, licensed, or shared on other websites without obtaining consent from the author.If you encounter any issues during the download, it is possible that the publisher has removed the file from their server.
You are allowed to download the files provided on this website for personal or commercial use, subject to the condition that they are used lawfully. All files are the property of their respective owners.
The content on the website is provided AS IS for your information and personal use only. It may not be sold, licensed, or shared on other websites without obtaining consent from the author.
E N D
Presentation Transcript
Introductory Level Lighting Design Project This project is based on concepts expressed initially in this video: https://youtu.be/UN18kSmSNdk Please treat this PowerPoint file like a worksheet. Each slide has directions written into it. Follow the directions, step-by-step, and you will be able to complete this project in good time. You will be including research images, a color-key, a rough light plot, concept renderings, and concept statements. All of this is handled entirely within this file. You might find yourself going back to earlier slides to change things based on decisions prompted by later slides. This is absolutely cool and appropriate. Move forward and backwards through this presentation until you are happy with the entire content. Once you have it the way you want it for every slide, the final slide tells you how to name it and send it to your instructor. There is a five-minute tutorial on how to do this project. You are likely to find the project much easier after watching it. https://youtu.be/Atcrxm_gf7A
Choose Roscolux colors at http://scenicandlighting.com/rosco List your colors here: (examples) R03 Dark Bastard Amber R10 Medium Yellow R19 Fire R27 Medium Red R344 Follies Pink R353 Lilly Lavendar R73 Peacock Blue R383 Gaslight Green These are the available color indicators. Copy them around to indicate where light will be coming from. If you click on them, you can rotate them or change their size. Color Key: Lighting a Typical Area in this Design
Magic Sheet: Breaking up the space into focus areas. Copy circles to wherever you want an area, and scale them.
I am looking to see ROUGH understanding Here. If the units are touching and overlapping, that s FINE! This will undoubtedly be a little messy, Copy/Paste These Total available: 90 These are the available lights. Do your best and place them on the plot where they should go to create your plot. Don t worry about rotating them if you don t want to. IMPORTANT: You may only use 90 lights total.
Mockup #1 with Lightlabs Using the lightlabs below, combine approximations of the colors or textures you have chosen. Take a screen-capture and include it here. You are not quite making a true image of potential cues. You are creating arrangements of color, key-light, and texture for discussion. https://scenicandlighting.com/lightlabs/cue-builder/ Gobos and direction: http://scenicandlighting.com/gobo-lab/ You can delete this text-box if it is in your way.
Mockup #2 with Lightlabs Using the lightlabs below, combine approximations of the colors or textures you have chosen. Take a screen-capture and include it here. You are not quite making a true image of potential cues. You are creating arrangements of color, key-light, and texture for discussion. https://scenicandlighting.com/lightlabs/cue-builder/ Gobos and direction: http://scenicandlighting.com/gobo-lab/ You can delete this text-box if it is in your way.
Mockup #3 with Lightlabs Using the lightlabs below, combine approximations of the colors or textures you have chosen. Take a screen-capture and include it here. You are not quite making a true image of potential cues. You are creating arrangements of color, key-light, and texture for discussion. https://scenicandlighting.com/lightlabs/cue-builder/ Gobos and direction: http://scenicandlighting.com/gobo-lab/ You can delete this text-box if it is in your way.
Question: How will cues using this design deal with narration spoken directly to the audience? Please explain here.
Question: How will cues using this design deal with flashbacks? Please explain here.
Question: How will cues using this design deal with normal dramatic action with the fourth wall completely intact? Please explain here.
Saving your PowerPoint Please save your PowerPoint file with the name TH2540 Lighting Design YOUR NAME.pptx Email it to me at someinstructor@someschool.edu Use the subject line TH2540 Lighting Design
