Micro:bit Robot Ultrasonic Obstacle Avoidance Tutorial
"Learn how to set up and program a micro:bit robot for ultrasonic obstacle avoidance. Follow the step-by-step guide to prepare hardware, connect the micro:bit to the computer, search for programming blocks, and test the ultrasonic sensor. Children can understand the concepts and experiment with obstacle avoidance. Enhance their learning by combining blocks and configuring the robot's behavior. Explore the YahBoom micro:bit video tutorial for detailed instructions and demonstrations."

Download Presentation

Please find below an Image/Link to download the presentation.
The content on the website is provided AS IS for your information and personal use only. It may not be sold, licensed, or shared on other websites without obtaining consent from the author. Download presentation by click this link. If you encounter any issues during the download, it is possible that the publisher has removed the file from their server.
E N D
Presentation Transcript
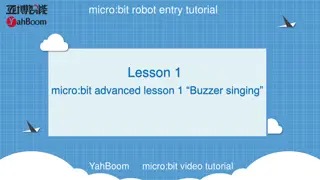
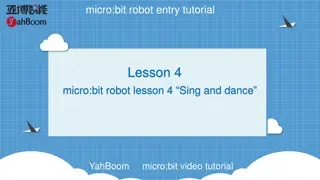
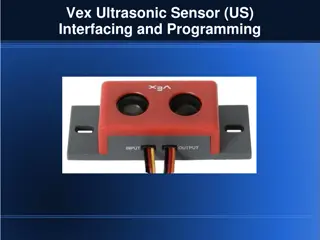
micro:bit robot entry tutorial Lesson 8 micro:bit robot lesson 8 Ultrasonic obstacle avoidance YahBoom micro:bit video tutorial
micro:bit robot entry tutorial Content Part1 Part 2 Part 4 Part3 Learning goals Preparation Search for blocks Combine blocks YahBoom micro:bit video tutorial
micro:bit robot entry tutorial Part 1 Learning goals Children, what we need to learn in this lesson is robot ultrasonic obstacle avoidance. We can set up a roadblock to the front of the robot (or a loop of cartons for a robot to run inside), and then we can see that the robot will go all the way, and if there are obstacles in front of the robot, it will escape the barrier. Let's try the kids together. YahBoom micro:bit video tutorial
micro:bit robot entry tutorial Part 2 Hardware: 1 X USB cable 1 X micro:bit robot Preparation Then the micro:bit is connected to the computer through USB, and the computer will pop up a U disk and click the URL in the U disk to enter the programming interface. Input this URL https://github.com/lzty634158/yahboom_mbit_en to get the package. YahBoom micro:bit video tutorial
micro:bit robot entry tutorial Part 3 Search for blocks YahBoom micro:bit video tutorial
micro:bit robot entry tutorial Part 3 Search for blocks YahBoom micro:bit video tutorial
micro:bit robot entry tutorial Part 3 Search for blocks YahBoom micro:bit video tutorial
micro:bit robot entry tutorial Part 3 Search for blocks YahBoom micro:bit video tutorial
micro:bit robot entry tutorial Part 4 In this lesson, children should check their own ultrasonic connection. VCC corresponds to VCC and GND corresponds to GND. In addition, the demand for voltage is higher than that of ultrasonic. It is recommended to fill up the electric capacity and do the experiment again. Combine blocks YahBoom micro:bit video tutorial
micro:bit robot entry tutorial robot lesson Thanks for watching Powered by YahBoom YahBoom micro:bit video tutorial