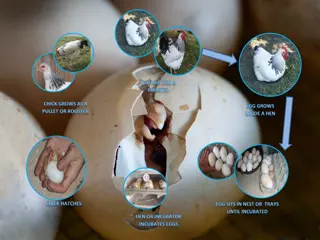
Egg Hatching Process Overview
In this guide, we explore the process of hatching a group of eggs, highlighting different scenarios and considerations to keep in mind. From recording hatched eggs to handling various hatch dates, we provide step-by-step instructions to help you manage the hatching process effectively. Learn how to accurately document hatch events and ensure comprehensive data tracking for successful egg hatching outcomes.

Download Presentation

Please find below an Image/Link to download the presentation.
The content on the website is provided AS IS for your information and personal use only. It may not be sold, licensed, or shared on other websites without obtaining consent from the author. Download presentation by click this link. If you encounter any issues during the download, it is possible that the publisher has removed the file from their server.
E N D
Presentation Transcript
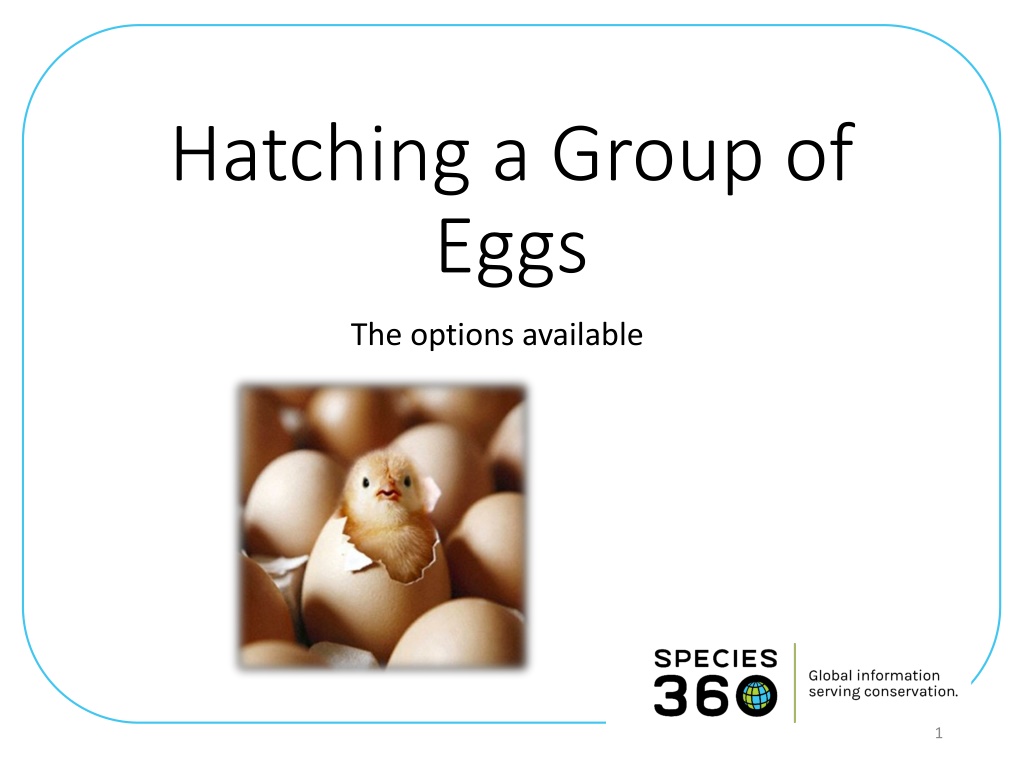
Hatching a Group of Eggs The options available 1
Things You Need to Consider Not all clutches have to be handled the same way 1. You may only want to record hatched eggs and don t care about capturing information on deaths or infertile eggs 2. In addition to hatches, you may want to record information on eggs from the clutch that did not hatch 3. You may want to associate an actual hatch date with an egg 2
Scenario A: The eggs hatch on the same day. You do not want to record information on any that died in shell or were infertile. This is the easiest scenario. From the record for the group of eggs select My Transactions > Record Event > Hatch Event for an Accessioned Group of Eggs. 3
Scenario A continued Complete the screen. Do NOT check All eggs did not hatch on the same day . If you did not provide a Local ID for the Group of Eggs you will need to do so now. If you did it will prefill. Record the number that hatched. The number may or may not be the same as the number of eggs that were in the clutch. 4
Scenario A continued When you Save the transaction the record will now be for a Group of Animals with the count you recorded as Hatching. You will not be able to record any deaths against any embryos that died in shell or any infertile eggs after the Hatch Event is recorded. 5
Scenario B: The eggs hatched on different days. You do not want to record any information on any that died in shell or were infertile. For this scenario you will also select to Record Hatch Event for an Accessioned Group of Eggs. This time you will check the All eggs did not hatch on the same day checkbox. This will bring up the Range Estimate box. Enter the date the first one hatched and the date the last one hatched. Record the number hatched. 6
Scenario B continued When you Save you will have a Group of Animals with an estimated Hatch Date Range. If you later split out Individuals they will have this estimated Hatch Date associated with them. You cannot enter any information on death in shell or infertile once the Hatch Event is recorded. 7
Scenario C: For either of the two previous scenarios you DO want to capture any infertile or dead in shell eggs. Any dead in shell or infertile eggs will need to be recorded PRIOR to recording the Hatch Event. Go to My Transactions > Dispositions > Partial Disposition > Death/ Disposal. Here we recorded a dead embryo in one of the eggs. 8
Scenario C continued My Transactions will display the dead in shell. We can then record a Hatch Event for the remaining 3 eggs. Remember the death needs to be recorded BEFORE the Hatch Event. 9
Scenario D: You want to record hatches as they happen and dead in shell or infertile as they are found, even after the clutch is done hatching This is the most timing consuming method but it provides you with the most details on your group as it allows for specific hatching dates for individuals and the ability to capture dead in shells or infertile eggs found after the rest of the clutch hatched. 10
Scenario D continued One egg was found missing on 3 August, you record that Transaction. Two of the eggs hatched on 22 August. You split these two eggs out of the group by selecting a Partial Disposition of Split Individual(s) from this Group. 11
Scenario D continued Complete the fields. Because two hatched you can select a Batch split. This Institution has selected to auto-generate Local IDs so ZIMS asks how many you would like generated. If not auto-generating you would fill them in manually. The Birth Date should be left empty. 12
Scenario D continued When you Save the two splits will display. Select one of the hyperlinks, go to My Transactions and record a Hatch Event for an Accessioned Egg. You may need to change the time for this Hatch Event as ZIMS will note that you already have a transaction on this day and time. 13
Scenario D continued As the eggs hatch, continue to split them out and record a Hatch Event. If any dead in shell are found record them as a Partial Group Death. If you want to collect Individual information on why that particular egg resulted in a dead in shell you should split out that egg and record a death. 14
Scenario D continued Continue to record splits as the eggs hatch, or deaths/infertile eggs as they are found. If the final transaction is a Full Transaction the group will automatically be Closed Out. If it is a Partial Transaction you will need to Close Out the group so that it will not continue to appear in reports. Close Out is found under Full Disposition options. 15