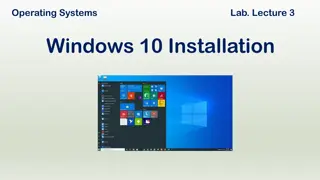
Guide to Wireless Network Access Configuration on Windows 7, 8, and 10
Learn how to configure Windows 7, 8, and 10 computers to access the eduroam wireless network seamlessly. Follow step-by-step instructions, including accessing the network, setting up credentials, running the QuickConnect wizard, handling security warnings, and troubleshooting common errors to establish a successful connection.

Download Presentation

Please find below an Image/Link to download the presentation.
The content on the website is provided AS IS for your information and personal use only. It may not be sold, licensed, or shared on other websites without obtaining consent from the author. Download presentation by click this link. If you encounter any issues during the download, it is possible that the publisher has removed the file from their server.
E N D
Presentation Transcript
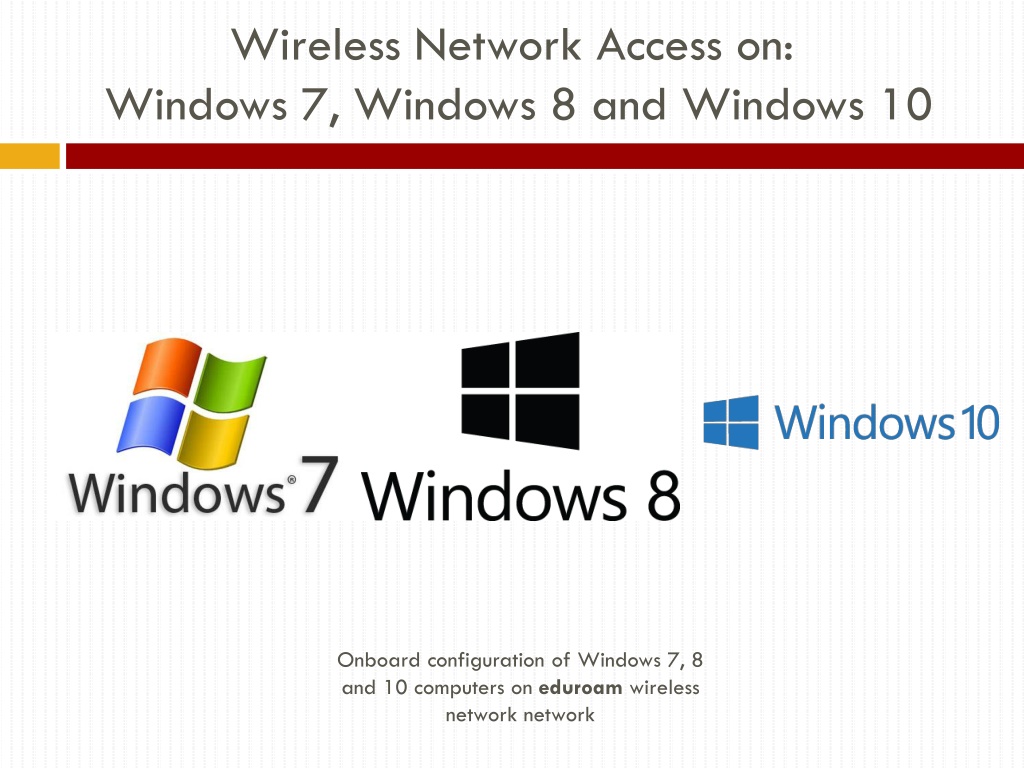
Wireless Network Access on: Windows 7, Windows 8 and Windows 10 Onboard configuration of Windows 7, 8 and 10 computers on eduroam wireless network network
Wireless Network Access on: Windows 7, Windows 8 and Windows 10 Access your desktop screen then click the wireless icon in the task tray and select csus-guest. Click Continue to connect (leave connect automatically unchecked).
Wireless Network Access on: Windows 7, Windows 8 and Windows 10 A captive portal will automatically open in your default browser. Click on Faculty/Staff/Student Wireless Setup to continue. On the next page, enter your full university email and password in their respective fields. Click Log on to continue to the next page.
Wireless Network Access on: Windows 7, Windows 8 and Windows 10 A Start QuickConnect link will appear in the middle of the page. Click it to download and run the wizard. You may encounter a SmartScreen message if you have Windows 10 or have Defender installed on your computer. Click on run and select yes on the following security popup to continue to the QuickConnect wizard.
Wireless Network Access on: Windows 7, Windows 8 and Windows 10 Click Next when the Onboard Wizard appears. A series of security warnings will appear. Select yes on all of them to finish the configuration.
Wireless Network Access on: Windows 7, Windows 8 and Windows 10 Once the configuration is complete, click on Connect to apply the configuration. You may close the wizard after a successful connection.
Wireless Network Access on: Windows 7, Windows 8 and Windows 10 You may encounter the following error. Click on OK and Close the wizard.
Wireless Network Access on: Windows 7, Windows 8 and Windows 10 Finally, click on the wireless icon in the task bar and click Connect. (Some computers may need to reboot before the connection occurs automatically. Congratulations, you are now fully connected to the eduroam Wireless Network If you received any errors during the process, please contact the Technology Support Desk at 209-667-3687 or TechSupport@csustan.edu Or come see us in Vasche Library Room 150!