QuickBooks Printer Setup
Setting up a printer with QuickBooks involves installing printer drivers, configuring printer settings, integrating with QuickBooks, and performing test prints. By following these steps and troubleshooting common issues, you can ensure seamless printing of invoices, receipts, and reports, enhancing the efficiency of your business operations.

Download Presentation

Please find below an Image/Link to download the presentation.
The content on the website is provided AS IS for your information and personal use only. It may not be sold, licensed, or shared on other websites without obtaining consent from the author. Download presentation by click this link. If you encounter any issues during the download, it is possible that the publisher has removed the file from their server.
E N D
Presentation Transcript
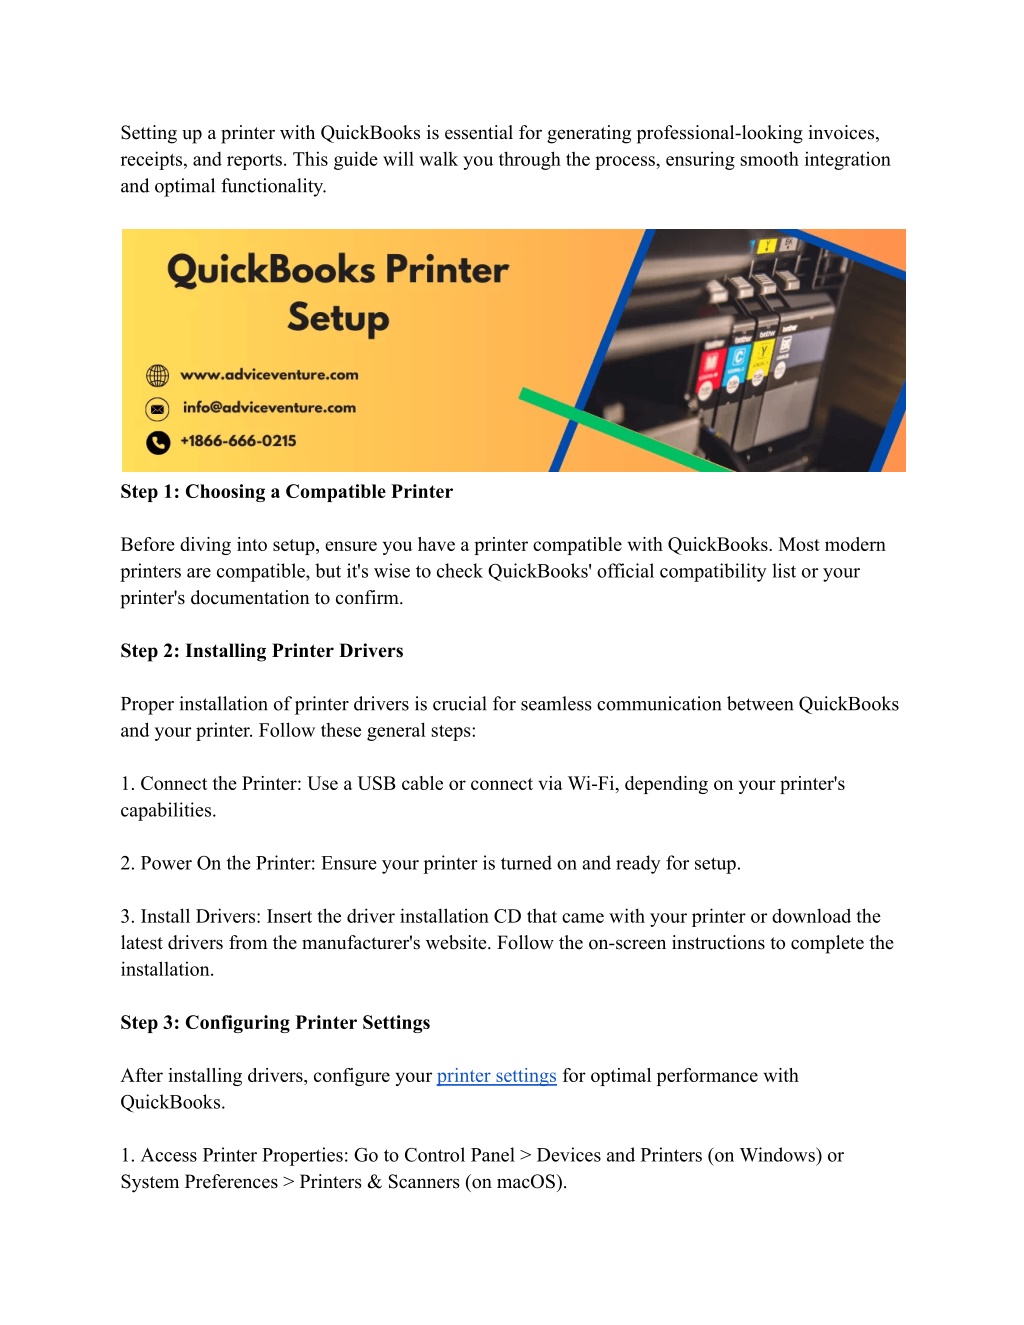
Setting up a printer with QuickBooks is essential for generating professional-looking invoices, receipts, and reports. This guide will walk you through the process, ensuring smooth integration and optimal functionality. Step 1: Choosing a Compatible Printer Before diving into setup, ensure you have a printer compatible with QuickBooks. Most modern printers are compatible, but it's wise to check QuickBooks' official compatibility list or your printer's documentation to confirm. Step 2: Installing Printer Drivers Proper installation of printer drivers is crucial for seamless communication between QuickBooks and your printer. Follow these general steps: 1. Connect the Printer: Use a USB cable or connect via Wi-Fi, depending on your printer's capabilities. 2. Power On the Printer: Ensure your printer is turned on and ready for setup. 3. Install Drivers: Insert the driver installation CD that came with your printer or download the latest drivers from the manufacturer's website. Follow the on-screen instructions to complete the installation. Step 3: Configuring Printer Settings After installing drivers, configure your printer settings for optimal performance with QuickBooks. 1. Access Printer Properties: Go to Control Panel > Devices and Printers (on Windows) or System Preferences > Printers & Scanners (on macOS).
2. Set as Default Printer: Right-click on your printer and select "Set as default printer" (on Windows). On macOS, select your printer and click on the "Set Default Printer" button. 3. Paper Size and Type: Adjust paper size and type settings according to your requirements. QuickBooks typically uses standard letter-sized paper, but customize as needed. 4. Print Quality: Select a print quality that balances clarity with ink/toner consumption. 5. Printer Preferences: Explore additional printer preferences such as duplex printing, grayscale vs. color, etc., based on your needs. Step 4: Setting Up QuickBooks for Printing Once your printer is properly configured, integrate it with QuickBooks for seamless printing of invoices, receipts, and reports. 1. Open QuickBooks: Launch QuickBooks Desktop or log in to QuickBooks Online. 2. Access Printer Setup: In QuickBooks Desktop, navigate to the "File" menu, then select "Printer Setup." In QuickBooks Online, go to Settings > Account and Settings > Sales > Customise > Form Delivery > Printer. 3. Select Printer: Choose your installed printer from the list of available printers. 4. Customize Print Settings: Configure print settings such as paper size, orientation, and margins to match your printer's capabilities and your desired output format. 5. Save Settings: Once configured, save the printer settings within QuickBooks to ensure consistency for future use. Step 5: Testing Printing Before proceeding with actual printing tasks, perform a test print to verify that QuickBooks and your printer are working harmoniously. 1. Print Sample Document: In QuickBooks, generate a sample invoice, receipt, or report. 2. Verify Output: Check the printed document for accuracy, including formatting, alignment, and legibility.
3. Troubleshoot, if Necessary: If the output is not as expected, revisit printer settings in QuickBooks and on your computer. Ensure drivers are up to date and troubleshoot any connectivity issues. 4. Repeat Test: If adjustments are made, repeat the test printing process until satisfied with the results. Step 6: Troubleshooting Common Issues Even with careful setup, you may encounter printing issues. Here's how to troubleshoot some common problems: 1. Connection Problems: Ensure the printer is properly connected to your computer via USB or Wi-Fi. 2. Driver Issues: Update printer drivers to the latest version compatible with your operating system. 3. Paper Jams or Misfeeds: Clear any paper jams and ensure the paper tray is properly loaded. 4. Low Ink or Toner: Replace ink or toner cartridges if they are low or empty. 5. Printer Offline: Check printer status and connectivity; restart both printer and computer if necessary. 6. Print Queue: Clear the print queue to resolve stuck or pending print jobs. 7. Compatibility: Verify that your printer is compatible with QuickBooks and that you've selected the correct printer in QuickBooks settings. Conclusion QuickBooks Printer Setup involves installing printer drivers, configuring printer settings, integrating with QuickBooks, and performing test prints. By following these steps and troubleshooting common issues, you can ensure seamless printing of invoices, receipts, and reports, enhancing the efficiency of your business operations. visit: https://www.adviceventure.com/quickbooks-printer-setup/