Quick Guide to Blackboard Collaborate for Online Learning
Unlock the full potential of Blackboard Collaborate for online learning with essential first steps such as setting up your camera and microphone, accessing the Collaborate panel, adding it as a tool to course menus, understanding the main Collaborate page overview, launching sessions, utilizing session menus efficiently, and maximizing participant engagement through chat functions.
Download Presentation

Please find below an Image/Link to download the presentation.
The content on the website is provided AS IS for your information and personal use only. It may not be sold, licensed, or shared on other websites without obtaining consent from the author.If you encounter any issues during the download, it is possible that the publisher has removed the file from their server.
You are allowed to download the files provided on this website for personal or commercial use, subject to the condition that they are used lawfully. All files are the property of their respective owners.
The content on the website is provided AS IS for your information and personal use only. It may not be sold, licensed, or shared on other websites without obtaining consent from the author.
E N D
Presentation Transcript
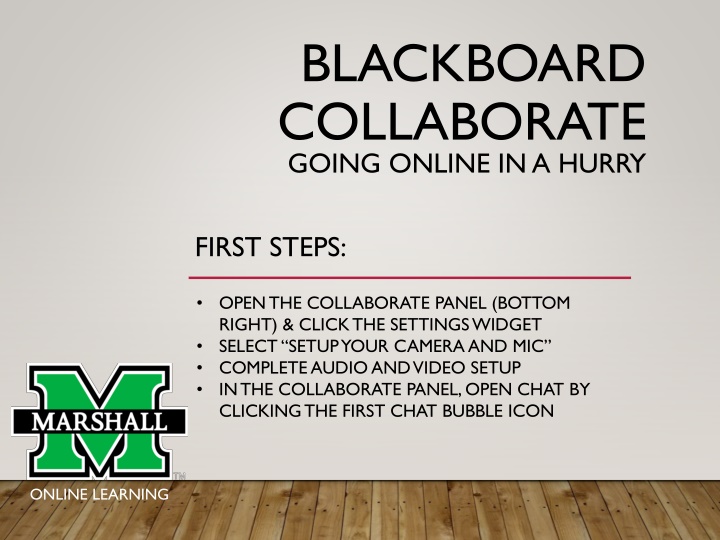
BLACKBOARD COLLABORATE GOING ONLINE IN A HURRY FIRST STEPS: OPEN THE COLLABORATE PANEL (BOTTOM RIGHT) & CLICK THE SETTINGS WIDGET SELECT SETUP YOUR CAMERA AND MIC COMPLETE AUDIO AND VIDEO SETUP IN THE COLLABORATE PANEL, OPEN CHAT BY CLICKING THE FIRST CHAT BUBBLE ICON ONLINE LEARNING
ADDING COLLABORATE Add Collaborate as a tool link to the course menu. Students won t be able to access the tool without a link. 1. Go to your course 2. Scroll over plus sign 3. Click Tool link 4. Select Collaborate from the drop-down menu 5. Name the tool Collaborate 6. Click the box to make link available to users. ONLINE LEARNING
OVERVIEW OF MAIN COLLABORATE PAGE Menu is above your course room (3 horizontal lines) How you & students will access the recordings area Option to schedule sessions ahead of time so students know when you plan to meet Can use main course room for all recordings Recordings do take time to load and will not be available immediately. With increased use, wait times may be longer NOTE: MUST use Chrome browser ONLINE LEARNING
LAUNCHING COLLABORATE Click on your course room or scheduled session. Click Join Session afterchecking the Allow recording downloads box Your course Click to allow students to view recordings ONLINELEARNING
Session Menu *where to start recordings Collaborate Menu Show your video My Status & Settings Raise hand Talk
SESSION MENU TOP LEFT ICON You must click the Start Recording button Course Name You can use your phone for audio if you do not have a microphone Get help on the fly
COLLABORATE PANEL ACCESS ROOM TOOLS Chat Participant list Share content Settings Close panel
CHAT MOST-USED WAY OF PARTICIPATING Type in the text area Emoting is good!
PARTICIPANT LIST ADD AND REMOVE ACCESS TYPE Attendee controls Make students a presenter if they need to show a presentation
SHARING CONTENT BARE MINIMUM IS OKAY! Always share whiteboard, unless it s audio-only Try to not use screensharing now Upload ahead of time using Share Files Interact by polling or having breakout rooms for groups Timer is deactivated at this time
WRAPPING UP YOUR RECORDING (MUST CLICK STOP RECORDING) Click stop recording prior to exiting out of the tab or window. Refer students to the Collaborate link on the course menu, and the Collaborate menu where they can see recordings. You can record without students present. Keep pre-recorded lectures short. ONLINE LEARNING
CONTACTS FOR ASSISTANCE Online Learning & the Instructional Design Center Email: onlinelearning@marshall.edu Located in Drinko 235 Phone: But to minimize contact 304-696-7117 we can meet you virtually! ONLINE LEARNING
