Hesston L-330 Loader Operator’s Manual Instant Download (Publication No.06910255)
Please open the website below to get the complete manualnn//
Download Presentation

Please find below an Image/Link to download the presentation.
The content on the website is provided AS IS for your information and personal use only. It may not be sold, licensed, or shared on other websites without obtaining consent from the author. Download presentation by click this link. If you encounter any issues during the download, it is possible that the publisher has removed the file from their server.
E N D
Presentation Transcript
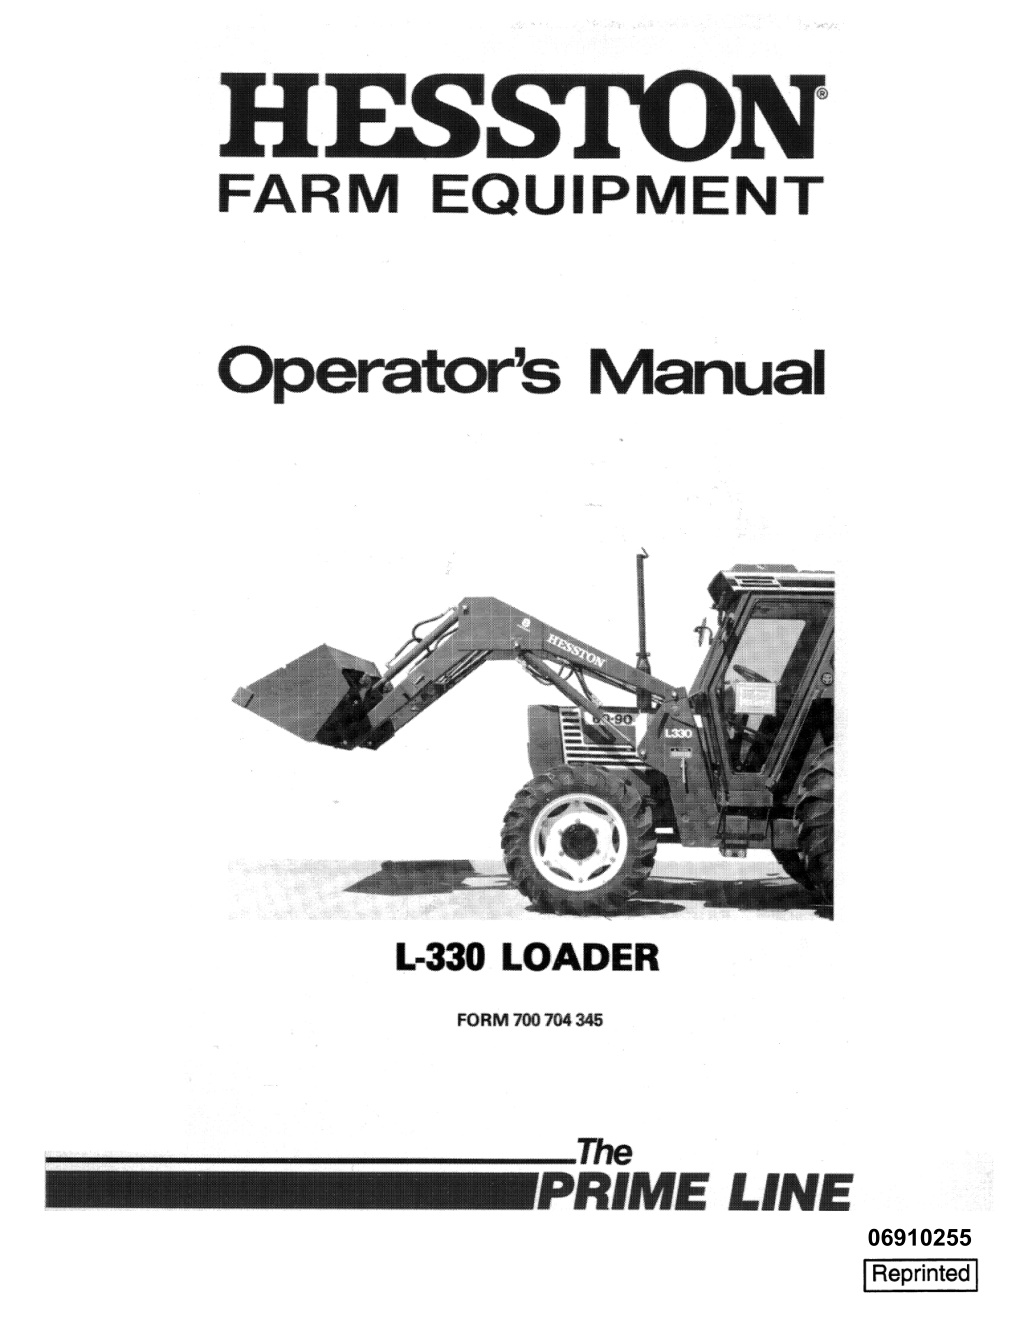
H FARM EQUIPM NT Operator's Manual L .. 330 LOADER FORM 700 704 345 LINE 06910255 I Reprinted I
THIS MANUAL IS APPLICABLE TO: L-330 Loaders, Serial No. L330-00001 and on. TO OUR CUSTOMER We appreciate your confidence in HESSTON Farm Equipment and thank you for your patronage. In preparing this manual, we hope we have furnished you with a valuable tool for operating and main- taining this fine machine. Printed in U.S.A. 30 ocr 85 FORM 700 704 345 Revision 1 HLL60/90-85
https://www.ebooklibonline.com Hello dear friend! Thank you very much for reading. Enter the link into your browser. The full manual is available for immediate download. https://www.ebooklibonline.com
HESSI'ON CORPORATION NEW EQUIPMENT SERVICE AND WARRANTY INFORMATION SECURING WARRANTY SERVICE ... Warranty service will be performed by any Hesston Dealer authorized to seB new Hesston equipment of the type involved or by any Hesston Service Center authorized to service the type of equipment involved. At the time of requesting warranty service, you must present evidence of the date of delivery of the equipment. You should preserve this Delivery Receipt for use as evidence of the delivery date of any new equipment !isted and present it when new equipment warranty service. SERVICE INSPECTION . . . Your new Hesston equipment has been carefully prepared for delivery and has been adjusted according to factory recommendations by your dealer. You have also been provided with an Operator's Manual. We suggest that you make arrangements with your further service inspection after an appropriate "run-in" period, Such an inspection, other than items covered by Hesston's Warranty, will be at your expense. at the time of delivery, for a Preventive maintenance pays big dividends in machine life as welf as trouble free operation and lower operating costs, WARRANTY . .. Your Hesston warranty for any new equipment appears on your copy of the Purchase Order or your copy of the delivery and warranty registration signed by you and your selling dealer. No charge will be made for parts replaced un der the warranty nor for labor required to provided in the warranty. You will be required to pay any premium for overtime labor requested by you, any charge for making service calfs and for transporting the equipment to and from the place where warranty work is performed. Normal main- tenance service and repair work not covered by the warranty during the warranty period and all service after the warranty period will be charged for at the dealer's rates and or replace such parts, except as
CONTENTS/SPECIFICATIONS TABLE OF CONTENTS Preparation. . . . . . . . . . . . . . . . . . . . . . . . . . . . . . . . .. 9 Specifications ,. , . . , ..... , .......... , . . .. . . , . Operation ........... , ... . ......... . . ..... . .. 11 Checklists . ... . .. .. ..... , .. . , , , , ... , , .... . . , . 2 Storage .................. . ................. 16 Safety Precautions . , . . . . . . . . . . . . . . . . . . . . . . . .. 4 Extra Equipment ........ . ................ . , .. 17 General Information . .. .. . ... .. . .... . . . . , .... . 7 Lubrication ........ ....... . . . . . . ....... . .. . . , 8 Trouble Shooting . . ................. . . ........ 22 Index . .................... . .. . .. .. .. . .. .. . .. 24 SPECIFICATIONS Loader Model .. ..... . ..... ......... Hesston L330 (with 2.25-inch bore cylinders) Attachment .. . ...... . .... material bucket !72-inch} Attachment Control. ...... . .. ... .. . . ... hydraulic Loader Weight .... .......... .. ... ... . .. 675 Ibs. loader Mounting Frame ............... ... 486Ibs. Tractor Model. .. .... .. ...... ... Hesston 6 O ~ 9 0 D T Tires: Front ..... ....... . ............... 11.2 x 24 Rear ....................... ........ . 16.9x30 Wheelbase ................. ......... 00.6 inches Rated Flow ... . ............. .. ...... ... .. 11 gpm Rated Pressure .......................... 2750 psi Maximum Lift Height ...... . . .... . .... 121 inches Clearance with Attachment Dumped .... 98.4 inches Reach at Maximum Height .. ...... . ... . 47.5 inches Maximum Dump Angle .... . ....... . ... 48 degrees Reach with Attachment on Ground .. . ... 76.5 inches Attachment Rollback ........... ...... 13 degrees Digging Depth .. . .. . . ................. 7 inches Overall Height in Carry Position ....... .... 69 inches Height to Top of Pedestal ..... ...... . .. 63.8 inches Rollback at Full Height .. .. ... . .. . .. ... 93 degrees Lift Capacity to Full Height ..... . .. .. ... . . 2200 Ibs. Break Out Force .. .................... . . 2650 Ibs. Raising Time . .. . ..... .. .. .. ... ..... 4.5 seconds Lowering Time .... . ... . . . . . . .. .. .. ... 2.5 seconds Attachment Dumping Time .... . ... .... 4.3 seconds Attachment Rollback Time ... .. ...... . 2.4 seconds NOTE: Specifications for Hesston L330 Loader as mounted on Hesston 6fJ..90D T Tractor. <)pecifications are statistical and furnished for general nformation only. Specifications will vary with dif- ferent tractor models, tire sizes, hydraulic systems, etc. (Specifications and design are subject to change without notice and without liability therefore.) F . Attach""",t roUb3ck Dng., G Digging OOpth Ii O w " , n h e I Hei<;;ht 10 top of pedmaf A RoIlbllck .t lila height W Lift "",,,,,:lty to full height A Max. lift height B Cleo",,,,,,, with $!tachmet dumped C Roach at ma . height o . Ma . 00"", '''9"' E neath with attach""",! 00 ground i g h t i n u " Y ~ A NOTE _ Loader s vary wrtn type Of tnlctof ilf#$. used O ' h c a I H > ! 1 S w!l! vary !rom (;)0($ tractor mcX:WH W a n ~ ;1it\1 aito ~ c t h e f i SpeCifications and desigll are sub/eel to change without notice end without liabifity therefore, j Page 1
CHECKUSTS CHECKLISTS DELIVERY CHECKLIST PRE DElIVERY CHECKLIST After the machine has been completely assembled and lubricated, inspect it thoroughly to be certain it is operating properly before delivering it to the customer. The following checklist is a reminder of points to inspect. Check off each item as it is found satisfactory or after proper adjustment is made. Explain warranty, then complete deliver and warranty registration forms, listing th serial number of the loader. Dealer an' customer must sign forms. Explain importance of proper lubricatior and indicate all lubrication points on th loader. Check to make sure loader is completely assembled according to assembly instruc- tions. Advise customer that carrying round bale on loader without a grapple is dangerou because bale can roll down loader framE injuring or killing the operator and damaginl the tractor. Check an bolts to make sure they are tightened to specified torque value. Inspect and, if necessary, lubricate ailiubri- cation points. Make sure all fittings are in place and taking grease properly. Advise customer of safety hazards involve< when operating the tractor and loader Refer to "Safety Precautions" section o manual. Inspect all hydraulic hoses, lines and fittings to make sure they are installed properly and not leaking. Advise customer of the adding proper rear ballast to rear of tractol to compensate for additional weight beinf added to front end when loader is installed. i m p o r t . a n c ~ o Make sure hydraulic hoses are properly routed and will not be damaged when the loader is raised or lowered. Explain proper operation of the loader ana its controls to the customer. Start tractor, raise and lower loader and operate bucket cylinders and make sure unit is operating properly. Give Operator's Manual to the customer and ask him to familiarize himself with all sections. Check tractor hydraulic fluid level. Add hy- draulic fluid as required to fill to full indicator on dip stick. Refer to tractor Operator's Manual for proper oil to be used. Explain to the customer that when the trac- tor and loader combination is transported on public roads and highways at night or during the day, accessory lights, warning devices or a Slow Moving Vehicle emblem should be used to properly warn operators of other vehicles. Check with !ocal law en- forcement officials for specific regulations. Inflate tractor's front tires to maximum recommended pressure. Adjust tractor tread width to recommended setting as specified under "Preparation" section. Page 2
,EG!NNlNG EACH SEASON CHECKUST DAilY CHECKUST Check all hydraulic hoses, lines and fittings to be sure they are tight and not leaking. Replace any worn or damaged parts. Remove all machine. and g r e a ~ from the Completely iubricate in "Lubrication" ~ - '"'''' Check tractor hydraulic fluid level and add as required. Refer to tractor manual for recommended oil to be used. lines and hydraulic fittings or as required, Check for leaks and h ~ , Operate loader by raising and lowering lift arms and extending and retracting bucket cylinders. Check aU hydraulic cylinders for leakage around seals. Repair as required. Check hydraulic fluid level in tractor and fill as required. Refer to tractor manual for recommended oil to be u ~ . Review "Safety Precautions" section of manual. Make sure all boits are tightened to speci- fied torque value and have not worked loose from vibration. Make su re loader has been completely lubri- cated per "Lubrication" section prior to beginning operation. Look 101' missing bolts or parts and replace as required. Check all bolts on loader mounting frame to be sure they are properly tightened to speci- fied torque value. Make sure tractor front tir. are inflated to maximum recommended preaure. Check for any help you do a better job. attachment which will WARNING. Install the cylinder safety stop when and when installing the under the loader stand. Figure 1. Installation of Safety Stop Page 3
SAFETY PRECAUTIONS SAFETY PRECAUTIONS WATCHOUT! ... for this symbol throughout the book. It will direct your attention to information that involves your safety! For your own protection, and for tha protection of others n8tlr the machine, study the following list of SBfety precautions. Fulfill your responsibility of In- forming anyone else opel'llting the machine of these precautions. Before starting tractor engine, review "Safety Precautions" section of tractor operator's manual. Read all safety signs on machine. Clear the area of other persons. learn and practice safe use of controls before operating. It is your responsibility to understand and follow manufacturer's instructions on machine operation, service, and to observe pertinent laws and regulations. Operator Manuels may be obtained from your equipment dealer. Operate the Joader from the tractor seat only. Move wheels to widest recommended settings to increase stability. Improper use of a loader can cause serious injury or death. Move, turn and operate tractor at slow ground speeds. especially on irregular ground to avoid tipping. Add recommended rear tire liquid weight. rear wheel weight or rear ballast for in- creased stability. lower loader when parking or servicing. Accidental movement of control lever or leak in hydraulic system could cause loader to drop, causing damage to loader or tractor or injury to personnel. Always use adequate lights or safety warnings when transporting machine on public roads and after dark. 8e certain SMV emblem is visible. Check with your local lew enforcement agencies for specific requirements. Page4
SAFETY PRECAUTIONS Caution others, especially children. about climbing on machine or being too close while machine is operating. Before disconnecting hydraulic Unes, relieve all hydraulic pressure. Escaping hydraulic oil under pressure can heve sufficient force to penetrate the skin, causing serious personal injury. If injured by escaping fluid, obtain medical treatment immediately. Do not stand, walk or work under a raised loader or attachment unless it is securely blocked or held in position, Accidental movement of control lever or leak in hydraulic system could cause loader to drop, causing severe injury. Do not lift 01' carry personnel on a loader or attachment; a slip or fall could cause bodily injury. Visually check for hydraulic leeks and broken, missing or malfunctioning parts and make necessary nJlpairs. Check aU boits for tightness. Do not operate the loader if the fittings are leaking or if the hoses are damaged. A sudden line burst would cause the loader to drop suddenly, causing damage to the tractor or loader 01' injury to personnel. It is recommended that the tractor be equipped with a Rollover-Protective Structure (ROPS) if so equipped; fasten seat belt prior to starting engine. Avoid loose fm, rocks and holes; they can be dangerous for loader operation or movement. .t is the loader owner's responsibility to be certain anyone operating the loader is aware of safe operating practices and potential hazards. Increased rear wheel weight is recommended when using an attachment to provide more traction and better tractor stability. Stop the tractor engine before checking oil level in tractor oil reservoir. Be careful when working on inclines. If tractor is ROPS equipped, do not exceed the manufacturer's rating for maximum gros.s vehicle weight. Refer to Tractor Opereto!"'s Manual. ROPS Section. Stop the loader arms gredually when lowering or lifting. Use caution when handling loose or shiftable loads. load on raised bucket or fork can roll back onto operator arsa, causing serious injury or death, Use recommended clamping attachments for handling large objects such as bales, posts, etc. Carry load as low as possible. Do not carry round bales on loader unlessloadel' is equipped with a grapple to prevent bale from rolling down loader frame, injuring or killing the operator and damaging the tractor. Page 5
SAFETY PRECAUTIONS A loaded bucket should be transported in a low position at slow ground speeds, especially if the ground is irregular, Make turns slowly and use the tractor brakes cautiously. A fun bucket in the raised position alters the center of gravity location of . the machine and increases the possibility of mishaps. Avoid overhead wires or obstacles when loader is raised, to avoid damage or possible death by electrocution. Allow for the loader length when making turns. Make sure all parked loaders on stands are on a hard level surface. Install or erect any additional safety devices necessary to prevent loader from falling and being damaged or injuring someone. Lower or block elevated components before servicing or when leaving the machine. Elevated components can fall and cause serious injury, All attachments should be in closed position and teeth resting on ground. -.-.. ~ - . ~ I( A CAUTION ) \ I 1. BEFORE OPERATING - STUDY OPERATOR'S MANUAL SAFETY MESSAGES AND SAFE OPERATING PROCEDURES. 2. ANY LOADER AFFECTS TRACTOR STABILITY AND HANDLING AND INCREASES POSSIBILITY OF up SET. 3. ADD RECOMMENDED WHEEL BALLAST OR REAR WEIGHT FOR STABILITY. 4. MOVE WHEELS TO WIDEST RECOMMENDED SETTINGS FOR STABILITY. 5. MOVE AND TURN TRACTOR AT LOW SPEEDS. 6. CARRY LOADER ARMS AT LOW POSITION DURING TRANSPORT. 7. BEFORE LEAVING OPERATOR SEAT LOWER LOADER TO GROUND, STOP ENGINE AND LOCK BRAKES. 8. SUPPORT RAISED LOADER BEFORE STANDING OR WORKING UNDER IT. 9. 00 NOT USE LOADER TO CARRY OR LIFT PEOPLE. - - . .. ~ .... ~ '>''', _____ "_"_ '_"" _ u_'" /( A WARNING Y / ~ - ~ . ~ . ~ . - " " " ~ ~ ~ " _ ' ~ ~ " LOAD ON RAISED BUCKET OR FORK CAN FALL OR ROLL BACK ONTO OPERATOR. CAUSING SERIOUS IN JURY OR DEATH. USE RECOM MENDED CLAMPING AND GUARD ATTACHMENTS FOR HANDLING LARGE LOADS SUCH AS BALES, ! POSTS, ETC. CARRY LOAD LOW TO AVOID up SET. USE RECOMMENDED ROPS ON TRACTOR. A WARNING INJURY MAY RESULT FROM WORKING aElOW A RAISED LOADER. INSTALL CYLINDER STOP BEFORE SERVICING AIR Cl.EANER OR INSTAl.LING LOADER STAND. A DANGER OEATH BY ELECTROCUTION OR SERIOUS INJURY MAY RE. SULT IF THIS MACHINE CONTACTS OVERHEAD POWER LINES. USE EXTREME CAUTION NEAR W'II'ill AND BE CERTAIN THAT THERE IS ADEQUATE CLEARANCE. PageS
Suggest: If the above button click is invalid. Please download this document first, and then click the above link to download the complete manual. Thank you so much for reading
GENERAL INFORMATION GENERAL INFORMATION INTRODUCTION Serial Number Plate The purpose of this manual is to assist you in m taining and operating your HESSTON loader. Read it carefully; it furnishes information and instructions that will help you achieve years of dependable per- formance. Some information may be general in nature due to unknown and varying conditions. However, through experience and these instructions, you should be able to develop operating procedures suitable to your particular situation. 8 i n ~ "Right" and "left" as used throughout this manual are determined by facing the direction the machine will travel when in use. me photos, illustrations and data used in this manual are current at the time of printing, but due to possible in-line production changes, your machine may vary slightly in detail. Extra equipment that may be shown on the machine is optional at extra cost. The Manu- facturer reserves the right to redesign and change the machine as may be necessary without notification. Figure 2. Serial Number Location obtaining the correct replacement part. The serial number is located on the left side of loader pedestal as shown in figure 2. The serIal number should be recorded on the Delivery and Warranty Registration form. WARRANTY REGISTRATION The Delivery and Warranty Registration forms must be filled out and signed to validate your warranty pro- tection. The items on the form under " I Hereby Acknowledge" should be read and understood. The terms and conditions of the warranty on this machine are specified in the front of this manual. REPLACEMENT PARTS Genuine HESSTON replacement parts only should be used to repair this machine. HESSTON replacement parts are available from the local HESSTON dealer. To obtain prompt, efficient service, always remember to give the dealer the following information: SERIAL NUMBER AND lOCATION 1. Correct part description or part number. 2. Model number of your machine. 3. Serial number of your machine. The serial number is important information about the machine, and it may be necessary to know it before Page 7
https://www.ebooklibonline.com Hello dear friend! Thank you very much for reading. Enter the link into your browser. The full manual is available for immediate download. https://www.ebooklibonline.com


