Autodesk Inventor Geometric Construction Tools Overview
Explore the functionality of Autodesk Inventor's geometric construction tools, such as applying geometry constraints, utilizing trim/extend and offset commands, understanding profile sketches, creating projected geometry, and editing sketches with click and drag. Discover how to enhance efficiency in creating wireframe geometry and learn about solid modeling characteristics, gasket design, modeling strategy, editing sketches, and using the trim/extend commands effectively.
Download Presentation

Please find below an Image/Link to download the presentation.
The content on the website is provided AS IS for your information and personal use only. It may not be sold, licensed, or shared on other websites without obtaining consent from the author.If you encounter any issues during the download, it is possible that the publisher has removed the file from their server.
You are allowed to download the files provided on this website for personal or commercial use, subject to the condition that they are used lawfully. All files are the property of their respective owners.
The content on the website is provided AS IS for your information and personal use only. It may not be sold, licensed, or shared on other websites without obtaining consent from the author.
E N D
Presentation Transcript
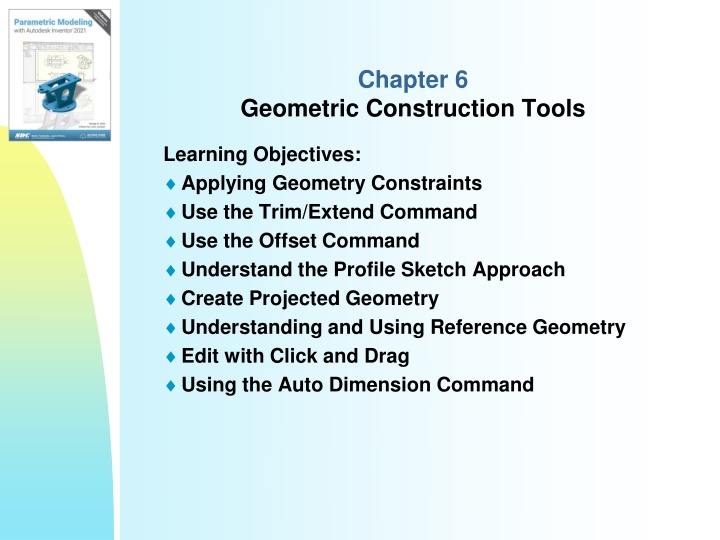
Chapter 6 Geometric Construction Tools Learning Objectives: Applying Geometry Constraints Use the Trim/Extend Command Use the Offset Command Understand the Profile Sketch Approach Create Projected Geometry Understanding and Using Reference Geometry Edit with Click and Drag Using the Auto Dimension Command
Introduction The main characteristics of solid modeling are the accuracy and completeness of the geometric database of the three-dimensional objects. However, working in three- dimensional space using input and output devices that are largely two-dimensional in nature is potentially tedious and confusing. Autodesk Inventor provides an assortment of two-dimensional construction tools to make the creation of wireframe geometry easier and more efficient. Autodesk Inventor includes two types of wireframe geometry: curves and profiles. Curves are basic geometric entities such as lines, arcs, etc. Profiles are a group of curves used to define a boundary. A profile is a closed region and can contain other closed regions. Profiles are commonly used to create extruded and revolved features. An invalid profile consists of self-intersecting curves or open regions.
Editing the Sketch by Dragging In Autodesk Inventor, we can click and drag any under- constrained curve or point in the sketch to change the size or shape of the sketched profile. As illustrated in the previous chapter, this option can be used to identify under-constrained entities. This Editing by Dragging method is also an effective visual approach that allows designers to quickly make changes.
Using the Trimand Extend Commands Press down the [Shift] key to switch to trim option.
Profile Sketch In Autodesk Inventor, profiles are closed regions that are defined from sketches. Profiles are used as cross sections to create solid features. For example, Extrude, Revolve, Sweep, Loft, and Coil operations all require the definition of at least a single profile. The sketches used to define a profile can contain additional geometry since the additional geometry entities are consumed when the feature is created. To create a profile we can create single or multiple closed regions, or we can select existing solid edges to form closed regions. A profile cannot contain self-intersecting geometry; regions selected in a single operation form a single profile. As a general rule, we should dimension and constrain profiles to prevent them from unpredictable size and shape changes. Autodesk Inventor does allow us to create under- constrained or non-constrained profiles; the dimensions and/or constraints can be added/edited later.
