Caterpillar Cat 365C L Hydraulic Excavator (Prefix PAR) Service Repair Manual Instant Download
Please open the website below to get the complete manualnn// n

Download Presentation

Please find below an Image/Link to download the presentation.
The content on the website is provided AS IS for your information and personal use only. It may not be sold, licensed, or shared on other websites without obtaining consent from the author. Download presentation by click this link. If you encounter any issues during the download, it is possible that the publisher has removed the file from their server.
E N D
Presentation Transcript
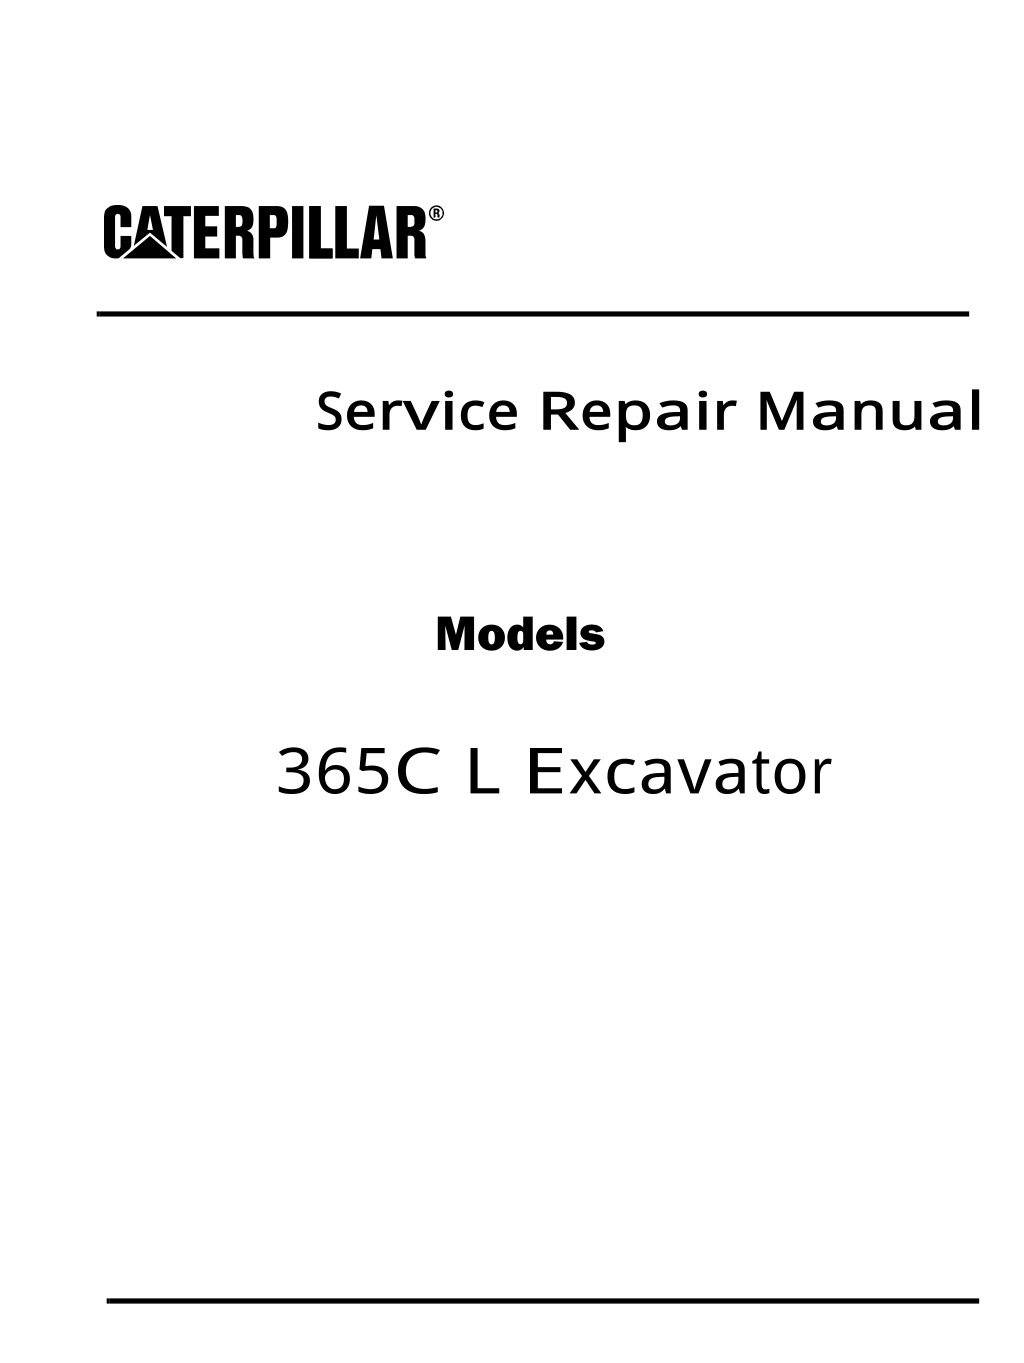
Service Repair Manual Models 365C L Excavator
365C L Hydraulic Excavator PAR00001-UP (MACHINE) POWERED BY C-15 Engi... 1/11 Shutdown SIS Previous Screen Product: EXCAVATOR Model: 365C EXCAVATOR PAR Configuration: 365C L Hydraulic Excavator PAR00001-UP (MACHINE) POWERED BY C-15 Engine Disassembly and Assembly 365C Excavator Machine Systems Media Number -RENR8616-03 Publication Date -01/08/2012 Date Updated -24/08/2012 i02387244 Travel Motor - Disassemble SMCS - 4351-015 Disassembly Procedure Table 1 Required Tools Tool Part Number Part Description Qty A 1P-1857 Retaining Ring Pliers 1 B 138-7573 Link Bracket 2 C 5P-4758 Retaining Ring Pliers As 1 Start By: A. Remove the travel motor. Refer to Disassembly and Assembly, "Travel Motor - Remove". https://127.0.0.1/sisweb/sisweb/techdoc/techdoc_print_page.jsp?returnurl=/sis... 2020/11/9
365C L Hydraulic Excavator PAR00001-UP (MACHINE) POWERED BY C-15 Engi... 2/11 Illustration 1 g01191519 Personal injury can result from being struck by parts propelled by a released spring force. Make sure to wear all necessary protective equipment. Follow the recommended procedure and use all recommended tooling to release the spring force. 1. Remove bolts (1) and bolts (3) . 2. Remove bolts (2) and cover (4) . Illustration 2 g01191521 3. Remove springs (5) and brake assembly (6) . https://127.0.0.1/sisweb/sisweb/techdoc/techdoc_print_page.jsp?returnurl=/sis... 2020/11/9
https://www.ebooklibonline.com Hello dear friend! Thank you very much for reading. Enter the link into your browser. The full manual is available for immediate download. https://www.ebooklibonline.com
365C L Hydraulic Excavator PAR00001-UP (MACHINE) POWERED BY C-15 Engi... 3/11 Illustration 3 g01191522 4. Remove retaining ring (7) and plate (8) . Illustration 4 g01191524 5. Remove plates (9) and discs (10) . Illustration 5 g01191526 6. Remove piston (12) from housing (11) . https://127.0.0.1/sisweb/sisweb/techdoc/techdoc_print_page.jsp?returnurl=/sis... 2020/11/9
365C L Hydraulic Excavator PAR00001-UP (MACHINE) POWERED BY C-15 Engi... 4/11 Illustration 6 g01191528 7. Remove seals (13) from piston (12) . Illustration 7 g01191530 8. Use Tooling (A) in order to remove retaining ring (15) . 9. Remove gear (14) . Illustration 8 g01191531 https://127.0.0.1/sisweb/sisweb/techdoc/techdoc_print_page.jsp?returnurl=/sis... 2020/11/9
365C L Hydraulic Excavator PAR00001-UP (MACHINE) POWERED BY C-15 Engi... 5/11 10. Use Tooling (A) in order to remove retaining ring (17) . 11. Remove O-ring seals (16) . Illustration 9 g01191532 Illustration 10 g01191533 Personal injury can result from being struck by parts propelled by a released spring force. Make sure to wear all necessary protective equipment. Follow the recommended procedure and use all recommended tooling to release the spring force. 12. Remove control rod (18) . https://127.0.0.1/sisweb/sisweb/techdoc/techdoc_print_page.jsp?returnurl=/sis... 2020/11/9
365C L Hydraulic Excavator PAR00001-UP (MACHINE) POWERED BY C-15 Engi... 6/11 13. Remove bolts (19) . 14. Attach Tooling (B) and a suitable lifting device to head (20) . 15. Remove head (20) . Illustration 11 g01191534 16. Remove O-ring seal (21), port plate (22), and bearing (23) . Illustration 12 g01191536 17. Remove barrel assembly (24) . https://127.0.0.1/sisweb/sisweb/techdoc/techdoc_print_page.jsp?returnurl=/sis... 2020/11/9
365C L Hydraulic Excavator PAR00001-UP (MACHINE) POWERED BY C-15 Engi... 7/11 Illustration 13 g01191537 18. Remove pistons (25), retainer (26), and bearing (27) . Illustration 14 g01191538 19. Remove bevel washers (28) and shims (29) . Illustration 15 g01191540 20. Use Tooling (C) in order to remove retaining ring (30) . https://127.0.0.1/sisweb/sisweb/techdoc/techdoc_print_page.jsp?returnurl=/sis... 2020/11/9
365C L Hydraulic Excavator PAR00001-UP (MACHINE) POWERED BY C-15 Engi... 8/11 21. Remove cover (31) . Illustration 16 g01191541 22. Remove O-ring seal (33) and lip seal (32) . Illustration 17 g01191647 23. Remove shaft (35) and bearing (34) . https://127.0.0.1/sisweb/sisweb/techdoc/techdoc_print_page.jsp?returnurl=/sis... 2020/11/9
365C L Hydraulic Excavator PAR00001-UP (MACHINE) POWERED BY C-15 Engi... 9/11 Illustration 18 g01191648 24. Use Tooling (A) in order to remove retaining ring (36) . Illustration 19 g01191649 Illustration 20 g01191650 25. Use a suitable press in order to remove bearing (34) from shaft (35) . 26. Remove shim (37) and shim (38) . https://127.0.0.1/sisweb/sisweb/techdoc/techdoc_print_page.jsp?returnurl=/sis... 2020/11/9
365C L Hydraulic Excavator PAR00001-UP (MACHINE) POWERED BY C-15 En... 10/11 Illustration 21 g01191651 27. Remove plate (39) and swashplate (40) . Illustration 22 g01191653 28. Remove bolts (42), plate (43), and pistons (41) . Illustration 23 g01191654 29. Remove bearings (44) . https://127.0.0.1/sisweb/sisweb/techdoc/techdoc_print_page.jsp?returnurl=/sis... 2020/11/9
365C L Hydraulic Excavator PAR00001-UP (MACHINE) POWERED BY C-15 Engi... 1/11 Shutdown SIS Previous Screen Product: EXCAVATOR Model: 365C EXCAVATOR PAR Configuration: 365C L Hydraulic Excavator PAR00001-UP (MACHINE) POWERED BY C-15 Engine Disassembly and Assembly 365C Excavator Machine Systems Media Number -RENR8616-03 Publication Date -01/08/2012 Date Updated -24/08/2012 i04784123 Travel Motor - Assemble SMCS - 4351-016 Assembly Procedure Table 1 Required Tools Tool Part Number Part Description Qty A 1P-1857 Retaining Ring Pliers 1 B 138-7573 Link Bracket 2 C 5P-4758 Retaining Ring Pliers As 1 D - Feeler Gauge 4 Illustration 1 g01191654 https://127.0.0.1/sisweb/sisweb/techdoc/techdoc_print_page.jsp?returnurl=/sis... 2020/11/9
365C L Hydraulic Excavator PAR00001-UP (MACHINE) POWERED BY C-15 Engi... 2/11 1. Install bearings (44) . Illustration 2 g01191653 2. Install pistons (41) , plate (43) , and bolts (42) . Illustration 3 g01191651 3. Install swashplate (40) and plate (39) . https://127.0.0.1/sisweb/sisweb/techdoc/techdoc_print_page.jsp?returnurl=/sis... 2020/11/9
365C L Hydraulic Excavator PAR00001-UP (MACHINE) POWERED BY C-15 Engi... 3/11 Illustration 4 g01191650 4. Raise the temperature of bearing (34) . 5. Install shim (38) and shim (37) . 6. Install bearing (34) onto shaft (35) . Illustration 5 g01191648 7. Use Tooling (A) in order to install retaining ring (36) . Illustration 6 g01191647 8. Install shaft (35) and bearing (34) . https://127.0.0.1/sisweb/sisweb/techdoc/techdoc_print_page.jsp?returnurl=/sis... 2020/11/9
365C L Hydraulic Excavator PAR00001-UP (MACHINE) POWERED BY C-15 Engi... 4/11 Illustration 7 g01191541 9. Install O-ring seal (33) and lip seal (32) . Illustration 8 g01191540 10. Install cover (31) . 11. Use Tooling (C) in order to install retaining ring (30) . Illustration 9 g01191538 https://127.0.0.1/sisweb/sisweb/techdoc/techdoc_print_page.jsp?returnurl=/sis... 2020/11/9
365C L Hydraulic Excavator PAR00001-UP (MACHINE) POWERED BY C-15 Engi... 5/11 Note: Install the original number of shims (29) on the barrel. 12. Install shims (29) and bevel washers (28) . Illustration 10 g02893857 13. In order to determine the correct shims (29) are used, proceed with assembly through Step 15. Install port plate (22) . Use Tooling (D) in order to verify that Dimension (X) is 3.95 0.20 mm (0.155 0.008 inch). Take measurements in four locations simultaneously and adjust shims (29) accordingly. Illustration 11 g01191537 14. Install bearing (27) , retainer (26) , and pistons (25) . https://127.0.0.1/sisweb/sisweb/techdoc/techdoc_print_page.jsp?returnurl=/sis... 2020/11/9
365C L Hydraulic Excavator PAR00001-UP (MACHINE) POWERED BY C-15 Engi... 6/11 Illustration 12 g01191536 15. Install barrel assembly (24) . Illustration 13 g01191534 16. Install bearing (23) , port plate (22) , and O-ring seal (21) . Illustration 14 g01191532 https://127.0.0.1/sisweb/sisweb/techdoc/techdoc_print_page.jsp?returnurl=/sis... 2020/11/9
365C L Hydraulic Excavator PAR00001-UP (MACHINE) POWERED BY C-15 Engi... 7/11 Illustration 15 g01191533 Improper assembly of parts that are spring loaded can cause bodily injury. To prevent possible injury, follow the established assembly procedure and wear protective equipment. 17. Attach Tooling (B) and a suitable lifting device to head (20) . 18. Install head (20) . 19. Install bolts (19) . 20. Install control rod (18) . Illustration 16 g01191531 21. Use Tooling (A) in order to install retaining ring (17) . https://127.0.0.1/sisweb/sisweb/techdoc/techdoc_print_page.jsp?returnurl=/sis... 2020/11/9
365C L Hydraulic Excavator PAR00001-UP (MACHINE) POWERED BY C-15 Engi... 8/11 22. Install O-ring seals (16) . Illustration 17 g01191530 23. Install gear (14) . 24. Use Tooling (A) in order to install retaining ring (15) . Illustration 18 g01191528 25. Install seals (13) onto piston (12) . https://127.0.0.1/sisweb/sisweb/techdoc/techdoc_print_page.jsp?returnurl=/sis... 2020/11/9
365C L Hydraulic Excavator PAR00001-UP (MACHINE) POWERED BY C-15 Engi... 9/11 Illustration 19 g01191526 26. Install piston (12) into housing (11) . Illustration 20 g01191524 27. Install plates (9) and discs (10) . Illustration 21 g01191522 28. Install plate (8) and retaining ring (7) . https://127.0.0.1/sisweb/sisweb/techdoc/techdoc_print_page.jsp?returnurl=/sis... 2020/11/9
365C L Hydraulic Excavator PAR00001-UP (MACHINE) POWERED BY C-15 En... 10/11 Illustration 22 g01191521 29. Install brake assembly (6) and springs (5) . Illustration 23 g01191519 Improper assembly of parts that are spring loaded can cause bodily injury. To prevent possible injury, follow the established assembly procedure and wear protective equipment. 30. Install cover (4) and bolts (2) . 31. Install bolts (1) and bolts (3) . End By: Install the travel motor. Refer to Disassembly and Assembly, "Travel Motor - Install". https://127.0.0.1/sisweb/sisweb/techdoc/techdoc_print_page.jsp?returnurl=/sis... 2020/11/9
365C L Hydraulic Excavator PAR00001-UP (MACHINE) POWERED BY C-15 Engi... 1/2 Shutdown SIS Previous Screen Product: EXCAVATOR Model: 365C EXCAVATOR PAR Configuration: 365C L Hydraulic Excavator PAR00001-UP (MACHINE) POWERED BY C-15 Engine Disassembly and Assembly 365C Excavator Machine Systems Media Number -RENR8616-03 Publication Date -01/08/2012 Date Updated -24/08/2012 i02795873 Travel Motor - Install SMCS - 4351-012 Installation Procedure Table 1 Required Tools Tool Part Number Part Description Qty A - Threaded Rod (M 20 by 2.5 by 18 inch) 2 Illustration 1 g01192293 1. Install coupling (7) . Ensure that the counterbore of coupling (7) is facing toward the drive motor. https://127.0.0.1/sisweb/sisweb/techdoc/techdoc_print_page.jsp?returnurl=/sis... 2020/11/9
365C L Hydraulic Excavator PAR00001-UP (MACHINE) POWERED BY C-15 Engi... 2/2 Illustration 2 g01192290 2. Use a suitable lifting device to position travel motor (6) onto Tooling (A) . The weight of travel motor (6) is approximately 125 kg (275 lb). 3. Slide travel motor (6) on Tooling (A) into position. Illustration 3 g01192288 4. Install bolts (3) . 5. Remove Tooling (A) and the suitable lifting device. 6. Install bolts (2) and (4) . 7. Connect hose assemblies (1) and (5) . End By: Install the counterbalance valve. Refer to Disassembly and Assembly, "Counterbalance Valve (Travel) - Install". Copyright 1993 - 2020 Caterpillar Inc. Mon Nov 9 01:47:21 UTC+0800 2020 All Rights Reserved. Private Network For SIS Licensees. https://127.0.0.1/sisweb/sisweb/techdoc/techdoc_print_page.jsp?returnurl=/sis... 2020/11/9
365C L Hydraulic Excavator PAR00001-UP (MACHINE) POWERED BY C-15 Engi... 1/3 Shutdown SIS Previous Screen Product: EXCAVATOR Model: 365C EXCAVATOR PAR Configuration: 365C L Hydraulic Excavator PAR00001-UP (MACHINE) POWERED BY C-15 Engine Disassembly and Assembly 365C Excavator Machine Systems Media Number -RENR8616-03 Publication Date -01/08/2012 Date Updated -24/08/2012 i02388150 Final Drive - Remove SMCS - 4050-011 Removal Procedure Table 1 Required Tools Tool Part Number Part Description Qty 132-8223 Power Pack 1 A 132-8119 Hydraulic Torque Wrench Assembly 1 Start By: A. Remove the final drive sprocket. Refer to Disassembly and Assembly, "Final Drive Sprocket - Remove and Install". B. Remove the travel motor. Refer to Disassembly and Assembly, "Travel Motor - Remove". Note: The final drive sprocket does not need to be removed prior to removal of the final drive. The sprocket should be removed in order to disassemble the final drive. Note: The travel motor does not need to be removed prior to removal of the final drive. The travel motor should be removed in order to disassemble the final drive. Note: The procedure to remove the right hand final drive and the procedure to remove the left hand final drive is identical. The procedure that follows is for one of the final drives. NOTICE Care must be taken to ensure that fluids are contained during performance of inspection, maintenance, testing, adjusting and repair of the product. Be prepared to collect the fluid with suitable containers https://127.0.0.1/sisweb/sisweb/techdoc/techdoc_print_page.jsp?returnurl=/sis... 2020/11/9
Suggest: If the above button click is invalid. Please download this document first, and then click the above link to download the complete manual. Thank you so much for reading
365C L Hydraulic Excavator PAR00001-UP (MACHINE) POWERED BY C-15 Engi... 2/3 before opening any compartment or disassembling any component containing fluids. Refer to Special Publication, NENG2500, "Caterpillar Tools and Shop Products Guide" for tools and supplies suitable to collect and contain fluids on Caterpillar products. Dispose of all fluids according to local regulations and mandates. Illustration 1 g00595681 1. Attach a suitable lifting device to final drive (1). The weight of final drive (1) is approximately 817 kg (1800 lb). Illustration 2 g00874668 https://127.0.0.1/sisweb/sisweb/techdoc/techdoc_print_page.jsp?returnurl=/sis... 2020/11/9
https://www.ebooklibonline.com Hello dear friend! Thank you very much for reading. Enter the link into your browser. The full manual is available for immediate download. https://www.ebooklibonline.com

 POWERED BY")
 POWERED BY")

 POWERED BY")
 POWERED BY")
 POWERED BY")
 POWERED BY")
 POWERED BY")
 POWERED BY")
 POWERED BY")
 POWERED BY")
 POWERED BY")
 POWERED BY")
 POWERED BY")
 POWERED BY")
 POWERED BY")
 POWERED BY")
 POWERED BY")
 POWERED BY")
 POWERED BY")
 POWERED BY")
 POWERED BY")
 POWERED BY")
 POWERED BY")

 POWERED BY")