Tool Marks: Examination, Processing, and Analysis
Tool marks at crime scenes provide valuable evidence for identification, with compression, sliding, and cutting marks revealing information about the tool used. The processing involves careful collection and examination, followed by detailed laboratory analysis to identify individual characteristics. Different types of tool marks and their significance in forensic investigations are discussed, along with the examination process for personal identification through striation matching on human nails.
Download Presentation

Please find below an Image/Link to download the presentation.
The content on the website is provided AS IS for your information and personal use only. It may not be sold, licensed, or shared on other websites without obtaining consent from the author.If you encounter any issues during the download, it is possible that the publisher has removed the file from their server.
You are allowed to download the files provided on this website for personal or commercial use, subject to the condition that they are used lawfully. All files are the property of their respective owners.
The content on the website is provided AS IS for your information and personal use only. It may not be sold, licensed, or shared on other websites without obtaining consent from the author.
E N D
Presentation Transcript
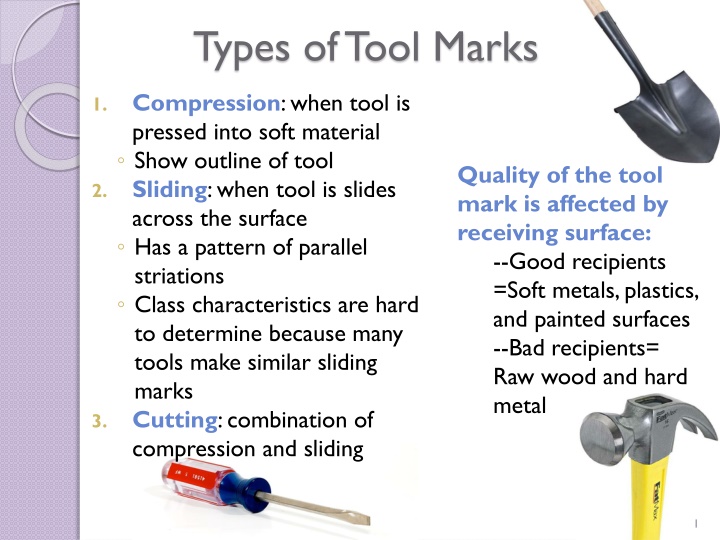
Types of Tool Marks Compression: when tool is pressed into soft material Show outline of tool Sliding: when tool is slides across the surface Has a pattern of parallel striations Class characteristics are hard to determine because many tools make similar sliding marks Cutting: combination of compression and sliding 1. Quality of the tool mark is affected by receiving surface: --Good recipients =Soft metals, plastics, and painted surfaces --Bad recipients= Raw wood and hard metal 2. 3. 1
Processing of tool marks at crime scene Identify/search for mark: First places to check: points of entry, locks, safes, etc. Do not to alter existing tool marks no attempt to fit tool into mark Document Notes, sketch, Photographs show location, but not useful in lab comparison Collect: Take the item back to the lab if possible A cast of the tool mark should be made if the object cannot be transported Silicone rubber is the ideal casting material 2
Laboratory Examinations of Tool Marks Test marks for Microscopical Comparisons Make a test mark on a receiving surface to replicate the mark at the scene, using ductile or malleable material (to avoid damage) and the same tool Compare the test and questioned marks Examining Individual Characteristics Result from manufacturing processes, wear, and damage from misuse 3
Laboratory Examinations of Tool Marks: Conclusions that can be made Positive ID Class characteristics and individual characteristics match Negative ID Class characteristics do not match Inconclusive Class characteristics match but that insufficient match in individual characteristics 4
1. Hammer marks on the heads of nails and brads 2. Extrusion marks on pipe 3. Machining marks on metal shavings 4. Extrusion marks in plastic film, plastic cling wrap, and plastic bag 5. Ream marks on sheets of flat glass 6. Punch defect marks on illicitly manufactured drug tablets 5
Striation Matching for Personal Identification o Human finger and toe nails have striation patterns on their upper and lower surfaces. o Size and spacing of striations is determined by dermal ridges in nail bed o Nails are prepared for examination by pressing them between two flat surfaces o Silicone rubber casts of nail ridges can be made and compared microscopically 6
