Comprehensive Guide for Setting Up WireGuard Securely
This guide covers the setup process of WireGuard with Mamori, a digital identity authentication platform, including pre-requisites, client setup, and portal login steps with multi-factor authentication. Follow step-by-step instructions along with visuals for a seamless setup experience.

Download Presentation

Please find below an Image/Link to download the presentation.
The content on the website is provided AS IS for your information and personal use only. It may not be sold, licensed, or shared on other websites without obtaining consent from the author.If you encounter any issues during the download, it is possible that the publisher has removed the file from their server.
You are allowed to download the files provided on this website for personal or commercial use, subject to the condition that they are used lawfully. All files are the property of their respective owners.
The content on the website is provided AS IS for your information and personal use only. It may not be sold, licensed, or shared on other websites without obtaining consent from the author.
E N D
Presentation Transcript
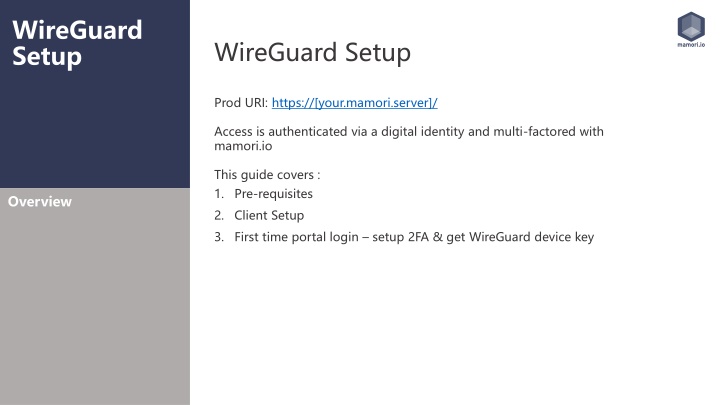
WireGuard Click to edit Master title style Setup WireGuard Setup Prod URI: https://[your.mamori.server]/ Access is authenticated via a digital identity and multi-factored with mamori.io This guide covers : 1. Pre-requisites Overview 2. Client Setup 3. First time portal login setup 2FA & get WireGuard device key
Click to edit Master title style To follow this guide you will need the following three items: WireGuard Setup 1. A Mamori Login Account If you don t have one, then contact your administrator. Your login could be your existing AD login. Pre-requisites 2. Install Mamori.io 2FA mobile application iOS App Store: search for mamori 2FA Android App Store: search for mamori.io 3. Install Wireguard Client on your laptop Link: https://www.wireguard.com/install Login credentials Mobile 2FA App Laptop WireGuard client
Login to https://[your.mamori.server]/ with your provided credentials Click to edit Master title style WireGuard Setup Portal Login Step 1/7 1. Login with your credentials 2. Scan 2FA QR Code 3. Login & 2FA 4. Copy WireGuard client details 5. Start WireGuard & add empty tunnel 6. Paste in details 7. Activate WireGuard
Scan the displayed QRCode with the mamori mobile app Click to edit Master title style WireGuard Setup Portal Login Step 2/7 1. Login with your credentials 2. Scan 2FA QR Code 3. Login & 2FA 4. Record WireGuard client details 5. Start WireGuard & add empty tunnel 6. Paste in details 7. Activate WireGuard
Login to https://[your.mamori.server]/ again with your credentials and click Accept on the mobile app Click to edit Master title style WireGuard Setup Portal Login Step 3/7 1. Login with your credentials 2. Scan 2FA QR Code 3. Login & 2FA 4. Record WireGuard client details 5. Start WireGuard & add empty tunnel 6. Paste in details 7. Activate WireGuard
Copy the config and add it to your WireGuard desktop client. Click to edit Master title style WireGuard Setup Portal Login Step 4/7 1. Login with your credentials 2. Scan 2FA QR Code 3. Login & 2FA 4. Record WireGuard client details 5. Start WireGuard & add empty tunnel 6. Paste in details 7. Activate WireGuard
Start WireGuard client & add empty tunnel Click to edit Master title style WireGuard Setup Client Setup Step 5/7 1. Login with your credentials 2. Scan 2FA QR Code 3. Login & 2FA 4. Record WireGuard client details 5. Start WireGuard & add empty tunnel 6. Paste in details 7. Activate WireGuard
Paste details & click save Click to edit Master title style WireGuard Setup Client Setup Step 6/7 1. Login with your credentials 2. Scan 2FA QR Code 3. Login & 2FA 4. Record WireGuard client details 5. Start WireGuard & add empty tunnel 6. Paste in details 7. Activate WireGuard
Activate Connection Click to edit Master title style WireGuard Setup Client Setup Step 7/7 1. Login with your credentials 2. Scan 2FA QR Code 3. Login & 2FA 4. Record WireGuard client details 5. Start WireGuard & add empty tunnel 6. Paste in details 7. Activate WireGuard
Click to edit Master title style WireGuard Setup Your 2FA and WireGuard client setup is complete. Done Access resources like you normally do. The only difference is that you will be multi-factored on resource access. Web browser Developer IDE SQL tool SSH tool RDP tool Terminal etc.. Access Resources