Mastering Claw Curvature Measurement Technique
Learn how to measure claw curvature using a step-by-step technique involving drawing chords, perpendicular lines, and measuring angles with a protractor. Practice the method on various bird claws such as Belted Kingfisher, Atlantic Puffin, Common Eider, Greater Black-backed Gull, and Great Blue Heron. Utilize the provided images and detailed instructions for accurate measurements.

Download Presentation

Please find below an Image/Link to download the presentation.
The content on the website is provided AS IS for your information and personal use only. It may not be sold, licensed, or shared on other websites without obtaining consent from the author. Download presentation by click this link. If you encounter any issues during the download, it is possible that the publisher has removed the file from their server.
E N D
Presentation Transcript
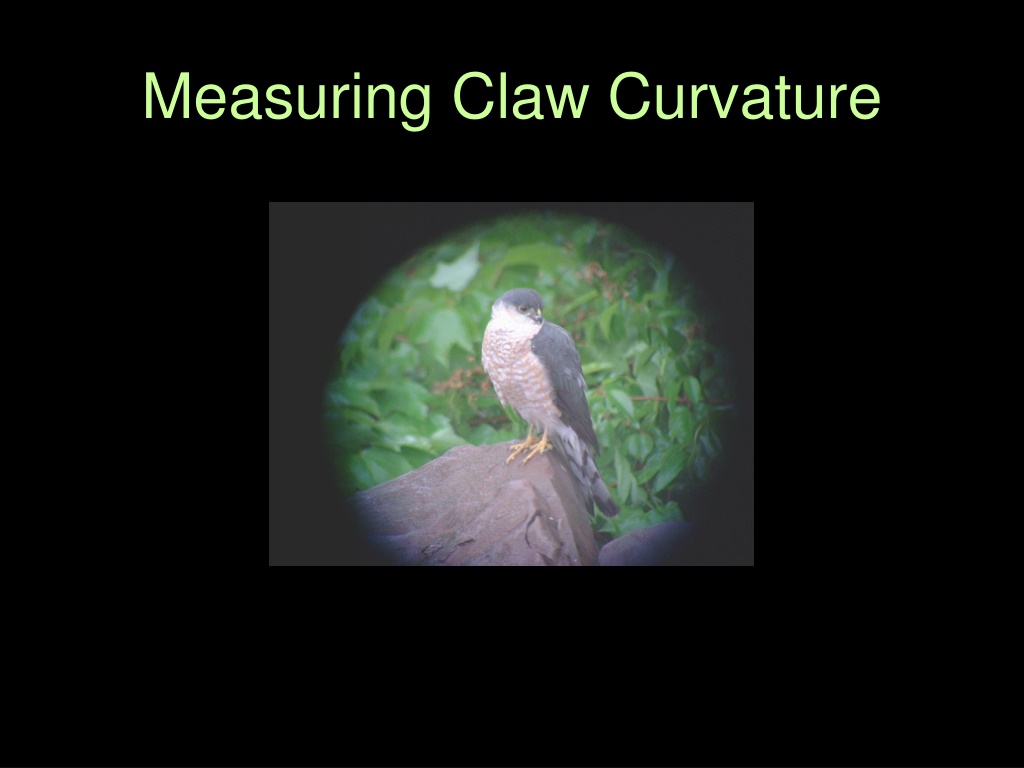
Measuring Claw Curvature Step 1. Draw chord AB from the tip of the claw (A) to the anterior margin of the tubercle at the base of the phalanx (B). C Step 2. Draw chord CD half way between A and B, and perpendicular to chord AB. B A D
Step 3. Draw in chords AX and XB. E C Step 4. Perpendiculars are drawn to bisect AX (EE ) and XB (E E ). Note that they must cross each other (at E). X E B D A E
Step 5. Draw the final two chords AE and E B. E C Step 6. With a protractor, measure the angle between AE and E B. X E B D A E
Try the technique on a few of the following claws. You can add lines here in this file, but I don t think you can get PowerPoint to give you an angle. Hold your protractor up to the screen to get the angle. Pileated Woodpecker
Belted Kingfisher Atlantic Puffin
Ignore the Plasticine it s just supporting the claw. Common Eider
Greater Black-backed Gull Ignore the Plasticine it s just supporting the claw. Great Blue Heron