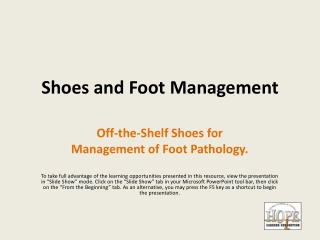
Self Lock in style Shoe packaging boxes
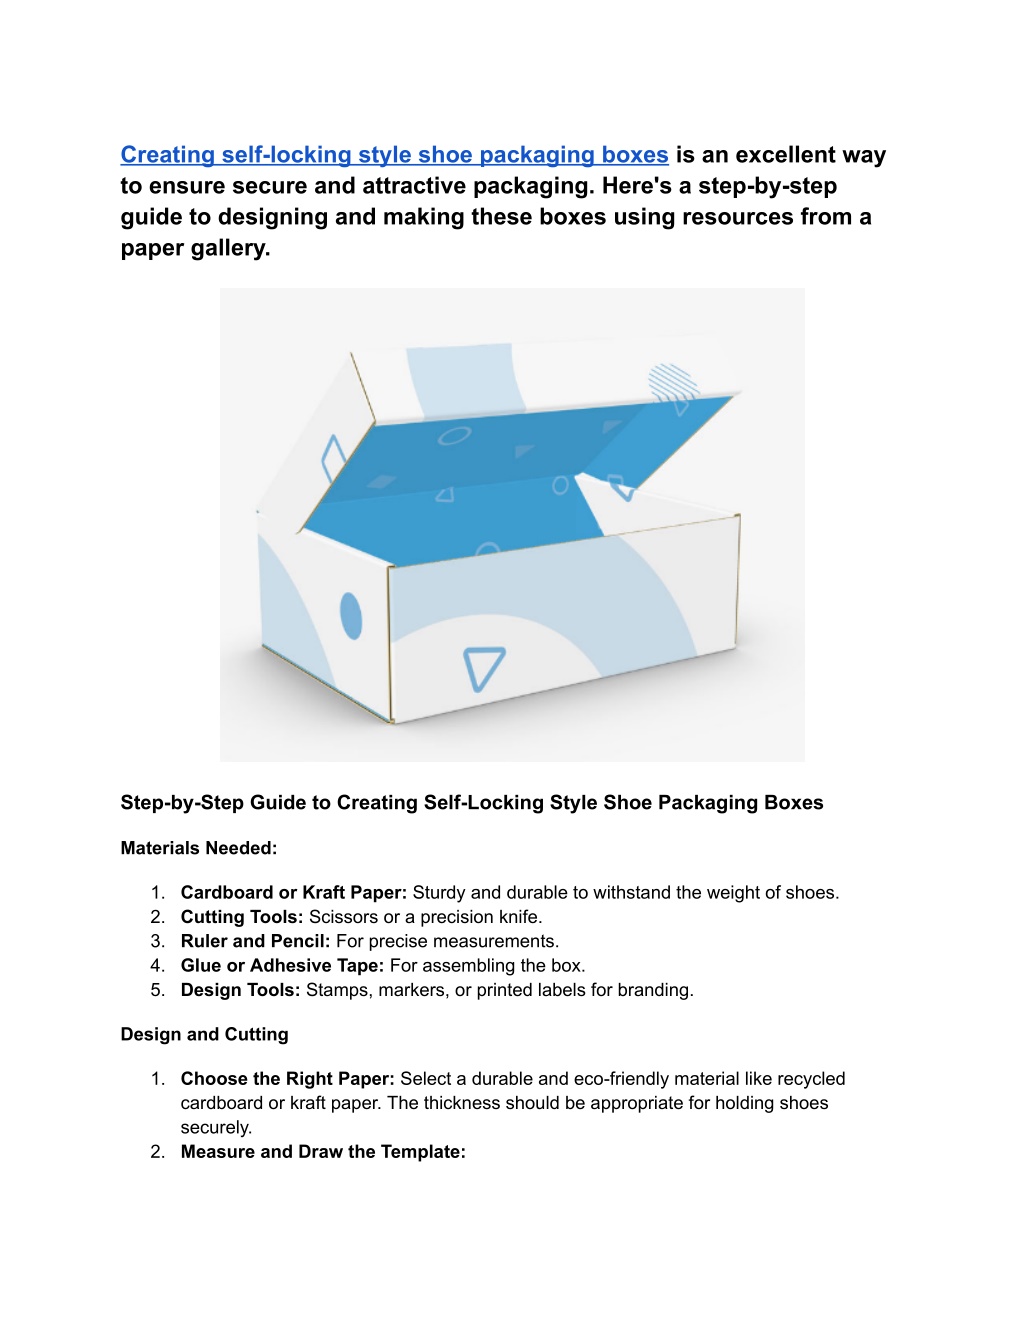
Creating self-locking style shoe packaging boxes is an excellent way to ensure secure and attractive packaging. Here's a step-by-step guide to designing and making these boxes using resources from a paper gallery.

Download Presentation

Please find below an Image/Link to download the presentation.
The content on the website is provided AS IS for your information and personal use only. It may not be sold, licensed, or shared on other websites without obtaining consent from the author. Download presentation by click this link. If you encounter any issues during the download, it is possible that the publisher has removed the file from their server.
E N D
Presentation Transcript
Creating self-locking style shoe packaging boxes is an excellent way to ensure secure and attractive packaging. Here's a step-by-step guide to designing and making these boxes using resources from a paper gallery. Step-by-Step Guide to Creating Self-Locking Style Shoe Packaging Boxes Materials Needed: 1. Cardboard or Kraft Paper: Sturdy and durable to withstand the weight of shoes. 2. Cutting Tools: Scissors or a precision knife. 3. Ruler and Pencil: For precise measurements. 4. Glue or Adhesive Tape: For assembling the box. 5. Design Tools: Stamps, markers, or printed labels for branding. Design and Cutting 1. Choose the Right Paper: Select a durable and eco-friendly material like recycled cardboard or kraft paper. The thickness should be appropriate for holding shoes securely. 2. Measure and Draw the Template:
Base: Measure the length, width, and height of the shoes to create the base of the box. Add a little extra space for comfort. Sides: Draw the sides of the box, ensuring they are the same height as the base. Lid: Create a lid that fits snugly over the base. The lid should have flaps that fold down to lock the box. 3. Add Flaps for Self-Locking Mechanism: Add flaps on the sides of the box that can be tucked into slots on the opposite side. This will create a self-locking mechanism. Ensure the flaps are designed to fit securely without needing additional adhesive. 4. Cut Out the Template: Carefully cut out the template using scissors or a precision knife. Score along the fold lines to make folding easier. Assembly 1. Fold Along the Scored Lines: Fold all the sides and flaps along the scored lines to create sharp edges. 2. Assemble the Base: Glue or tape the sides to the base, ensuring the corners are secure. Fold the flaps inward to create a sturdy structure. 3. Attach the Lid: Fold the lid along the scored lines and ensure the flaps fit into the slots. Test the self-locking mechanism to ensure it works properly. Branding and Finishing Touches 1. Design and Print Labels: Create branded labels or designs using stamps, markers, or printed stickers. Ensure the branding is clear and represents your company well. 2. Attach the Labels: Apply the labels to the box, ensuring they are aligned and secure. 3. Final Inspection: Inspect the box to ensure all parts are secure and the self-locking mechanism works smoothly. Make any necessary adjustments to improve stability and appearance. By following these steps, you can create attractive and functional self-locking style shoe packaging boxes that reflect your brand's commitment to quality and sustainability. Visit Us At G-603, JM Aroma, Sector 75, Noida-201301 25A, Amar Enclave, Behind Flipkart Best Price, Ambala - Chandigarh Road, Zirakpur- 140603
93, SP Mukherjee Park, Tilak Nagar, New Delhi- 110018 Contact Us At info@papersgallery.com +91 (9996) 444 060