NHLS COVID-19 Screening Application Portal Guidelines
The NHLS COVID-19 Screening Application (CSA) portal is essential for reporting SARS-CoV-2 rapid antigen test results to the National Department of Health in South Africa. It is mandatory to report all rapid test results, including positive, negative, and invalid outcomes. Access to the CSA portal requires individual access codes, and users need to set up their profiles by adding specific wards where testing will be conducted. Detailed instructions and the portal link are provided for user convenience.

Download Presentation

Please find below an Image/Link to download the presentation.
The content on the website is provided AS IS for your information and personal use only. It may not be sold, licensed, or shared on other websites without obtaining consent from the author. Download presentation by click this link. If you encounter any issues during the download, it is possible that the publisher has removed the file from their server.
E N D
Presentation Transcript
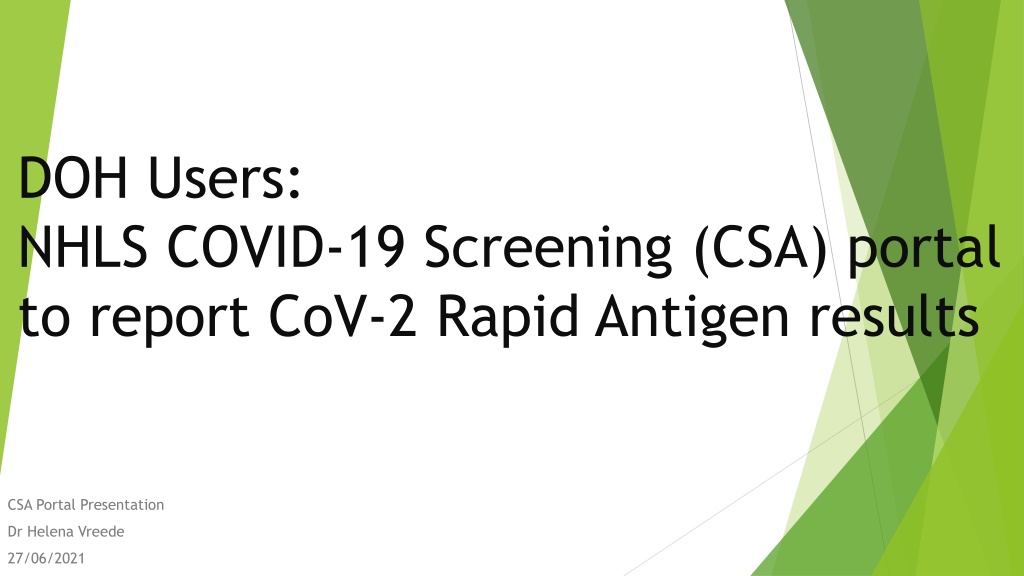
DOH Users: NHLS COVID-19 Screening (CSA) portal to report CoV-2 Rapid Antigen results CSA Portal Presentation Dr Helena Vreede 27/06/2021
Introduction The COVID-19 Screening Application (CSA) portal is provided for non- NHLS users to report SARS-CoV-2 point-of-care rapid antigen test results to the National Department of Health via the NHLS, as stipulated by the South African Health Products Regulatory Authority (SAHPRA). Reporting bedside rapid tests via the CSA portal is mandatory. Reporting positive cases via the NICD NMC system is not an alternative route, as notified cases are not reported for test statistics. ALL rapid tests performed must be reported: not just positive results but also negative and invalid results.
Access The use of the CSA portal automatically creates a patient record and a test result on NHLS LIS system TRAK. Access to this database is controlled, therefore to use the CSA portal requires an individual access code, either a TRAK webview user code or a CSA user code. Please search, select, and capture patient details with care, to avoid creating multiple MRN numbers which could have a negative impact on future TRAK webview results enquiries. For DOH users, there is a once-off initial set-up step required to identify the wards in which testing could take place. See next slide.
Once-off initial set-up step per user (DOH) Background: DOH webview users have access to all DOH locations (facilities) nationally, and can in theory select any of 40,000 wards Note: Even PHC Facilities have wards, typically called No ward or Ward not stated In practice, a DOH user will perform Rapid Ag tests at a limited number of wards. All wards where the user will test, must be added to the user s personal profile. The CSA portal requires a once-off set-up step: At first logon, select the relevant location(s) and add all the required ward(s) At subsequent logons, only these wards will be presented in a list Note: Further wards can be added later if required
Link for CSA portal Open the NHLS COVID-19 Screening Application (CSA) portal with this link: https://csa.nhls.ac.za/ An illustrated Instruction Manual is available on the logon page
Logon Log on with your TRAK webview user code and password
First logon: Add wards to personal profile Under Change working location click Add Steps: 1. Enter Location (facility) name 2. Select Province 3. Click Search All the wards of that location will be displayed 4. Scroll through pages to find wards required 5. Click the Select box for all wards required 6. Click Add Tip: For PHC Facilities, navigate to the last page and select Ward not stated
Every logon: Choose correct ward At every logon, the last ward used will be displayed in the banner as the default option If testing in a different location or ward, change to the correct ward: 1. Click on the displayed ward name 2. Click Change location 3. Wards previously added will be listed 4. Click on ward required 5. Click Select More wards can also be added to profile Tip: Do not add unnecessary wards as they cannot be removed from the list
Search for patient Search for the patient on TRAK using one of the search options provided Tip: To find existing patients and to avoid creating multiple MRN numbers, search with the patient information that is most reliably provided and captured in your province, usually the hospital folder number. Folder number
Select existing patient, or create new patient One or more patients may be displayed, across multiple pages If one is correct, select that patient and click Continue with selected patient 1. If none are correct or none are found, click Create new patient 2. 2 1
Enter mandatory information * For existing patients, some of the demographic information will already be available. For all patients, the following are mandatory (for patient identification, geo-locating and contact tracing): Full name ID Number (important, but if none available, enter P# under passport) Hospital folder number Cell phone number (if none available, enter home number, or 10 zeroes) Date of birth Sex Home address including province and postal code Click NEXT
Enter rapid antigen result 1. Note CSA reference number, which can be used for webview look-up 2. Enter date that test was performed 3. Select Rapid Ag and enter results: Select method Enter lot number i. ii. iii. Select correct result 4. Click DONE
Completion Upon completing result entry, the user is returned to the Search Patient screen When all results have been entered, click on user code to log off
Viewing results Results successfully completed can be viewed in two places: Results can be viewed on the CSA portal, by searching using the CSA number and then clicking on the CSA number. Results can be viewed on TRAK webview: Link: https://labresults.nhls.ac.za/ Log on with user code and password Search for CSA reference number under Alt Ref Number


")