Understanding Measurement Accuracy and Precision
Measurement accuracy refers to how close a measured value is to the true value, while precision pertains to the consistency of measurements. Errors can be classified into systematic, random, instrumental, imperfections in techniques, and personal errors. Addressing these errors involves calibration, minimizing bias, and optimizing experimental conditions to enhance measurement reliability.
Download Presentation

Please find below an Image/Link to download the presentation.
The content on the website is provided AS IS for your information and personal use only. It may not be sold, licensed, or shared on other websites without obtaining consent from the author. Download presentation by click this link. If you encounter any issues during the download, it is possible that the publisher has removed the file from their server.
E N D
Presentation Transcript
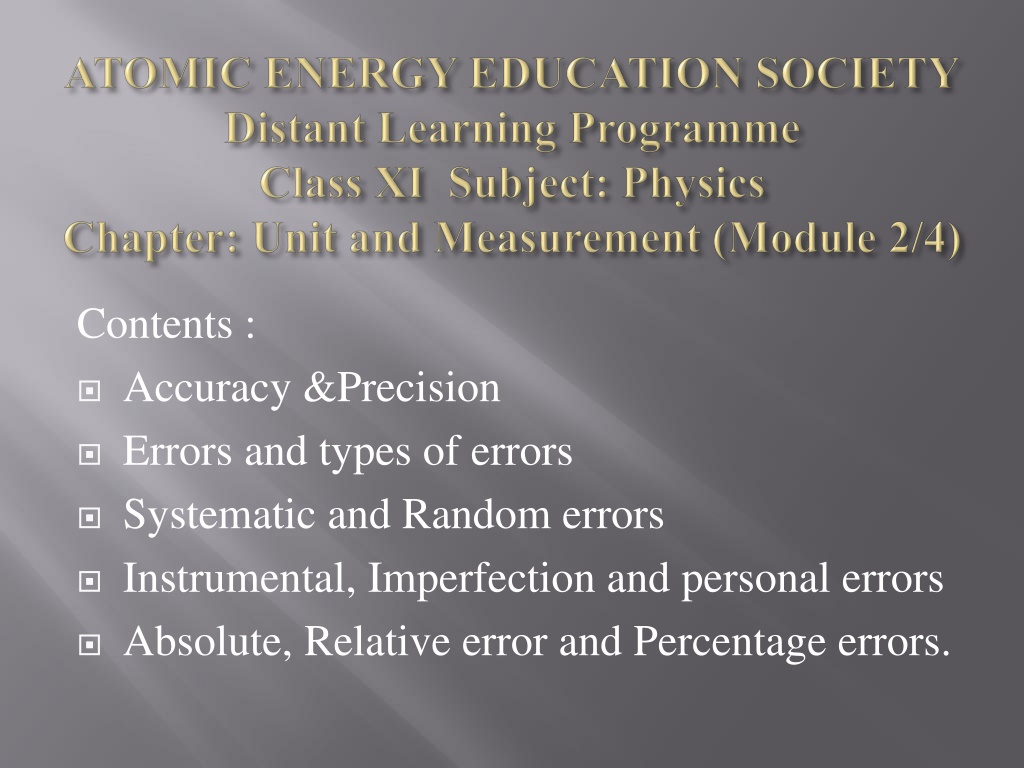
Contents : Accuracy &Precision Errors and types of errors Systematic and Random errors Instrumental, Imperfection and personal errors Absolute, Relative error and Percentage errors.
Accuracy: Accuracy of a measurement is how close the measured value is to the true value. Precision: Precision is the resolution or closeness of a series of measurements of a same quantity under similar conditions. If the true value of a certain length is 3.678 cm and two instruments with different resolutions, up to 1 (less precise) and 2 (more precise) decimal places respectively, are used. If first measures the length as 3.5 and the second as 3.38 then the first has more accuracy but less precision while the second has less accuracy and more precision.
Error: Any uncertainty resulting from measurement by a measuring instrument is called an error. Systematic Errors: Errors which reasons are known to us and they can be positive or negative both are called as systematic errors. Instrumental errors: These arise from imperfect design or calibration error in the instrument. Worn off scale, zero error in a weighing scale are some examples of instrument errors.
Imperfections in experimental techniques: If the technique is not accurate (for example measuring temperature of human body by placing thermometer under armpit resulting in lower temperature than actual) and due to the external conditions like temperature, wind, humidity, these kinds of errors occur.
Personal errors: Errors occurring due to human carelessness, lack of proper setting, taking down incorrect reading are called personal errors. These errors can be removed by: Taking proper instrument and calibrating it properly. Removing human bias as far as possible Experimenting under proper atmospheric conditions and techniques. Removing human bias as far as possible
Random Error: Those errors which reasons are not known to us are called as random errors. Any factors that randomly affect measurement of the variable across the sample. For instance, each person s mood can inflate or deflate performance on any occasion. Random error adds variability to the data but does not affect average performance for the group.
Least Count Error : Smallest value that can be measured by the measuring instrument is called its least count. Least count error is the error associated with the resolution or the least count of the instrument. Least count errors can be minimized by using instruments of higher precision/resolution and improving experimental techniques (taking several readings of a measurement and then taking a mean).
We measure the period of oscillation of a simple pendulum. In successive measurements, the readings turn out to be 2.63 s, 2.56 s, 2.42 s, 2.71s and 2.80 s. Calculate the absolute errors, relative error or percentage error.
Sol. The mean period of oscillation of the Pendulum T = (2.63 + 2.56 + 2.42 + 2.71+ 2.80)/5 T = 13.12/5 = 2.62 sec. As the periods are measured to a resolution of 0.01 s, all times are to the second decimal; it is proper to put this mean period also to the second decimal. The absolute errors in the measurements are 2.63 s 2.62 s = 0.01 s 2.56 s 2.62 s = 0.06 s 2.42 s 2.62 s = 0.20 s 2.71 s 2.62 s = 0.09 s 2.80 s 2.62 s = 0.18 s Note that the errors have the same units as the quantity to be measured. The arithmetic mean of all the absolute errors (for arithmetic mean, we take only the magnitudes) is mean = [(0.01+ 0.06+0.20+0.09+0.18)s]/5 = 0.54 s/5 = 0.11 s That means, the period of oscillation of the simple pendulum is (2.62 0.11) s i.e. it lies between (2.62 + 0.11) s and (2.62 0.11) s or between 2.73 s and 2.51 s. As the arithmetic mean of all the absolute errors is 0.11 s, there is already an error in the tenth of a second. Hence there is no point in giving the period to a hundredth. A more correct way will be to write T = (2.6 0.1) s Note that the last numeral 6 is unreliable, since it may be anything between 5 and 7. We indicate this by saying that the measurement has two significant figures. In this case, the two significant figures are 2, which is reliable and 6, which has an error associated with it. You will learn more about the significant figures For this example, the relative error or the percentage error is = (0.1/2.6) 100 = 4%
By: Govind Sharma PGT (Physics) AECS 4, Rawatbhata
