Share Your Walk For Alzheimer's Support on Facebook
Thank you for spreading awareness about the IG Walk For Alzheimer's! Learn how to create a personalized Facebook post to share your support with friends and family. Customize your message, add a call to action, and upload a photo to make your post stand out. Join the cause and make a difference today!
Download Presentation

Please find below an Image/Link to download the presentation.
The content on the website is provided AS IS for your information and personal use only. It may not be sold, licensed, or shared on other websites without obtaining consent from the author. Download presentation by click this link. If you encounter any issues during the download, it is possible that the publisher has removed the file from their server.
E N D
Presentation Transcript
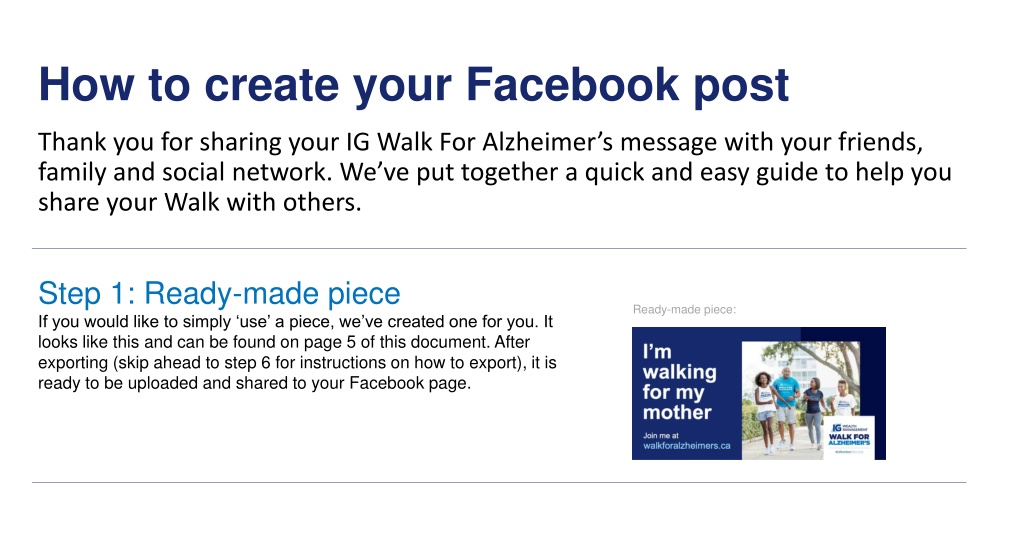
How to create your Facebook post Thank you for sharing your IG Walk For Alzheimer s message with your friends, family and social network. We ve put together a quick and easy guide to help you share your Walk with others. Step 1: Ready-made piece If you would like to simply use a piece, we ve created one for you. It looks like this and can be found onpage 5 of this document. After exporting (skip ahead to step 6 for instructions on how to export), it is ready to be uploaded and shared to your Facebook page. Ready-made piece:
It looks like this: Step 2: Creating your own If you would like to create your own piece, start on page 6 of this document. We ll take you through everything you need to do to make this piece your own. Step 3: Main Message First, select the area that says Click to add title . After clicking in that text box, you can write your own message. We suggest: I m walking for [insert name of loved one] . It looks like this:
It looks like this: Step 4: Call to Action The part that reads Click to add subtitle is your Call to Action. Click on this area to change your message. You might want to write the day of your walk, or invite people to join you, Join Me . It s up to you! It looks like this: Step 5: Upload your photo Click on the photo icon, and a menu will pop up from your computer. Select Change Picture from the menu, then select From a file . Select the .jpg or .png file you d like to use from your computer. Once you have selected your new photo, click insert . You should now see your photo.
Step 6: Last step. Youre almost done! For Mac users Step 6b Step 6c a. Now ensure you are on the page with your desired design (You ll be on Page 5 if you are using the ready-made piece, and Page 6 if you have created your own piece) In the top menu, go to File > Export Change your file format to jpeg Select Save Current Slide Only Be sure the width is set to 1200 Click export b. c. d. e. f. For PC users a. Now - ensure you are on the page with your desired design (You ll be on Page 5 if you are using the ready-made piece, and Page 6 if you have created your own piece) In the top menu, go to File > Export Click Change File Type Choose JPEG File Interchange Format Click Save As When prompted Which slides do you want to export? click Just This One b. c. d. e. f.
Im walking for my mother Join me at walkforalzheimers.ca


