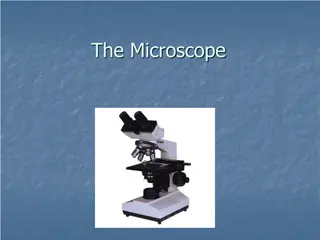
Microscopes: From History to Modern Advances
Delve into the fascinating world of microscopes, from the basic designs of the past to the sophisticated electron microscopes of today. Discover the significant figures who shaped microscopy, such as the Janssen brothers, Robert Hooke, and Anton van Leeuwenhoek. Learn about the essential parts and functions of microscopes and ponder on the advancements that have allowed us to uncover the microscopic realm in great detail.

Download Presentation

Please find below an Image/Link to download the presentation.
The content on the website is provided AS IS for your information and personal use only. It may not be sold, licensed, or shared on other websites without obtaining consent from the author.If you encounter any issues during the download, it is possible that the publisher has removed the file from their server.
You are allowed to download the files provided on this website for personal or commercial use, subject to the condition that they are used lawfully. All files are the property of their respective owners.
The content on the website is provided AS IS for your information and personal use only. It may not be sold, licensed, or shared on other websites without obtaining consent from the author.
E N D
Presentation Transcript
Ch.7.1: Intro to Microscopes! (7R) Oh hai!
History of Microscopes Micro = ? the 1st microscopes were very basic Stage + lens Crude light source
Dont write this down!! A few notable names (1574) Janssen brothers eyeglass makers curious about magnification Developed one of the first compound microscopes by placing several lenses in a tube (1665) Robert Hooke discoverer of cells! used a compound microscope to discover things are made of cells! (1674) Anton van Leeuwenhoek the Father of Microscopy! Built a microscope so simple yet powerful could see blood cells & bacteria! Wow!
Thinking Cap Why might we know SO much more about the microscopic world today, compared to pre- microscope times?
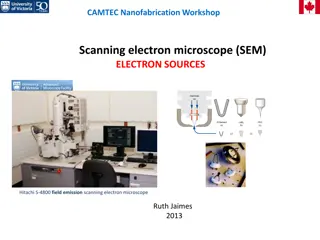
Fancier Microscopes Electron Microscopes SEM (s = scanning) To scan 3D surface of cells TEM (t = transmission) To transmit info about structures within the cell
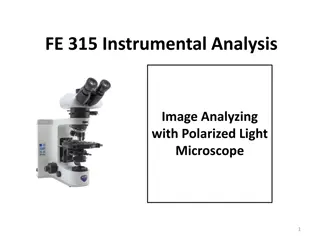
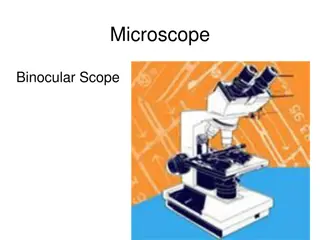
Less Fancy (but still really cool) COMPOUND LIGHT MICROSCOPE
Functions of Parts Ocular lens = what you look through The eyepiece holds the ocular lens Try to keep both eyes open, but don t worry if you can t Body Tube = connects the ocular lens with the stage Nose piece = holds the 3 objective lenses Rotates so that you can control which lens to use Make sure the shortest objective is in place when you put your microscope away! Stage (+clips) = holds your slide in place! Use the clips only when you ve found the specimen Don t use the clips with a wet mount slide!
Parts of the scope - this will go on 7L
Functions of Parts (cont.) Diaphragm = lets light in You can control the amount of light let in! woo! Light source = light that illuminates your specimen Use the diaphragm to control the amount (see Troubleshooting) Course Adjustment Knob = move stage up and down It s the fat one! Use first, to find your specimen Fine Adjustment Knob = finely adjusts the focus It s the skinny one! Use second, to find more detail(s) on your specimen
Parts of the scope - this will go on 7L
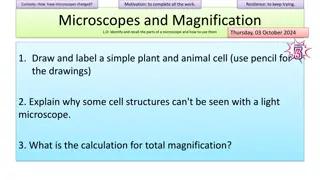
More about the objectives 3 magnifications: 1. Scanning used to find the specimen! 2. Low Power used to focus on the specimen! 3. High Power used to find detail on the specimen! Magnification Ocular Lens Total Magnification Scanning 4x 10x 40x Low Power 10x 10x 100x High Power 40x 10x 400x
Thinking Cap What is the relationship between the Total Magnification and the magnification of the objective? Magnification Ocular Lens Total Magnification Scanning 4x 10x 40x Low Power 10x 10x 100x High Power 40x 10x 400x
General Procedure 1. Plug microscope in & turn on light source 2. Place slide on stage 3. With your scanning objective in place and your eye looking into the eyepiece, use the course adjustment to move the stage to a place where you can find the specimen 4. Switch to Low Power to focus on your specimen, using the fine adjustment
Hey Mrs. A! SHOW THE VIDEO NOW ;) https://www.youtube.com/watch?v=scEhgAiazzU
ALWAYS: Carry your microscope by the arm AND the base yes you need both hands! Set the microscope down gently this goes for moving the microscope around on the surface, as well (don t drag it around) Start with the 4x objective Build up to the fancy-pants higher objectives after you ve found your specimen!
NEVER: 1. Be anything but focused and heads up when holding / carrying the microscope * $$$ 2. Zoom in so much that your objectives touch the slide * this can crack the slide and/or ruin the lens on the objective 3. Use the coarse adjustment when focusing on the medium and high power objectives!!!!! * This makes #2 very easy to do, and we don t want to do that!
How to Stain a Slide 1. Place 1 drop of stain on the edge of the coverslip 2. Place the flat edge of a piece of paper towel on the opposite side of the coverslip The paper will draw the water out from under the coverslip and therefore the stain, too! 3. As long as the stain covers your whole specimen, you re done! Add drops until this is the case, using step #2 Wipe off excess stain with a paper towel
Thinking Cap? Why does your textbook show all the parts of the cell fancy colors and shapes? Will you be able to see that when you look in the microscope?
Troubleshooting If your specimen is too light or too dark ? Try adjusting the diaphragm If there is a spot / line in the viewing field ? Either rotate the eyepiece (the line is a pointer!) OR Use a lens wipe to clean the lens of the objective If it looks like a half-moon instead of a full moon? Try clicking your objective all the way into place!
On your Lab Report Always label! Specimen name Magnification Always draw your observations in pencil Inside the circle = inside the viewing field of the microscope should be drawn to scale! Always follow directions! If you re asked to draw JUST ONE CELL, you should draw JUST ONE CELL!


")