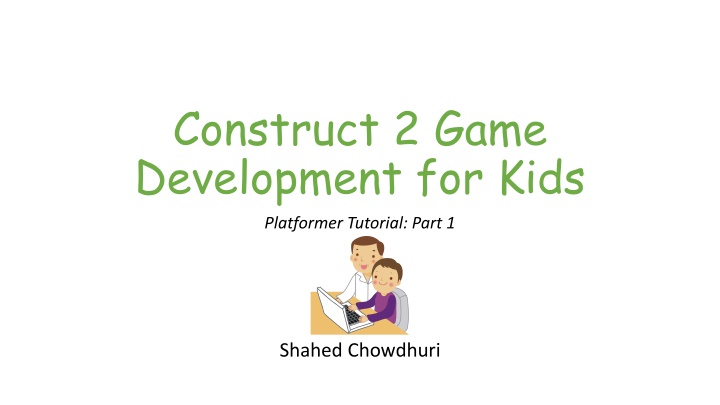
Construct 2 Game Development for Kids - Platformer Tutorial Part 1
Dive into the world of game development with this engaging tutorial series tailored for kids. Learn step by step how to create a platformer game using Construct 2, from setting up the project to designing characters and adding behaviors. Follow along with detailed instructions and colorful visuals to bring your game to life and unleash your creativity.

Download Presentation

Please find below an Image/Link to download the presentation.
The content on the website is provided AS IS for your information and personal use only. It may not be sold, licensed, or shared on other websites without obtaining consent from the author.If you encounter any issues during the download, it is possible that the publisher has removed the file from their server.
You are allowed to download the files provided on this website for personal or commercial use, subject to the condition that they are used lawfully. All files are the property of their respective owners.
The content on the website is provided AS IS for your information and personal use only. It may not be sold, licensed, or shared on other websites without obtaining consent from the author.
E N D
Presentation Transcript
Construct 2 Game Development for Kids Platformer Tutorial: Part 1 Shahed Chowdhuri
Step 1: Save a New Project, platformer.capx Enter File name Save!
Step 2: Change Layout size Layout Size Width = 4000 Height = 2048
Step 3: Prepare Your Layers Bottom layer Rename it Background Remember to Lock it later! New layer Add new layer Rename it Main
Step 4: Add Background, update properties Update: Name Position Size
Step 5: Add New Sprite -> Tile Tips: Rename sprite object to Tile Check Snap to Grid . Ctrl-Click and Drag to create more.
Step 6: Add New Sprite -> Player Tips: Rename sprite object to Player Rename Default animation to Idle Set origin to bottom center point
Step 7: Add New Sprite -> PlayerBox Tips: Rename sprite object to PlayerBox Set origin to bottom center point
Step 8: Cover Player with PlayerBox Tips: Resize PlayerBox to match Player Position PlayerBox over Player
Step 9: Add Behaviors to PlayerBox Add the following behaviors: Platform ScrollTo
Step 10: Update PlayerBox Properties Update the following for Platform: Jump Strength = 750 Gravity = 2500 Also update: Initial visibility = Invisible
Step 11: Add Behaviors to Tile object Add the following behaviors: Solid
Step 12: Add Event for Player to follow Box Add Event Object: System Condition: Every tick Action: Object: Player Event: Set position to PlayerBox (image point 0)
Step 13: Add Keyboard Support Tips: Insert New Object Keyboard Add 2 events for Left/Right
Step 14: Update Project Window Size Tip: Set Window Size: 800, 600
Step 15: Create More Tiles Tip: Ctrl-Click and Drag to create more tiles
Step 16: Add Run and Jump Animations Tips: Right-Click Animations window to Add each animation Import Sprite Strip as 4x4 for each Remove empty frames Clean up any stray pixels Rename to Run and Jump , respectively Set origin to bottom center point for all frames
Step 17: Add Events for Running and Stopping Add Events Object: PlayerBox Condition: (Platform) On moved Action: Object: Player Event: Set animation to Run Add Events Object: PlayerBox Condition: (Platform) On stopped Action: Object: Player Event: Set animation to Idle
Step 18: Add Event for Jumping and Landing Add Event Object: PlayerBox Condition: (Platform) On jump Action: Object: Player Event: Set animation to Jump Add Event with sub-events Object: PlayerBox Condition: (Platform) On landed Sub-events: (see details below)
Step 19: Add New Sprite -> Enemy Tips: Rename sprite object to Enemy Set origin to bottom center point
Step 20: Place enemies on blocks Tip: Ctrl-Click and Drag to copy enemy
Step 21: Add Behaviors to Player object Add the following behaviors: Flash
Step 22: Add New Event for Collision Add Event Object: PlayerBox Condition: On collision with another object Enemy Action:
Step 23: Add New Event for Collision Add Sub-Event: Object: PlayerBox Condition: (Platform) is falling Add Actions: Object: Enemy Event: Destroy Add another condition: Object: PlayerBox Condition: (Compare Y) < Enemy.Y Object: PlayerBox Event: Set (Platform) vector Y Value: -700
Step 24: Add Else for Collision Add Else condition: Object: System Condition: Else Action: Object: Player Action: Flash 0.1 on 0.1 off after 1.0 seconds
(END of Platformer tutorial: Part 1) Derived from How to make a Platform game originally published by Ashley Updated with different graphics and simplified animations


")