Caterpillar Cat 972M XE Wheel Loader (Prefix R1Z) Service Repair Manual Instant Download (R1Z00001 and up)
Please open the website below to get the complete manualnn//
Download Presentation

Please find below an Image/Link to download the presentation.
The content on the website is provided AS IS for your information and personal use only. It may not be sold, licensed, or shared on other websites without obtaining consent from the author. Download presentation by click this link. If you encounter any issues during the download, it is possible that the publisher has removed the file from their server.
E N D
Presentation Transcript
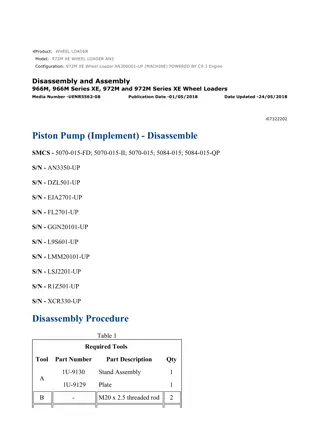
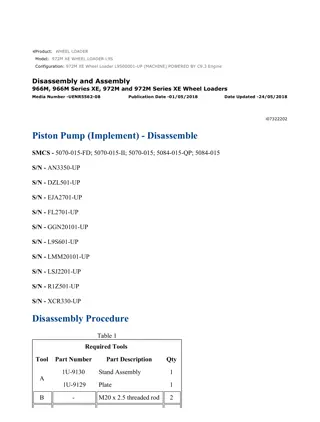
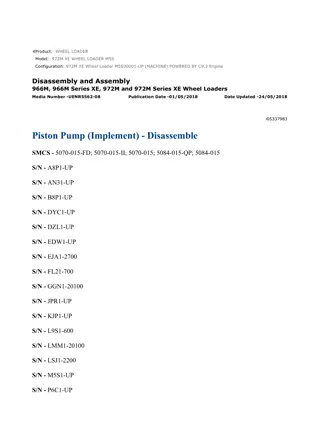
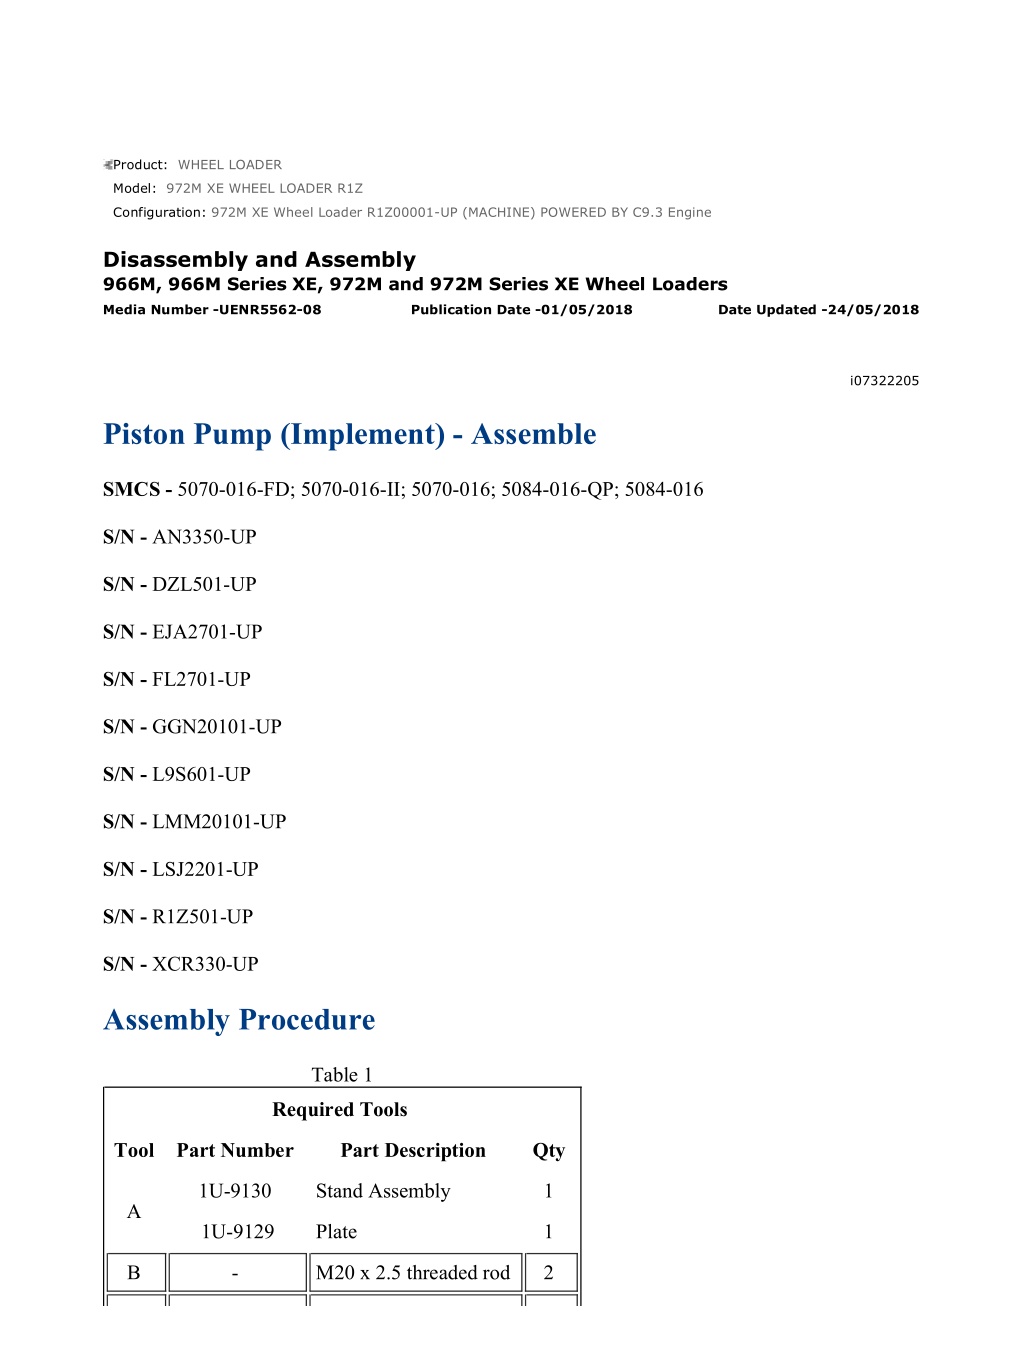
972M XE Wheel Loader R1Z00001-UP (MACHINE) POWERED BY C9.3 Engine(M... 1/15 Product: WHEEL LOADER Model: 972M XE WHEEL LOADER R1Z Configuration: 972M XE Wheel Loader R1Z00001-UP (MACHINE) POWERED BY C9.3 Engine Disassembly and Assembly 966M, 966M Series XE, 972M and 972M Series XE Wheel Loaders Media Number -UENR5562-08 Publication Date -01/05/2018 Date Updated -24/05/2018 i07322205 Piston Pump (Implement) - Assemble SMCS - 5070-016-FD; 5070-016-II; 5070-016; 5084-016-QP; 5084-016 S/N - AN3350-UP S/N - DZL501-UP S/N - EJA2701-UP S/N - FL2701-UP S/N - GGN20101-UP S/N - L9S601-UP S/N - LMM20101-UP S/N - LSJ2201-UP S/N - R1Z501-UP S/N - XCR330-UP Assembly Procedure Table 1 Required Tools Tool Part Number Part Description Qty 1U-9130 Stand Assembly 1 A 1U-9129 Plate 1 B - M20 x 2.5 threaded rod 2 https://127.0.0.1/sisweb/sisweb/techdoc/techdoc_print_page.jsp?returnurl=/sis... 2022/1/13
972M XE Wheel Loader R1Z00001-UP (MACHINE) POWERED BY C9.3 Engine(M... 2/15 C 4C-8359 Eyebolt 2 D 1P-0510 Driver Gp 1 E 6V-2012 Depth Gage 1 F 421-5660 Lifting Eye Assembly 2 G 8H-0663 Bearing Puller 1 H 153-3568 Bolt 1 Illustration 1 g06299941 1. Install backup ring (65) and O-ring seal (64) onto stopper (63). Illustration 2 g06304626 2. Install stopper (63) into the pump body. 3. Install plugs (62). https://127.0.0.1/sisweb/sisweb/techdoc/techdoc_print_page.jsp?returnurl=/sis... 2022/1/13
972M XE Wheel Loader R1Z00001-UP (MACHINE) POWERED BY C9.3 Engine(M... 3/15 Illustration 3 g06299933 Illustration 4 g06299927 4. Install setscrew (60) and nut (61) onto cover (59). Use Tooling (E) and adjust setscrew (60) to the height recorded during the disassembly. Tighten nut (61) to a torque of 240 24 N m (175 15 lb ft). Illustration 5 g06299921 5. Install cover (59) and bolts (58) onto pump body (23). Tighten bolts (58) to a torque of 330 33 N m (240 20 lb ft). https://127.0.0.1/sisweb/sisweb/techdoc/techdoc_print_page.jsp?returnurl=/sis... 2022/1/13
https://www.ebooklibonline.com Hello dear friend! Thank you very much for reading. Enter the link into your browser. The full manual is available for immediate download. https://www.ebooklibonline.com
972M XE Wheel Loader R1Z00001-UP (MACHINE) POWERED BY C9.3 Engine(M... 4/15 Illustration 6 g06299916 6. Install O-ring seals (57) into pump body (23). Illustration 7 g06299910 7. Install the O-ring seal and adapter (56) into pump body (23). Illustration 8 g06299901 8. Install plug (55), the O-ring seal, and plug (54) into pump body (23). https://127.0.0.1/sisweb/sisweb/techdoc/techdoc_print_page.jsp?returnurl=/sis... 2022/1/13
972M XE Wheel Loader R1Z00001-UP (MACHINE) POWERED BY C9.3 Engine(M... 5/15 Illustration 9 g06299892 9. Install bearing (53) into pump body. Note: Bearing (53) must align with the dowel in the pump body. Illustration 10 g06299886 10. Install piston (52) into pump body (23). Illustration 11 g06299880 11. Install backup ring (51) and O-ring seal (50) onto stopper (49). https://127.0.0.1/sisweb/sisweb/techdoc/techdoc_print_page.jsp?returnurl=/sis... 2022/1/13
972M XE Wheel Loader R1Z00001-UP (MACHINE) POWERED BY C9.3 Engine(M... 6/15 Illustration 12 g06304632 12. Install stopper (49) into the pump body. Illustration 13 g06299861 13. Install plate (48) onto swashplate assembly (45). Illustration 14 g06299855 14. Install swashplate assembly (45), O-ring seals (46), and O-ring seals (47) into pump body (23). Note: Ensure that swashplate (45) engages the piston and the bearing properly. https://127.0.0.1/sisweb/sisweb/techdoc/techdoc_print_page.jsp?returnurl=/sis... 2022/1/13
972M XE Wheel Loader R1Z00001-UP (MACHINE) POWERED BY C9.3 Engine(M... 7/15 Illustration 15 g06304636 15. Use Tooling (G) and a suitable press to install bearing (44) onto shaft assembly (41). Illustration 16 g06299676 16. Install retaining ring (43) onto shaft assembly (41). Illustration 17 g06299675 17. Install lip seals (42) into seal carrier (40). https://127.0.0.1/sisweb/sisweb/techdoc/techdoc_print_page.jsp?returnurl=/sis... 2022/1/13
972M XE Wheel Loader R1Z00001-UP (MACHINE) POWERED BY C9.3 Engine(M... 8/15 Illustration 18 g06299674 18. Use a soft faced hammer to install shaft assembly (41) and seal carrier (40) into pump body (23). Illustration 19 g06299673 19. Install retaining ring (39) into pump body (23). Illustration 20 g06299671 20. Install springs (38) and bearing (37) onto barrel assembly (36). https://127.0.0.1/sisweb/sisweb/techdoc/techdoc_print_page.jsp?returnurl=/sis... 2022/1/13
972M XE Wheel Loader R1Z00001-UP (MACHINE) POWERED BY C9.3 Engine(M... 9/15 Illustration 21 g06299648 21. Install retainer (35) and pistons (34) onto barrel assembly (36). Illustration 22 g06299579 22. Install rotating group (33) into pump body (23). Illustration 23 g06299578 23. Use Tooling (F) and a suitable lifting device to install pump body (23) onto Tooling (A). Pump body (23) weighs approximately 60 kg (133 lb). https://127.0.0.1/sisweb/sisweb/techdoc/techdoc_print_page.jsp?returnurl=/sis... 2022/1/13
972M XE Wheel Loader R1Z00001-UP (MACHINE) POWERED BY C9.3 Engine(... 10/15 Illustration 24 g06299534 24. Install setscrew (31) and nut (32) onto head (22). Use Tooling (E) and adjust setscrew (31) to the height recorded during the disassembly. Tighten nut (32) to a torque of 240 24 N m (175 15 lb ft). Illustration 25 g06299533 25. Install plugs (28) into head (22). Tighten plugs (28) to a torque of 18 N m (160 lb in). 26. Install the O-ring seal and plug (30) into head (22). Tighten plug (30) to a torque of 60 6 N m (45 4 lb ft). 27. Install the O-ring seal and plug (29) into head (22). Tighten plug (29) to a torque of 12 1 N m (105 5 lb in). https://127.0.0.1/sisweb/sisweb/techdoc/techdoc_print_page.jsp?returnurl=/sis... 2022/1/13
972M XE Wheel Loader R1Z00001-UP (MACHINE) POWERED BY C9.3 Engine(... 11/15 Illustration 26 g06299514 28. Use Tooling (D) to install bearing (27) into head (22). Illustration 27 g06299511 29. Install control plate (26), O-ring seal (25), and valve assemblies (24) onto head (22). Note: Valve assemblies (24) can fall out easily. Illustration 28 g06299506 30. Install Tooling (B) into pump body (23). 31. Use Tooling (C) and a suitable lifting device to install head (22) onto pump body (23). Head (22) weighs approximately 32 kg (70 lb). https://127.0.0.1/sisweb/sisweb/techdoc/techdoc_print_page.jsp?returnurl=/sis... 2022/1/13
972M XE Wheel Loader R1Z00001-UP (MACHINE) POWERED BY C9.3 Engine(... 12/15 Illustration 29 g06299480 Illustration 30 g06299476 Improper assembly of parts that are spring loaded can cause bodily injury. To prevent possible injury, follow the established assembly procedure and wear protective equipment. 32. Install lower 2 bolts (21). Remove Tooling (B). 33. Install the 2 top bolts (21). 34. Tighten bolts (21) to a torque of 430 43 N m (315 30 lb ft). https://127.0.0.1/sisweb/sisweb/techdoc/techdoc_print_page.jsp?returnurl=/sis... 2022/1/13
972M XE Wheel Loader R1Z00001-UP (MACHINE) POWERED BY C9.3 Engine(... 13/15 Illustration 31 g06299398 35. Install O-ring seal (20) onto guide (19). 36. Install guide (19), O-ring seal (18), nut (17), and screw (16) into plug (11). Tighten nut (17) to a torque of 16 1 N m (140 8 lb in). Illustration 32 g06299393 Improper assembly of parts that are spring loaded can cause bodily injury. To prevent possible injury, follow the established assembly procedure and wear protective equipment. 37. Install spool (15), guide (14), spring (13), spring (12), and plug (11) into valve assembly (3). Tighten valve assembly (3) to a torque of 170 17 N m (125 12 lb ft). https://127.0.0.1/sisweb/sisweb/techdoc/techdoc_print_page.jsp?returnurl=/sis... 2022/1/13
Suggest: For more complete manuals. Please go to the home page. https://www.ebooklibonline.com If the above button click is invalid. Please download this document first, and then click the above link to download the complete manual. Thank you so much for reading
972M XE Wheel Loader R1Z00001-UP (MACHINE) POWERED BY C9.3 Engine(... 14/15 Illustration 33 g06299175 1. Install plugs (9) into valve assembly (3). Tighten plugs (9) to a torque of 18 N m (160 lb in). 2. Install The O-ring seal and plug (10) into from valve assembly (3). Tighten plug (10) to a torque of 17 N m (150 lb in). Illustration 34 g06299173 3. Install the O-ring seals, plug (8), and elbow (7) into valve assembly (3). Illustration 35 g06299169 4. Install O-ring seals (6), (5), and (4) onto valve assembly (3). https://127.0.0.1/sisweb/sisweb/techdoc/techdoc_print_page.jsp?returnurl=/sis... 2022/1/13
972M XE Wheel Loader R1Z00001-UP (MACHINE) POWERED BY C9.3 Engine(... 15/15 Illustration 36 g06299139 5. Install valve assembly (3) and bolts (2). Tighten bolts (2) to a torque of 29 N m (255 lb in). Illustration 37 g06299131 6. Remove piston pump (1) from Tooling (A). The weight of piston pump (1) is approximately 93 kg (205 lb). End By: a. Install the piston pump (implement). https://127.0.0.1/sisweb/sisweb/techdoc/techdoc_print_page.jsp?returnurl=/sis... 2022/1/13
https://www.ebooklibonline.com Hello dear friend! Thank you very much for reading. Enter the link into your browser. The full manual is available for immediate download. https://www.ebooklibonline.com

