Biospecimen Collection, Storage, and Shipment Overview at USC Central Laboratory
This overview covers the types of biospecimens collected, specimen collection schedule, supplies, protocols, and shipping instructions at the USC Central Laboratory. It includes details on whole blood collection for different assays, storage procedures, and shipment to USC Labs and Charles River Laboratories. The specimen collection schedule involves specific time points for collecting samples during infusions and dosing, emphasizing the importance of collecting PK specimens after doses 2, 3, or 4 for added flexibility in case of issues.
Download Presentation
Please find below an Image/Link to download the presentation.
The content on the website is provided AS IS for your information and personal use only. It may not be sold, licensed, or shared on other websites without obtaining consent from the author. Download presentation by click this link. If you encounter any issues during the download, it is possible that the publisher has removed the file from their server.

Uploaded on Mar 26, 2024 | 0 Views
Presentation Transcript
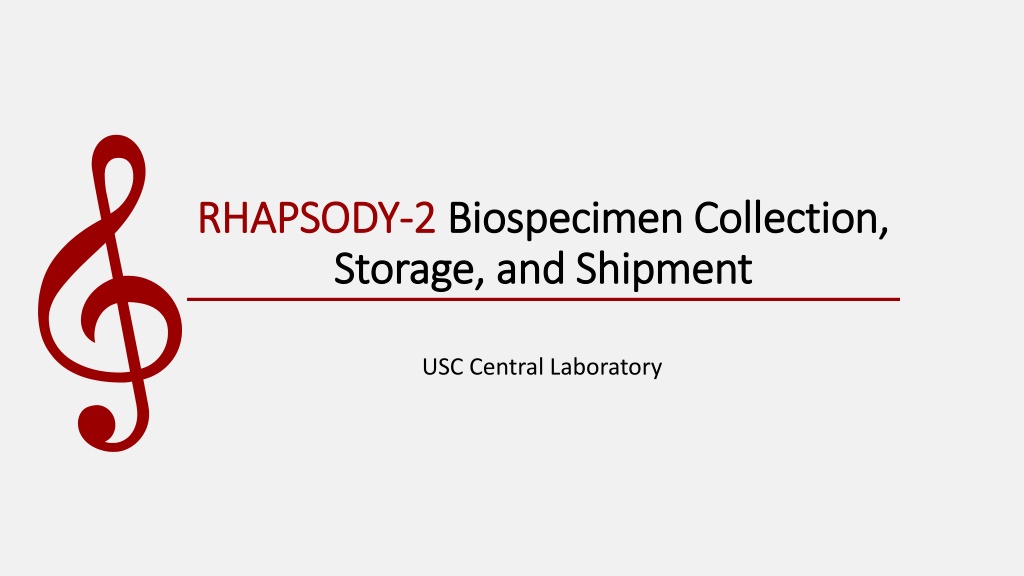
RHAPSODY RHAPSODY- -2 2 Biospecimen Collection, Biospecimen Collection, Storage, and Shipment Storage, and Shipment USC Central Laboratory
Overview Overview Types of biospecimen collected Specimen collection schedule Supplies Specimen Collection Protocols Shipping instructions
Types of Biospecimen Collected Types of Biospecimen Collected Whole blood collected at multiple time points for 2 different assays Anti-Drug Antibody (ADA) Pharmacokinetic (PK) Stored on site Batch shipped to USC Labs Assays performed at Charles River Laboratories
Specimen Collection Schedule Specimen Collection Schedule At the end of one of the following infusions: dose 2-5 Day 7/Discharge ( 3 days) Visit Schedule Pre-dose 1 Day 90 ( 10 days) 5-10 min after end of infusion 25-50 min after end of infusion Serum Anti-Drug Antibody X X X ADA samples will be collected at 3 time points following randomization 1. Before the first dose of study drug (Pre-dose 1) On hospital Day 7 or discharge ( 3 days) whichever comes first 3. On Day 90 ( 10 days) 2.
Specimen Collection Schedule Specimen Collection Schedule At the end of one of the following infusions: dose 2-5 Day 7/Discharge ( 3 days) Visit Schedule Pre-dose 1 Day 90 ( 10 days) 5-10 min after end of infusion 25-50 min after end of infusion Serum Anti-Drug Antibody X X X Plasma PK (pharmacokinetic) 2 time points following single dose selected from Doses 2, 3, 4, or 5 X X PK samples will be collected at 2 timepoints after ONE of the following doses: Dose 2, Dose 3, Dose 4, OR Dose 5 1. 5-10 min after the end of infusion of study drug AND 2. 25-50 min after the end of infusion of study drug
Specimen Collection Schedule Specimen Collection Schedule Study team members can choose which dose to collect PK specimens from. It is strongly encouraged to collect PK specimens after dose 2, 3, or 4. This way, sites will always have another chance to collect the sample should any problems occur
Overview of Supplies Overview of Supplies Specimen Collection Kits Kit Name Kit Contents 1 3mL Red top draw tube 2 2mL Aliquot Cryovials (prelabeled) 1 Primary Aliquot (Red Capped Cryovial) 1 Secondary Aliquot (Yellow Capped Cryovial) 1 Disposable sterile transfer pipette ADA Kit Each kit = 1 biospecimen per patient 2 2mL Aliquot Cryovials (prelabeled) 1 Primary Aliquot (Blue Capped Cryovial) 1 Secondary Aliquot (Clear Capped Cryovial) 1 3mL Discard tube (White cap) 1 Disposable sterile transfer pipette 1 Multi Sample Luer Adapter (MSLA), 23G, with 7.5 tubing and tube holder 1 Tourniquet (latex-free) SCAT-140- 3.6/5 draw tubes shipped separately PK Kit
Overview of Supplies Overview of Supplies SCAT-140- 3.6/5 draw tubes will be sent in bulk SCAT 140 3.6/5 tubes are not sterile and require a catheter of at least 5 inches in order to be used in direct phlebotomy Must stay refrigerated (2 C 8 C) until ready for use 10 tubes supplied in a refrigerated shipper Supplied Annually Additional supplies (all sites) 2 Cardboard Cryo-boxes (5.25 x 5.25 ) for storage One for Primary cryovial samples One for Secondary cryovial samples Extra tubes: 3 3mL Red top draw tube 2 SCAT-14-3.6/5 draw tubes (included with bulk supply) Shipping supplies will be provided when samples are requested to be shipped by USC 1 Medium Cooler FedEx Clear pouches for waybill Dry Ice Labels Category B Labels 6 x9 Biohazard specimen transport bags
ADA Collection Kit Contents ADA Collection Kit Contents Primary Cryovial Red Top Draw Tube ADA Collection Kit Secondary Cryovial Disposable Sterile Transfer Pipette
ADA Specimen Collection Protocol ADA Specimen Collection Protocol i. Draw blood from the subject to completely fill a 3 mL Red top draw tube a. The blood sample may be drawn from an existing IV into a syringe, provided a discard is drawn prior to collecting the ADA sample. b. The blood sample may also be drawn directly from a vein using a butterfly needle with vacutainer holder. Note: The butterfly needle and vacutainer holder are not provided in the ADA kit. ii. Gently invert the 3mL Red top draw tube 8 to 10 times. 3mL Red top draw tubes containing samples should sit at room temperature for at least 20 minutes to allow clotting prior to centrifugation. iii. Centrifuge the 3mL Red top draw tubes with specimen at 1500 - 2200 RPM (1500 x g) at 2 -8 C for 10-15 minutes using balance tubes as needed. If no refrigerated centrifuge is available, blood must be chilled in wet ice slurry for 2-3 minutes prior to centrifuge at room temperature at 1500-2200rpm (1500 x g) for 10-15 minutes. iv. Use a sterile transfer pipette to place at least 0.5 mL (500 uL) of serum into each of the two prelabeled 2mL aliquot cryovials (one Red- Aliquot 1, one Yellow- Aliquot 2). v. ADA aliquot cryovials must be stored in corresponding primary and secondary cryo storage boxes and immediately placed into -70 C freezer.
PK Collection Kit Contents PK Collection Kit Contents Primary Cryovial Tourniquet (latex-free) Secondary Cryovial MSLA tubing MSLA (23G) MSLA tube holder PK Collection Kit Disposable Sterile Transfer Pipette 3mL Discard Tube SCAT-140-3.6/5 Draw Tube (NOT STERILE)
PK Specimen Collection Protocol PK Specimen Collection Protocol CAUTION: SCAT Blood Collect Tubes Are NOT Sterile Keep SCAT-140-3.6/5 tubes refrigerated (2 C 8 C) After removing from refrigerator keep SCAT tubes on melting ice until ready for use. i. If collecting the sample by direct venipuncture use the provided butterfly catheter equipped with a multi-sampler luer adapter (MSLA) and 7.5-inch tubing. i. To fill the catheter and flush any tissue components from the venipuncture needle first place an empty vacutainer (3ml White top discard tube) into the tube holder and press it into the multi-sample needle. Allow the tube to fill 3mL completely, then remove and discard. ii. Place the SCAT draw tube into the holder and press it into the multi-sample needle (the tube will automatically fill to the correct volume). ii. Blood may also be collected by syringe using an existing IV from the arm opposite drug was infused. iii. Make sure a 3 ml discard syringe is drawn prior to collecting the PK sample. Using a clean syringe, draw at least 3 ml of blood from the IV. The sample should be immediately placed into the SCAT draw tube. iv. Gently invert the SCAT draw tube 8 to 10 times. Place SCAT draw tubes on melting ice until it can be processed. Centrifuge SCAT draw tubes with blood specimen within 10 30 minutes of collection v. Spin at 3000 RPM (2000-4000 x g) for 10 minutes at room temperature using balance tubes as needed vi. Use a sterile transfer pipette to place at least 0.5 mL (500 uL) of plasma into each of the two prelabeled 2mL aliquots Cryovials (one Blue- Aliquot 1, one Clear- Aliquot 2) vii. PK aliquot cryovials must be stored in corresponding primary and secondary cryo storage boxes and immediately placed into -70 C freezer.
Shipping Reminders Shipping Reminders All biospecimens are batch shipped from site to USC Labs when notified by USC Ship the Frozen samples Monday WednesdayONLY via FedEx overnight priority Patrick Lyden- ZNI 1501 San Pablo Street ZNI Room 201- Lyden Lab Los Angeles, CA 90033 Sites must store Secondary Aliquot of both ADA and PK specimens on site. ONLY ship Secondary Aliquots if requested by USC Labs!
Preparing Samples for Shipment in WebDCU Preparing Samples for Shipment in WebDCUTM TM 1. After the specimen collection CRF in the Subject CRF Binder in WebDCUTM has been completed, click on [Study Material Tracking] and then [Specimen Shipping]. 1 2. Find the lab kit code for the specimen you plan to send, click the blue hyperlink # next to the lab kit code, and click Edit Record 2
WebDCUTM TM Preparing Samples for Shipment in Preparing Samples for Shipment in WebDCU 3. Select Yes for Specimen shipping confirm. This will enable the remaining fields on this form to be edited. 4. Enter the shipping date, FedEx tracking number and shipping notes (if needed). 5. Last, click on [Save Record]. 3 4 5
Preparing Samples for Shipment in WebDCU Preparing Samples for Shipment in WebDCUTM TM 6. To print the Lab Kit Packing Slip: From the [Specimen Shipping] List table, click on the icon in the Specimen Packing Slip column for the specimen lab kit(s) ID you plan to ship. 7. Print the Lab Kit Packing Slip for each specimen lab kit(s) ID you plan to ship. Check the accuracy of the package prior to shipping. A. Use the biospecimen collection CRF to ensure that all samples collected for the specimen type and Lab kit ID are included in the package. B. Verify that the Lab Kit IDs listed on the packing slip match what is in the package. 8.
Packaging the Samples Packaging the Samples Once you ve completed the WebDCUTM CRF Bio Sample Collection-Shipping Form, remove the cryovial tubes containing patient samples from the -70 C freezer and verify that each specimen is labeled with the appropriate Kit ID number. Place each cryovial in a separate Biohazard Specimen Transport bag (provided by USC), and completely seal. Each aliquot should be in its own Biohazard bag.
Packaging the Samples Packaging the Samples Place at least 5lbs of Dry Ice and the specimen packages inside the foam cooler note: sites will source their own dry ice. Sandwich specimens between layers of ice so that ice is both under and on top of the specimens. Then place the lid on the cooler. DO NOT Tape or Seal the cooler lid to the cooler. Place the lid on the insulated foam cooler. Fold the WebDCUTM Shipping Manifest and secure the form with packing tape to the outside lid of insulated foam cooler.
Packaging the Samples Packaging the Samples Seal the cardboard shipping container with packing tape. Place the printed FedEx waybill on top of the cardboard shipping container along with the UN1845 (Dry Ice) and UN3373 (Category B) stickers.
Creating a Shipping Label Creating a Shipping Label 1. On the www.fedex.com home page, click Shipping and select Create a Shipment from the drop-down menu. 2. If you are not logged in, FedEx will ask you to log in to your FedEx account. If you do not have a FedEx account, please refer to the Lab Manual for how to create one. 3. FedEx.com will now take you to the FedEx Ship Manager, where you can create your shipping label. Please consult the Lab Manual for details on how to fill out the Ship Manager form and create your label.
Final Reminders Final Reminders Note: the FedEx shipping label is NOT the same as the WebDCUTM packing slip. The packing slip is a complete list of every specimen included in the shipment, while the shipping label is general package information for FedEx only Please consult the RHAPSODY-2 Lab Manual for detailed shipping instructions Please contact rhapsody@usc.edu if you have any questions regarding specimen collection, processing, storage, packaging, or shipping