DIY Clay Teacup for King Charles III Coronation Celebrations
Create a commemorative clay teacup to celebrate the upcoming coronation of King Charles III. Follow the step-by-step guide to design and make your own cup using simple materials like air-drying clay, yogurt pot, and paint. Get creative and personalize your cup to mark this historic occasion.

Download Presentation

Please find below an Image/Link to download the presentation.
The content on the website is provided AS IS for your information and personal use only. It may not be sold, licensed, or shared on other websites without obtaining consent from the author. Download presentation by click this link. If you encounter any issues during the download, it is possible that the publisher has removed the file from their server.
E N D
Presentation Transcript
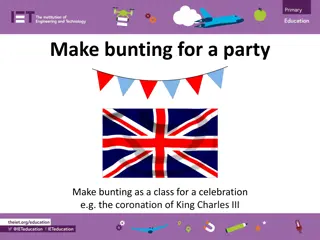
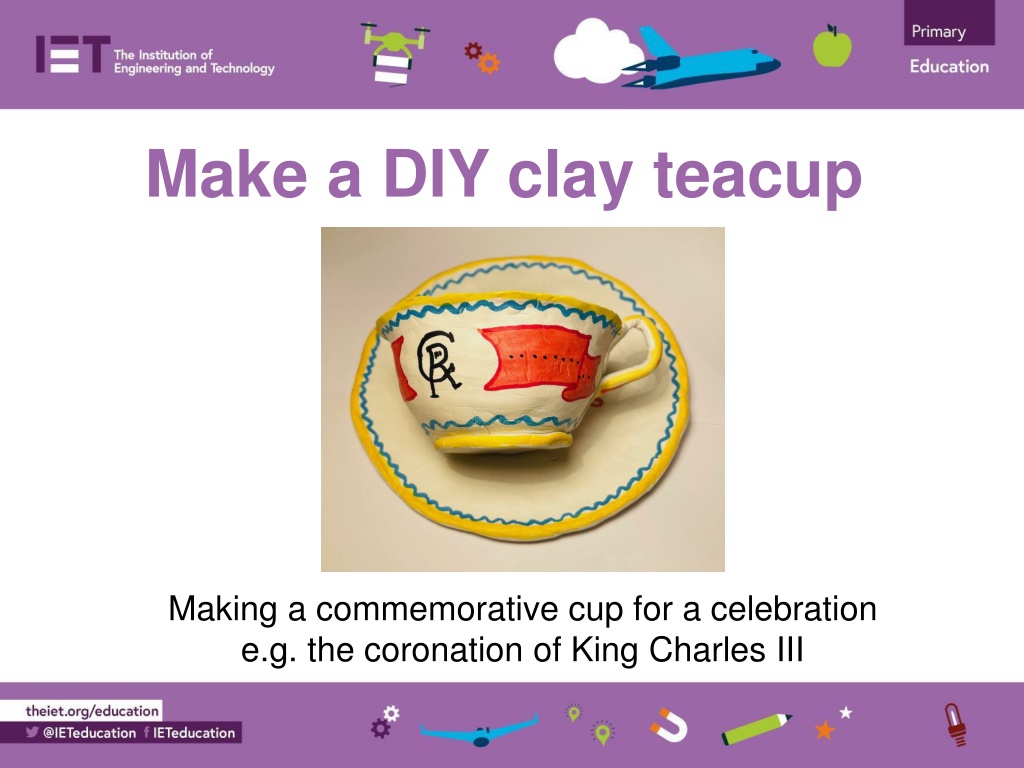
Make a DIY clay teacup Making a commemorative cup for a celebration e.g. the coronation of King Charles III
Stay safe Whether you are a scientist researching a new medicine or an engineer solving climate change, safety always comes first. An adult must always be around and supervising when doing this activity. You are responsible for: ensuring that any equipment used for this activity is in good working condition behaving sensibly and following any safety instructions so as not to hurt or injure yourself or others Please note that in the absence of any negligence or other breach of duty by us, this activity is carried out at your own risk. It is important to take extra care at the stages marked with this symbol:
Design brief What is the celebration? The coronation of King Charles III will take place on Saturday 6 May 2023 There will be a bank holiday on Monday 8 May Lots of public events will take place to celebrate this historic event Your task: Design and make a cup to commemorate the occasion!
Equipment and resources Air drying clay Empty yogurt pot or half a potato Clingfilm Paint and brushes Felt tip pens
Step 1 Prepare your cup mould Turn your yogurt pot (or potato) upside down and cover with clingfilm
Step 2 Make your cup Shape your clay into a snake Coil the clay around itself covering the outside of the yogurt pot
Step 3 Smooth the cup surface Smooth the clay so you can not see the coils Top tip: you can mix a bit of the clay with water and smooth it over the surface to make a super smooth finish!
Step 4 Make the cup handle Roll a snake of clay Use water to stick the cup handle to the cup as shown Allow the cup to dry overnight
Step 5 Decorate your cup Your cup must be dry before decorating! Remove your cup from the mould - carefully hold the clingfilm and ease the cup from the yogurt pot Paint your cup Add in your own design using felt tips Don t forget to decorate inside your cup