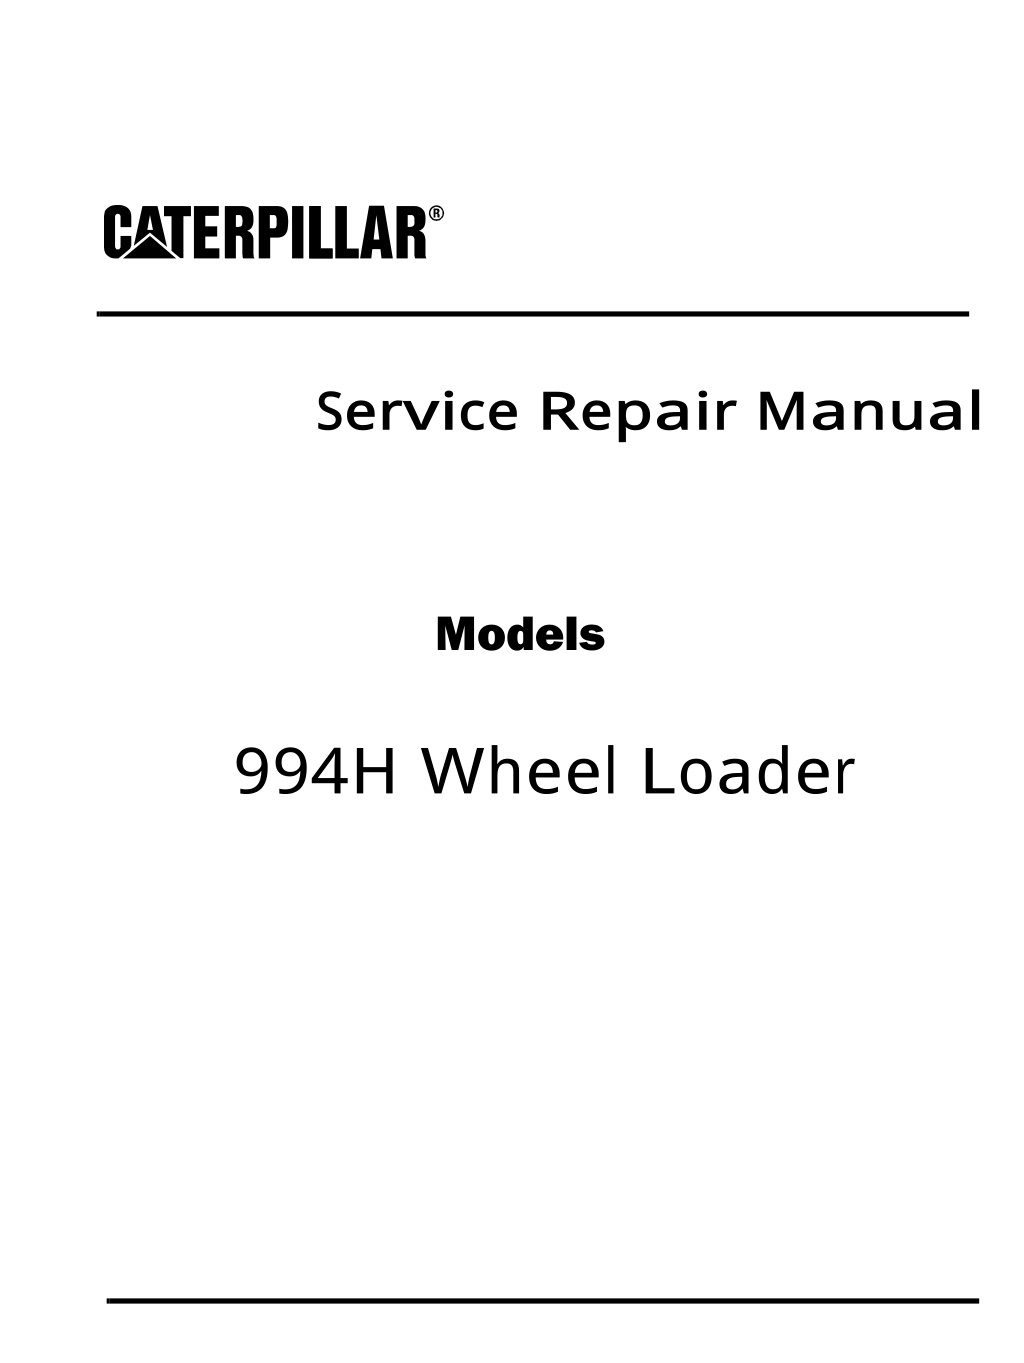
Caterpillar Cat 994H Wheel Loader (Prefix DWC) Service Repair Manual Instant Download
Please open the website below to get the complete manualnn// n

Download Presentation

Please find below an Image/Link to download the presentation.
The content on the website is provided AS IS for your information and personal use only. It may not be sold, licensed, or shared on other websites without obtaining consent from the author. Download presentation by click this link. If you encounter any issues during the download, it is possible that the publisher has removed the file from their server.
E N D
Presentation Transcript
Service Repair Manual Models 994H WheelLoader
994H Wheel Loader DWC00001-UP (MACHINE) POWERED BY 3516B Engine(SE... 1/15 Shutdown SIS Previous Screen Product: WHEEL LOADER Model: 994H WHEEL LOADER DWC Configuration: 994H Wheel Loader DWC00001-UP (MACHINE) POWERED BY 3516B Engine Disassembly and Assembly 994H Wheel Loader Machine Systems Media Number -UENR0765-01 Publication Date -01/07/2011 Date Updated -08/11/2016 i06093455 Piston Pump (Steering) - Assemble SMCS - 4306-016-QP; 5070-016-ZH Assembly Procedure Table 1 Required Tools Tool Part Number Part Description Qty A 1P-1863 Retaining Ring Pliers 1 B 439-3939 Link Bracket 2 C 1P-1859 Retaining Ring Pliers 1 D 171-1113 Measuring Hub 1 E 129-3876 Measuring Bell 1 F - Height Gauge 1 G 171-1112 Test Pins 3 H 171-1114 Alignment Plug 1 J 6V-2055 Grease 1 https://127.0.0.1/sisweb/sisweb/techdoc/techdoc_print_page.jsp?returnurl=/sis... 2020/3/15
994H Wheel Loader DWC00001-UP (MACHINE) POWERED BY 3516B Engine(SE... 2/15 Illustration 1 g01171204 1. Raise the temperature of bearing (51). 2. Install bearing (51) onto shaft (52). 3. Use Tooling (C) in order to install retaining ring (53) to shaft (52). Illustration 2 g01167863 4. Install bearing (51) and shaft (52). Illustration 3 g01167862 5. Install the O-ring seals, lip seal (50), cover (49), and bolts (48). https://127.0.0.1/sisweb/sisweb/techdoc/techdoc_print_page.jsp?returnurl=/sis... 2020/3/15
https://www.ebooklibonline.com Hello dear friend! Thank you very much for reading. Enter the link into your browser. The full manual is available for immediate download. https://www.ebooklibonline.com
994H Wheel Loader DWC00001-UP (MACHINE) POWERED BY 3516B Engine(SE... 3/15 Illustration 4 g01170395 6. Install outer races (47) into housing (46). Illustration 5 g01360759 7. Install pins (44) to swashplate (32). Illustration 6 g01360760 8. Install bearings (45 ) to swashplate (32). Install a rubber band to each bearing (45), as shown. The rubber band will hold bearing (45) to swashplate (32). https://127.0.0.1/sisweb/sisweb/techdoc/techdoc_print_page.jsp?returnurl=/sis... 2020/3/15
994H Wheel Loader DWC00001-UP (MACHINE) POWERED BY 3516B Engine(SE... 4/15 Illustration 7 g01360761 9. Carefully install swashplate (32) into housing (46). Illustration 8 g01171288 10. Cut the rubber band on each of the bearings. Illustration 9 g03806425 11. Install retainers (42), plugs (43), and the O-ring seals. Note: Ensure retainers (42) lock onto pins (44) shown in Step 7. 12. Repeat Step 4 for the opposite side. https://127.0.0.1/sisweb/sisweb/techdoc/techdoc_print_page.jsp?returnurl=/sis... 2020/3/15
994H Wheel Loader DWC00001-UP (MACHINE) POWERED BY 3516B Engine(SE... 5/15 Illustration 10 g01360593 13. Install the screw and cap (30). Illustration 11 g01171290 14. Place port plate (29) on a surface plate. Illustration 12 g01171291 15. Install Tooling (H) to port plate (29). https://127.0.0.1/sisweb/sisweb/techdoc/techdoc_print_page.jsp?returnurl=/sis... 2020/3/15
994H Wheel Loader DWC00001-UP (MACHINE) POWERED BY 3516B Engine(SE... 6/15 Illustration 13 g01360762 16. Install barrel assembly (31) onto Tooling (H) and port plate (29). Illustration 14 g03806329 17. Install Tooling (G) onto bearing (41). The shims and springs must be removed from bearing (41). Illustration 15 g03806452 18. Install bearing (41) and Tooling (G) onto barrel (31). https://127.0.0.1/sisweb/sisweb/techdoc/techdoc_print_page.jsp?returnurl=/sis... 2020/3/15
994H Wheel Loader DWC00001-UP (MACHINE) POWERED BY 3516B Engine(SE... 7/15 Illustration 16 g03806456 19. Install retainer plate (36) onto bearing (41). Illustration 17 g00903603 20. Bolt Tooling (D) to Tooling (E). Illustration 18 g01171297 21. Install assembled Tooling (D) and Tooling (E) onto the bearing. Make sure that Tooling (D) and Tooling (E) is properly seated. https://127.0.0.1/sisweb/sisweb/techdoc/techdoc_print_page.jsp?returnurl=/sis... 2020/3/15
994H Wheel Loader DWC00001-UP (MACHINE) POWERED BY 3516B Engine(SE... 8/15 Illustration 19 g01360764 22. Record the dimension that is stamped on the side of Tooling (E). This dimension is the distance from the top of retainer plate (36) to the top of Tooling (E). This dimension is called Dimension (W). Illustration 20 g00903619 23. Use Tooling (F) to measure the distance from the top of the surface plate to the top of Tooling (E). Record this dimension. Call this Dimension (X). 24. Use the following calculation: Dimension (X) - Dimension (W) = Dimension (Y). 25. Dimension (Y) is the correct lift-off limitation without shim (39). Note: This is the correct lift-off limitation for the main hydraulic pump. 171.20 + 0.0 0.250 mm (6.740 + 0.00 0.0098 inch) Call this Dimension (Z). 26. Use the following calculation: Dimension (Z) - Dimension (Y) = Thickness of shim (39). Note: Shim (39) is available in several thicknesses. Select the correct thickness of shim (39) in order to obtain the correct lift-off limitation. Only one shim (39) should be used. https://127.0.0.1/sisweb/sisweb/techdoc/techdoc_print_page.jsp?returnurl=/sis... 2020/3/15
994H Wheel Loader DWC00001-UP (MACHINE) POWERED BY 3516B Engine(SE... 9/15 Illustration 21 g03806421 27. Install shim (39), springs (40) and bearing (41) to barrel assembly (31). Illustration 22 g01171300 28. Install pistons (35) to retainer plate (36). Illustration 23 g01360768 29. Install retainer plate (36) with pistons (35) into barrel assembly (31). https://127.0.0.1/sisweb/sisweb/techdoc/techdoc_print_page.jsp?returnurl=/sis... 2020/3/15
994H Wheel Loader DWC00001-UP (MACHINE) POWERED BY 3516B Engine(... 10/15 Illustration 24 g01360767 30. Install barrel assembly (31). Illustration 25 g01360769 31. Install retainer (37), retainer (33), bolts (34), and bolts (38). Apply thread lock to the threads of bolts (38). Note: Bolts (38) and (34) should be replaced with new bolts. Illustration 26 g03806658 32. Install rods (24) and (25) and O-ring seal (26). https://127.0.0.1/sisweb/sisweb/techdoc/techdoc_print_page.jsp?returnurl=/sis... 2020/3/15
994H Wheel Loader DWC00001-UP (MACHINE) POWERED BY 3516B Engine(... 11/15 33. Install spring (22), piston (20), piston (23), and spring (21). Illustration 27 g03806704 34. Install bearing (28) and port plate (29) to head assembly (19). Use tooling (J) to retain port plate (29) to head assembly (19). Illustration 28 g01167852 Improper assembly of parts that are spring loaded can cause bodily injury. To prevent possible injury, follow the established assembly procedure and wear protective equipment. 35. Attach Tooling (B) and a suitable lifting device to head (19) and install head (19). https://127.0.0.1/sisweb/sisweb/techdoc/techdoc_print_page.jsp?returnurl=/sis... 2020/3/15
994H Wheel Loader DWC00001-UP (MACHINE) POWERED BY 3516B Engine(... 12/15 Illustration 29 g01167851 36. Install bolts (18). Illustration 30 g03806710 37. Use Tooling (A) in order to install retaining clip (27) to shaft (52). Illustration 31 g01167850 38. Install impeller (17). Use Tooling (A) in order to install retaining ring (16). https://127.0.0.1/sisweb/sisweb/techdoc/techdoc_print_page.jsp?returnurl=/sis... 2020/3/15
994H Wheel Loader DWC00001-UP (MACHINE) POWERED BY 3516B Engine(... 13/15 Illustration 32 g01167849 39. Install the O-ring seal, cover (15), and bolts (14). Illustration 33 g01360592 Improper assembly of parts that are spring loaded can cause bodily injury. To prevent possible injury, follow the established assembly procedure and wear protective equipment. 40. Install spool (5), retainer (6), spring (7), spring (8), retainer (9), O-ring seal (10), and valve (11). 41. Install spool (5A), retainer (6A), spring (7A), retainer (7B), O-ring seal (12), and valve (13). https://127.0.0.1/sisweb/sisweb/techdoc/techdoc_print_page.jsp?returnurl=/sis... 2020/3/15
994H Wheel Loader DWC00001-UP (MACHINE) POWERED BY 3516B Engine(... 14/15 Illustration 34 g01167846 42. Install O-ring seals (4). Illustration 35 g01360591 43. Install valve (2) and bolts (3). Illustration 36 g01167844 44. Install plug (1) and the O-ring seal. End By: a. Install the piston pump. https://127.0.0.1/sisweb/sisweb/techdoc/techdoc_print_page.jsp?returnurl=/sis... 2020/3/15
994H Wheel Loader DWC00001-UP (MACHINE) POWERED BY 3516B Engine(SE... 1/3 Shutdown SIS Previous Screen Product: WHEEL LOADER Model: 994H WHEEL LOADER DWC Configuration: 994H Wheel Loader DWC00001-UP (MACHINE) POWERED BY 3516B Engine Disassembly and Assembly 994H Wheel Loader Machine Systems Media Number -UENR0765-01 Publication Date -01/07/2011 Date Updated -08/11/2016 i04347339 Piston Pump (Steering) - Install SMCS - 4306-012-QP; 5070-012-ZH Installation Procedure Illustration 1 g02502836 1. Remove O-ring seal (10). https://127.0.0.1/sisweb/sisweb/techdoc/techdoc_print_page.jsp?returnurl=/sis... 2020/3/15
994H Wheel Loader DWC00001-UP (MACHINE) POWERED BY 3516B Engine(SE... 2/3 Illustration 2 g02502816 2. Use a suitable lifting device to install piston pump (8). The weight of piston pump (8) is approximately 227 kg (500 lb). 3. Install bolts (9). Illustration 3 g02502780 4. Connect hose assemblies (7). Illustration 4 g02502559 5. Connect hose assembly (6) and hose assemblies (5). Install hose assembly (4). https://127.0.0.1/sisweb/sisweb/techdoc/techdoc_print_page.jsp?returnurl=/sis... 2020/3/15
994H Wheel Loader DWC00001-UP (MACHINE) POWERED BY 3516B Engine(SE... 3/3 Illustration 5 g02502556 6. Connect hose assemblies (3), clip (2), and hose assembly (1). 7. Repeat Step 1 through Step 6 for the remaining piston pump. End By: a. Install the steering and the brake hydraulic tank. Refer to Disassembly and Assembly , "Hydraulic Tank (Steering , Brake) - Install". b. Install the brake cooling hydraulic tank. Refer to Disassembly and Assembly , "Hydraulic Tank (Brake Cooling) - Install". Copyright 1993 - 2020 Caterpillar Inc. Sun Mar 15 10:13:48 UTC+0800 2020 All Rights Reserved. Private Network For SIS Licensees. https://127.0.0.1/sisweb/sisweb/techdoc/techdoc_print_page.jsp?returnurl=/sis... 2020/3/15
994H Wheel Loader DWC00001-UP (MACHINE) POWERED BY 3516B Engine(SE... 1/2 Shutdown SIS Previous Screen Product: WHEEL LOADER Model: 994H WHEEL LOADER DWC Configuration: 994H Wheel Loader DWC00001-UP (MACHINE) POWERED BY 3516B Engine Disassembly and Assembly 994H Wheel Loader Machine Systems Media Number -UENR0765-01 Publication Date -01/07/2011 Date Updated -08/11/2016 i04347990 High Pressure Screen (Steering) - Remove SMCS - 431F-011-Z3 Removal Procedure Table 1 Required Tools Tool Part Number Part Description Qty A FT-1114 Vacuum Cap 1 Illustration 1 g02505596 1. Install Tooling (A) onto the hydraulic oil tank for the implement system. Attach an air supply hose to Tooling (A). Apply 276 to 414 kPa (40 to 60 psi) of air. This procedure will pull vacuum on the hydraulic system https://127.0.0.1/sisweb/sisweb/techdoc/techdoc_print_page.jsp?returnurl=/sis... 2020/3/15
994H Wheel Loader DWC00001-UP (MACHINE) POWERED BY 3516B Engine(SE... 2/2 Illustration 2 g02553756 2. Disconnect hose assemblies (1). Illustration 3 g02553916 3. Remove bolts (2). Remove high-pressure screen (3). 4. Repeat Step 1 through Step 3 for the remaining steering high-pressure screen. Copyright 1993 - 2020 Caterpillar Inc. Sun Mar 15 10:14:46 UTC+0800 2020 All Rights Reserved. Private Network For SIS Licensees. https://127.0.0.1/sisweb/sisweb/techdoc/techdoc_print_page.jsp?returnurl=/sis... 2020/3/15
Suggest: If the above button click is invalid. Please download this document first, and then click the above link to download the complete manual. Thank you so much for reading
994H Wheel Loader DWC00001-UP (MACHINE) POWERED BY 3516B Engine(SE... 1/3 Shutdown SIS Previous Screen Product: WHEEL LOADER Model: 994H WHEEL LOADER DWC Configuration: 994H Wheel Loader DWC00001-UP (MACHINE) POWERED BY 3516B Engine Disassembly and Assembly 994H Wheel Loader Machine Systems Media Number -UENR0765-01 Publication Date -01/07/2011 Date Updated -08/11/2016 i04385603 High Pressure Screen - Disassemble SMCS - 431F-015-Z3; 5068-015-Z3 Disassembly Procedure Start By: a. Remove the high-pressure screen. Refer to Disassembly and Assembly, "High Pressure Screen (Implement) - Remove" or Disassembly and Assembly, "High Pressure Screen (Steering) - Remove". Illustration 1 g01361619 1. Remove housing (2) from base (1). https://127.0.0.1/sisweb/sisweb/techdoc/techdoc_print_page.jsp?returnurl=/sis... 2020/3/15
https://www.ebooklibonline.com Hello dear friend! Thank you very much for reading. Enter the link into your browser. The full manual is available for immediate download. https://www.ebooklibonline.com

 POWERED BY 3516B")
 POWERED BY 3516B")

 POWERED BY 3516B")
 POWERED BY 3516B")
 POWERED BY 3516B")
 POWERED BY 3516B")
 POWERED BY 3516B")
 POWERED BY 3516B")
 POWERED BY 3516B")
 POWERED BY 3516B")
 POWERED BY 3516B")
 POWERED BY 3516B")
 POWERED BY 3516B")
 POWERED BY 3516B")
 POWERED BY 3516B")
 POWERED BY 3516B")
 POWERED BY 3516B")
 POWERED BY 3516B")
 POWERED BY 3516B")

 POWERED BY 3516B")