Understanding Bleeding Time and Coagulation Time Tests
The Bleeding Time (BT) test evaluates platelet plug formation and capillary integrity, crucial for surgery preparations. Prolonged bleeding times indicate low platelet count or dysfunction. The Duke method is one way to determine Bleeding Time. Sources of error, such as medication interference, improper puncture, or residual alcohol, can affect test results. Coagulation Time (Clotting Time) measures the time for blood to clot in vitro, with conditions like vitamin K deficiency affecting results. Different methods like the Capillary, Slide, and Tube methods are utilized for Coagulation Time testing.
Download Presentation

Please find below an Image/Link to download the presentation.
The content on the website is provided AS IS for your information and personal use only. It may not be sold, licensed, or shared on other websites without obtaining consent from the author. Download presentation by click this link. If you encounter any issues during the download, it is possible that the publisher has removed the file from their server.
E N D
Presentation Transcript
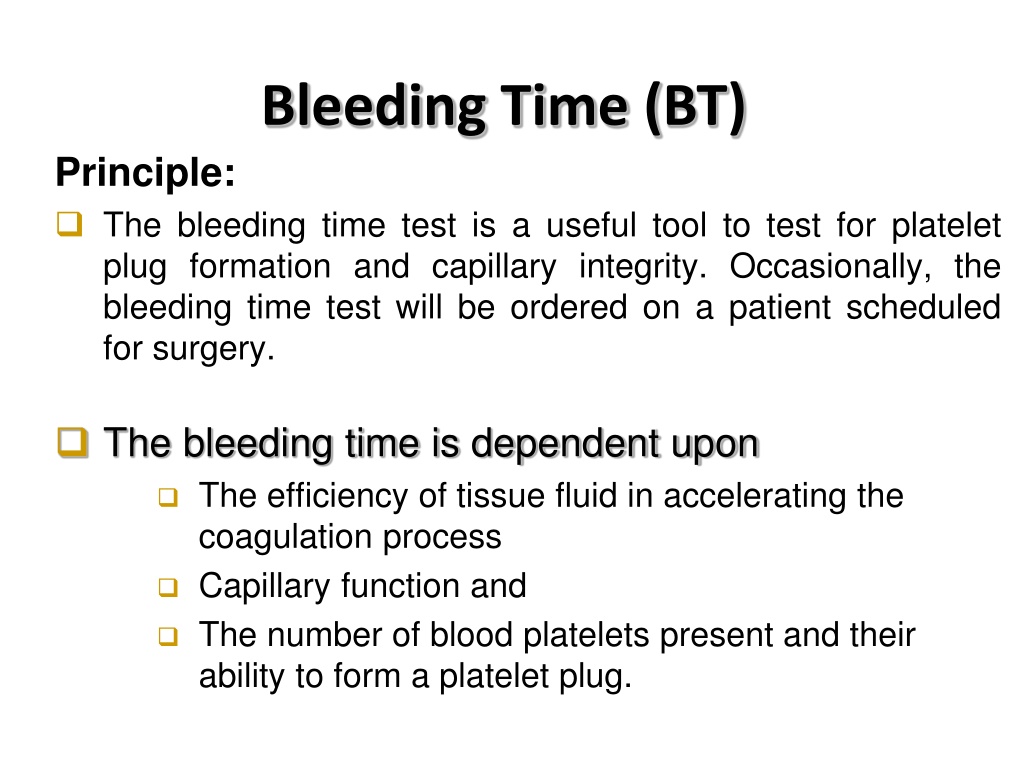
Bleeding Time (BT) Principle: The bleeding time test is a useful tool to test for platelet plug formation and capillary integrity. Occasionally, the bleeding time test will be ordered on a patient scheduled for surgery. The bleeding time is dependent upon The efficiency of tissue fluid in accelerating the coagulation process Capillary function and The number of blood platelets present and their ability to form a platelet plug.
Bleeding Time (BT) Prolonged bleeding times are generally found when The platelet count is below 50,000/ L When there is platelet dysfunction. Four procedures are currently in use for determining the bleeding time: The Duke method. The Ivy Method. The Mielke Method. The Simplate or Surgicutt Method.
Duke Method With the Duke method, the patient is pricked with a special needle or lancet, preferably on the earlobe or fingertip, after having been swabbed with alcohol. The prick is about technician then wipes the blood every 30 seconds with a filter paper. The test ceases when bleeding ceases. The usual time is about 1 3 minutes. No repeat testing is allowed due to space. The test causes nervousness in the patient. This test method is the easiest to perform, but is the least standardized and has the less precision and accuracy. 3 4 mm deep. The
Sources of Error If the patient has taken aspirin or aspirin-containing compounds 7 to 10 days prior to the procedure, the bleeding time may be prolonged. The technician must determine the patient's history concerning aspirin ingestion to ensure quality results. About 20 different medications, including antihistamines and nonsteroidal anti-inflammatory drugs such as aspirin and ibuprofen, impair the platelets' ability to stick to wounds, and therefore produce a longer bleeding time. Results may be affected by an improperly performed puncture. A puncture that is too shallow, too deep, or in an inappropriate location will adversely affect test results. The alcohol must be completely dried before making the puncture. If residual alcohol is on a puncture site, the bleeding time will be erroneously prolonged.
Coagulation Time ( Clotting Time) CT. Clotting Time is the time required for blood to form a clot in vitro. The basis for the test is that whole blood will form a solid clot when exposed to a foreign surface such as a glass tube. Conditions accompanied by increased Clotting Time: Hemorrhagic disease of Newborn Vitamin K deficiency. Heparin Therapy. Presence of Circulating antibodies (inhibitors) Anemia and leukemia. Methods: Capillary Method. Slide Method. Tube Method. 1. 2. 3.
PROCEDURE 1. Apply alcoholic 70 % to the clean finger with cotton swab. Allow it to dry naturally. 2. Prick the finger with usual aseptic precautions. Remove the first drop. 3. Dip one end of the capillary into blood drop gently without pressure. (use 3-4 capillary tubes) 4. The Timer is started when the first blood start to enter the first capillary tube. 5. Allow to fill the capillary with blood by lowering the end of fitted capillary. (Do not suck the blood) around th of its length undipped.
PROCEDURE 6. After every 30 seconds, using stopwatch, break a small piece of capillary. 7. Repeat breaking at regular time intervals, till fibrin thread appears at the broken end of capillary tube. Do not pull away the cut pieces ling apart and bristly. 8. Record time interval between pricking finger and first appearance of fibrin thread at the broken ends of capillary tube. That is clotting time of blood. 9. Don't forget to dispose of the broken tube in the SHARPS CONTAINER.
Clotting time of whole blood Clotting Time - Slide Method The surface of the glass tube initiates the clotting process. The expected range clotting time is 4-10 min. for
