Insurance Coordinator ESS Training Overview
In this training session, you will learn about the advantages, limitations, and procedures involved in Employer Self Service (ESS) for insurance coordination. Discover how to access employee and dependent coverage information, navigate enrollment procedures, and utilize the web platform efficiently.
Download Presentation

Please find below an Image/Link to download the presentation.
The content on the website is provided AS IS for your information and personal use only. It may not be sold, licensed, or shared on other websites without obtaining consent from the author.If you encounter any issues during the download, it is possible that the publisher has removed the file from their server.
You are allowed to download the files provided on this website for personal or commercial use, subject to the condition that they are used lawfully. All files are the property of their respective owners.
The content on the website is provided AS IS for your information and personal use only. It may not be sold, licensed, or shared on other websites without obtaining consent from the author.
E N D
Presentation Transcript
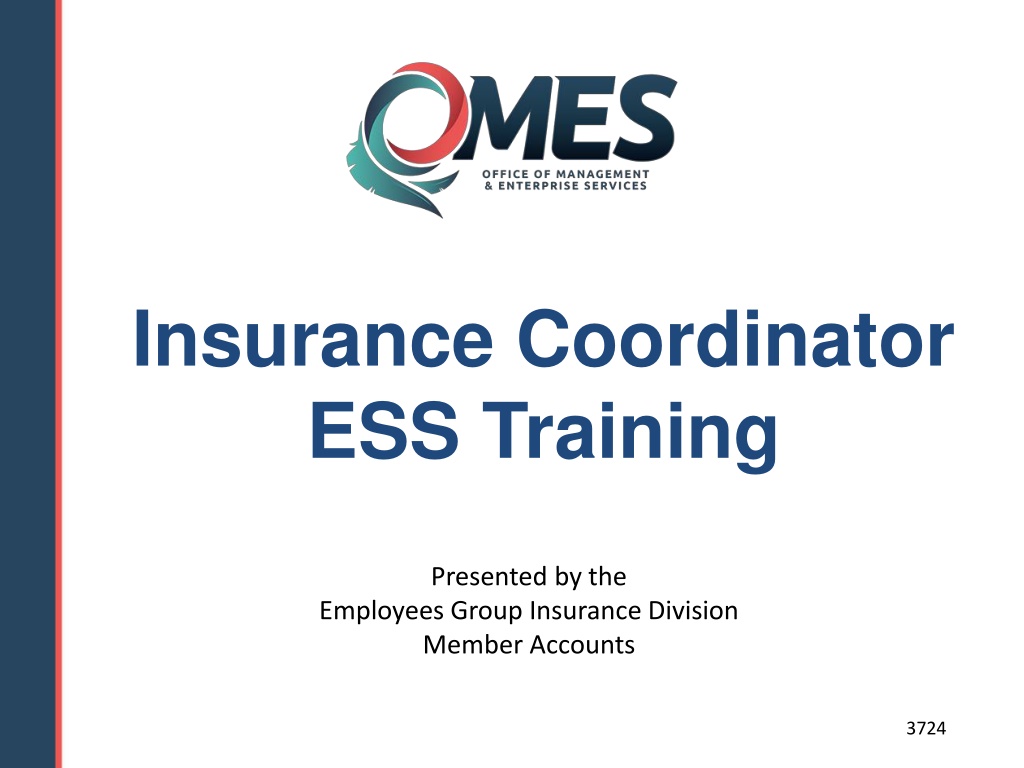
Insurance Coordinator ESS Training Presented by the Employees Group Insurance Division Member Accounts 1 3724
Welcome to Employer Self Service (ESS) Training! Please remember to log in to the phone system by calling 888-446-7584 and using participant code 856760. Thank you.
Web Support Team Debbie Gore Unit Manager Zach Dawson Elizabeth Graham Eric Woodard Web Support Help Desk 405-717-8707 800-543-6044, ext. 8707 Monday Friday 8:00 a.m. 4:30 p.m.
What You Will Learn Today Advantages Limitations Shortcut and Menu Bar New Hire Enrollment Procedures Transfer Procedures Midyear Enrollment/Change Procedures Termination Procedures Correction Procedures Registration Procedures
Advantages of Using the Web Employee and dependent coverage information available at your fingertips. Instant access to view, add or change coverage and personal information. No need to submit enrollment, change or termination forms. View and/or print bills. Print confirmation statements on demand. Enrollment Wizard.
Limitations EGID Administrative Rules still apply. ESS is for current employees of education and local government entities. Upgrade to Microsoft Internet Explorer 11 for optimal use (or use compatible Google Chrome or Firefox). Access limited to registered Insurance Coordinators. Some forms need to be sent to EGID. 210-Day Eligibility Window.
210-Day Eligibility Window Today's Date = 01/24/2018 Acceptable Effective Dates 12/1/2017, 1/1/2018, 2/1/2018, 3/1/2018, 4/1/2018, 5/1/2018, 6/1/2018 1 month retro Current Month 5 months in the future 01/01/2018 Acceptable Termination Dates 11/30/2017, 12/31/2017, 1/31/2018, 2/28/2018, 3/31/2018, 4/30/2018, 5/31/2018
Required Forms Beneficiary Designation Form Mail or fax to EGID Disabled Dependent Assessment Mail or fax to EGID Application for Coverage for Other Dependent Children Mail or fax to EGID Life Insurance Application Mail to EGID Spousal Exclusion Keep on file
Contract vs Period A contract begins when the employee enrolls in benefits and does not end until the IC terminates coverage. A period is a block of time in which elected benefits and covered dependents stay the same within the contract. A period starts on the effective date of coverage and continues until coverage changes or terminates. A new period must be started when benefits or dependents are added or dropped.
Steps for New Hire Enrollment Select Create Member. Enter SSN and date of birth select Next. Enter employee information select Finish. Dependent tab select Add Dependent, then Next. Enrollment tab select Process Life Events, then New Hire. Enrollment Wizard opens.
Enrollment Wizard New Hire EVENT DETAILS Enter start date of coverage. Enter annual salary if employee selects age-rated life. Select Next. OPTIONS TAB Add and select benefits. Uses same defaults choose plan options. When finished, select Close. Select Next. COVERED PEOPLE Choose employee and dependents. Select Next. REVIEW TAB Review choices for accuracy. If necessary, select Previous and make changes. If correct, select Confirm. RESULTS TAB Select Complete, then Close on the Congratulations page. Enrollment Wizard closes and Confirmation Statement appears.
Steps for a Transfer Select Create Member. Enter SSN and date of birth select Next. Choose member select Next. Choose division and enter effective date of coverage. Select View Member. Enroll employee. Check employee information select Finish. Dependent tab select Add Dependent. Enrollment tab select Process Life Events, then New Hire or Midyear Enrollment/Change. Enrollment Wizard opens.
Enrollment Wizard - Transfer EVENT DETAILS Enter start date of coverage. Enter annual salary if employee selects age-rated life. Select Next. OPTIONS TAB Select Add and choose benefits. Choose plan options. When finished, select Close. Select Next. COVERED PEOPLE Choose employee and dependents for each benefit. Select Next. REVIEW TAB Review choices for accuracy. If necessary, select Previous and make changes. If correct, select Confirm. RESULTS TAB Select Complete, then Close on the Congratulations page. Enrollment Wizard closes and Confirmation Statement appears.
Steps for Midyear Enrollment/Change Use Midyear Enrollment/Change when adding a new period. Select Member List. Search for employee, select Details. Go to Enrollment tab. Select Process Life Events, then Midyear Enrollment/Change. Enrollment Wizard opens.
Enrollment Wizard Midyear Enrollment/Change EVENT DETAILS Enter start date of change. Select Next. OPTIONS TAB Select Add and add benefits, if necessary. When finished, select Close. Select Next. COVERED PEOPLE Choose employee and dependents for each benefit. Select Next. REVIEW TAB Review choices for accuracy. If necessary, select Previous and make changes. If correct, select Confirm. RESULTS TAB Select Complete, then Close on the Congratulations page. Enrollment Wizard closes and Confirmation Statement appears.
Steps for a Termination Select Member List. Search for employee, select Details. Go to Enrollment tab. Select Process Life Events, then Termination. Enrollment Wizard opens.
Enrollment Wizard Termination EVENT DETAILS Enter termination date (last day of the month of coverage). Select Next. REVIEW TAB Review entry for accuracy. If necessary, select Previous and make changes. If correct, select Confirm. RESULTS TAB Select Complete, then Close on the Congratulations page. Enrollment Wizard closes and Confirmation Statement appears.
Correcting Errors Errors made by the Insurance Coordinator can easily be corrected within 60 days (only current month or previous month). After 60 days, corrections must be made the first of the month following notification of errors. Please check summary and billing carefully to find errors promptly. Always print a copy of the Confirmation Statement for the employee and have them check it carefully. Contact web support if you need help with a data entry error.
Steps for Correction Use Correction to make a change in a current active period that is within the 210-day window. Go to Member List. Search for member; select Details. Correct any errors on demographic pages. Go to Enrollment tab. Select Process Life Events, then Correction. Enrollment Wizard opens.
Enrollment Wizard Correction EVENT DETAILS Start date is prefilled with the most recent open period. (This field is not editable and may not display the desired date.). Select Next. OPTIONS TAB Select Add to choose additional benefits, if necessary. When finished, select Close. Select Next. COVERED PEOPLE Add or drop employee and dependents for each benefit. To drop a benefit, select the X to the right of the benefit. Select Next. REVIEW TAB Review choices for accuracy. If necessary, select Previous and make changes. If correct, select Confirm. RESULTS TAB Select Complete, then Close on the Congratulations page. Enrollment Wizard closes and Confirmation Statement appears.
Registration Select Register. Review Read and Accept Page; select Accept to continue. Enter ID emailed to you. Enter required information. Select Validate. Create username and password. Choose security question; enter the answer. Enter email address twice. Select Submit. You will be returned to the login page; enter new username and password.
Thank You for Attending WEB SUPPORT 405-717-8707 800-543-6044, ext. 8707
 undefined
