How Do I Remove Tile Without Damaging The Subfloor
Learn expert tips to remove tile without harming your subfloor. A simple, step-by-step guide for a smooth and damage-free tile removal process.
Download Presentation

Please find below an Image/Link to download the presentation.
The content on the website is provided AS IS for your information and personal use only. It may not be sold, licensed, or shared on other websites without obtaining consent from the author. Download presentation by click this link. If you encounter any issues during the download, it is possible that the publisher has removed the file from their server.
E N D
Presentation Transcript
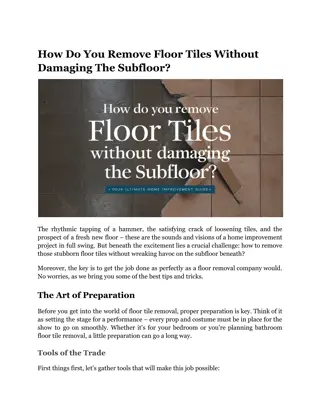
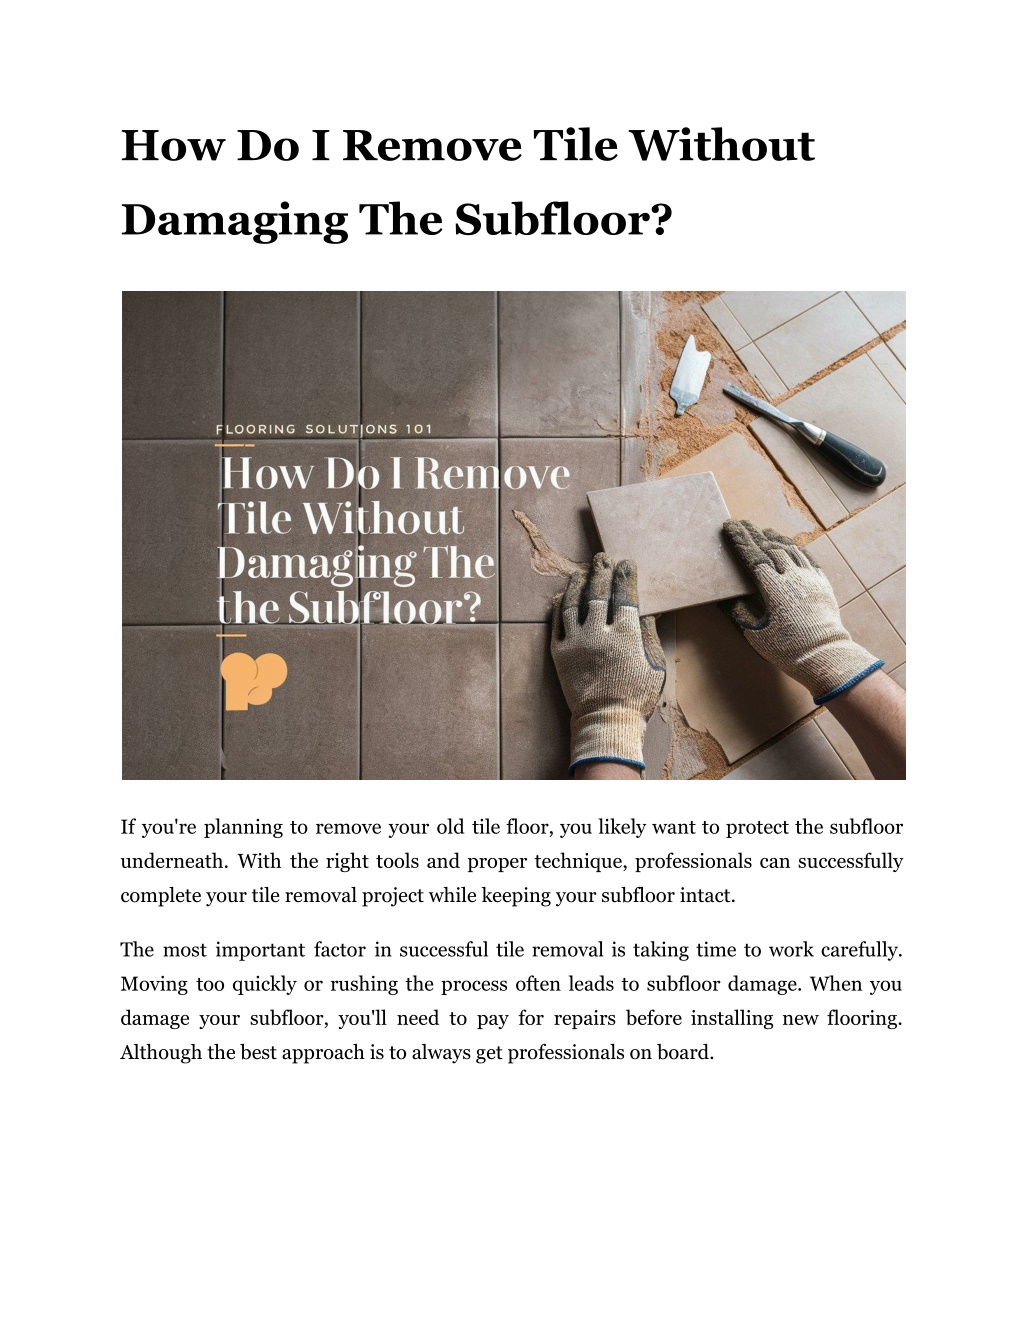
How Do I Remove Tile Without Damaging The Subfloor? If you're planning to remove your old tile floor, you likely want to protect the subfloor underneath. With the right tools and proper technique, professionals can successfully complete your tile removal project while keeping your subfloor intact. The most important factor in successful tile removal is taking time to work carefully. Moving too quickly or rushing the process often leads to subfloor damage. When you damage your subfloor, you'll need to pay for repairs before installing new flooring. Although the best approach is to always get professionals on board.
Assessment and Preparation: Your First Steps Evaluating Your Current Floor Before picking up any tools, take time to assess your situation. Different types of tiles and installation methods require different approaches. Check these key factors: Type of tile installed (ceramic, porcelain, natural stone) Type of adhesive used Condition of existing tiles Subfloor material (concrete, plywood, etc.) Gathering Your Tools Success in ceramic floor tile removal depends heavily on having the right tools at hand. Here's what you'll need: Safety equipment (safety glasses, heavy-duty gloves, knee pads, dust mask) Utility knife Floor scraper or long-handled shovel Hammer and chisel Pry bar HEPA vacuum Heavy-duty trash bags Safety First: Protecting Yourself and Your Space Before breaking that first tile, proper safety setup is essential. Follow these crucial steps: 1. Set up proper ventilation in your work area 2. Wear all necessary safety equipment 3. Cover doorways and vents with plastic sheeting 4. Set up dust containment systems 5. Keep a HEPA vacuum handy for continuous cleanup
The Removal Process: Taking It Step by Step Begin with these careful steps: 1. Remove baseboards or trim around the floor 2. Cut through grout lines with your utility knife 3. Start from a corner or damaged tile 4. Use your chisel and hammer to carefully pry up the first tile 5. Work methodically across the floor, maintaining consistent pressure Power Tool Techniques For larger areas or stubborn tiles, consider using power tools: Rotary hammer with chisel attachment Electric jackhammer (for mortar-set tiles) Floor scraper machine Demolition hammer with chisel attachment for particularly stubborn areas Remember to keep the tool flat against the floor to distribute force evenly and prevent subfloor damage. When using power tools, it's essential to: Start with the lowest power setting to assess the tile's resistance Keep the tool moving to prevent concentrated pressure in one spot Maintain a consistent angle to ensure even tile floor removal Stop immediately if you encounter unusual resistance For tiles set in mortar beds, professionals often recommend: Using an electric jackhammer with appropriate attachments Working in small sections to maintain control Keeping the work area wet to minimize dust Using a tile stripper for large, open areas
Dealing With Stubborn Adhesive After removing the tiles, you'll likely face residual adhesive. Here's how to handle it: 1. Test a small area to determine the adhesive type 2. For mastic adhesive, apply warm water to soften it 3. Use a floor scraper to remove loosened adhesive 4. Consider commercial adhesive removers for tough spots 5. Work in small sections to maintain control Working with Underlayment For plywood underlayment situations, professionals recommend these additional steps: Cut the underlayment into manageable sections before the removal Use a circular saw set to the exact depth of the underlayment Create smaller sections (typically 2x2 feet) to reduce stress on the subfloor Remove sections carefully to avoid pulling up subfloor material Check for and remove any remaining fasteners after each section Protecting Your Subfloor The key to successful tile floor removal lies in protecting your subfloor. Follow these professional tips: Use long pry bars to distribute pressure evenly Work slowly and methodically Avoid excessive force Pay attention to any changes in sound or feel while working Stop immediately if you notice any subfloor damage
Final Steps: Inspection and Cleanup Thorough Inspection Once all tiles and adhesive are removed: 1. Examine the entire subfloor for damage 2. Look for soft spots or water damage 3. Remove any remaining fasteners 4. Note areas needing repair 5. Ensure the surface is completely level Professional-Level Cleanup Complete these final steps: Remove all debris Vacuum thoroughly with a HEPA filter Wipe down the subfloor Check for any remaining adhesive spots Ensure the surface is completely dry Taking on a tile floor removal project might seem daunting at first, but with proper preparation and technique, you can successfully complete this task while keeping your subfloor in great condition. Remember that patience is your greatest ally throughout this process - rushing typically leads to mistakes and potential damage that could cost significantly more to repair than the time you might save. Wrapping It Up Whether you're preparing for new tile installation or switching to a different flooring material entirely, proper tile removal is crucial for ensuring your new floor's success. By following these professional guidelines and taking appropriate safety precautions, you'll be well-equipped to handle this challenging but rewarding home improvement project.
If at any point you feel uncertain about continuing the project, don't hesitate to consult with or hire Tear It Up Floor Removal. The cost of professional tile removal might seem high at first, but it's usually less expensive than repairing a damaged subfloor. Whatever path you choose, remember that proper preparation and technique are the keys to successful tile removal without subfloor damage. Site Article: How Do I Remove Tile Without Damaging The Subfloor


