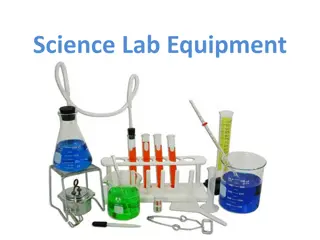
Pharmacology Lab Equipment and Safety Guidelines
Explore the setup and procedures of a Pharmacology lab focusing on agonists and antagonists potency testing. Learn about equipment, tissue suspension, lab safety, lab plan, and health precautions. Follow instructions for conducting experiments, recording data, and cleaning up. Utilize resources provided for a successful lab experience.

Download Presentation

Please find below an Image/Link to download the presentation.
The content on the website is provided AS IS for your information and personal use only. It may not be sold, licensed, or shared on other websites without obtaining consent from the author. Download presentation by click this link. If you encounter any issues during the download, it is possible that the publisher has removed the file from their server.
E N D
Presentation Transcript
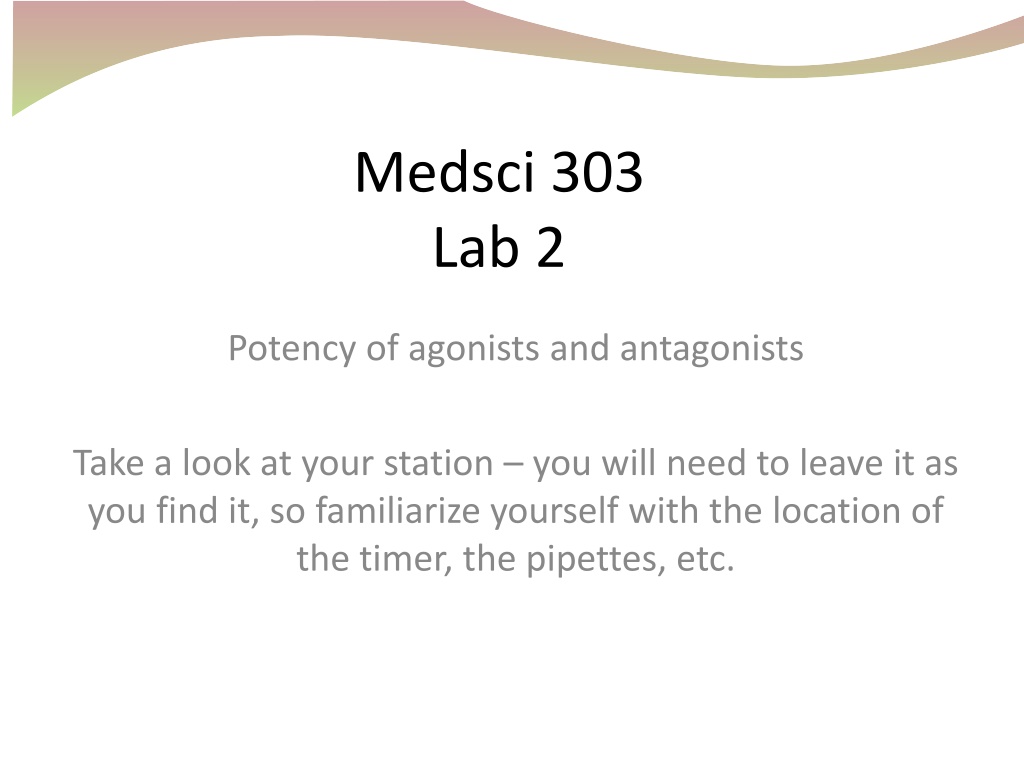
Medsci 303 Lab 2 Potency of agonists and antagonists Take a look at your station you will need to leave it as you find it, so familiarize yourself with the location of the timer, the pipettes, etc.
How is the tissue suspended? Tissue/Carbogen Hook 1 Tissue Hook 2 to Transducer Tissue Carbogen bubbles (ensure these going now) Resting tension across tissue is 0.5gm TIMER STARTED?
Tips for the lab Please do not touch the equipment on your bench during this introduction (other than washing every 5 min) Do not close the Chart program, log out, or do anything which will undo the calibration that has been done for your station You will be writing up this lab use your time in the lab well (Report Guide is on website and data will be posted on Cecil)
Plan for todays lab Introduce demonstrators Brief intro to this lab and organ baths Prepare dilutions Conduct the experiment Measure/transform the responses Record your data. Submit to demonstrator. Clean up. Follow instructions or lose marks.
Todays Health And Safety Wear gloves and safety glasses There are 3 types of rubbish bins: 1. Small YELLOW buckets on your bench (tips, empty tubes, gloves) for during experiment 2. Big YELLOW bins for lab waste too 3. Paper waste bins under the bench (for paper trash NOT for anything used in the lab, especially not gloves)
Intro to the Power Lab Equipment We have already: Set up Chart for Windows Opened GP Ileum Method Auto Calibrated the Powerlab to 0.5g (calibration translates the contraction into a gram value) DO NOT CLOSE PROGRAM or it will need to be done again
Intro to Organ Baths Designed for studying isolated tissue - a pharmacology screening tool to determine the concentration-response relationship in a contractile tissue Keep tissue alive by providing 1. Nutrients in the Krebs solution 2. Carbogen gas (95% O2 / 5% CO2) (keep an eye on these bubbles during the lab) 3. Warmth via heated Krebs solution
Intro to the Organ Bath Surrounding Apparatus B) Do Not Touch! C) Unhook from force transducer to suspend tissue A) Adjust resting tension D) Loosen to remove carbogen hook Tissue hooks
Today's experiment Using guinea pig ileum in an organ bath to gain data to construct concentration-response curves Comparing and contrasting the curves of 2 agonists (Exp A) Observe the effect on the concentration-response curve in the presence of 2 different antagonists (Exp B/C) Add agonist (5 min cycle x7) Add agonist (5 min cycle x7) Equilibrate tissue 30 mins Add antagonist (B/C) Equilibrate tissue 30 mins Gather data and post Suspend tissue 0 mins 30mins 65 mins 95 mins 135 mins
WHICH EXPERIMENT AM I DOING? A? B? or C? ASK YOURSELF? Read the protocol through completely while equilibrating your tissue
Agonist Dilutions Use the correct pipette / tip combination ask if you are unsure We suggest: Prepare 500 ul of each agonist solution you need. i.e. (V2 = 0.5 ml) You need to: Use water as your diluent. If your drug is on ice, keep your dilutions on ice.
Before you start adding drugs... Check tension (big silver dial), have you equilibrated for 30 minutes (washing every 5 min)? Do you know how to use Chart? Enter time/drug conc. => add drug => hit enter on chart to mark time)? Prepare your agonist serial dilutions: 4 test tubes per agonist Add conc. from low to high (i.e. 10-6 first) Keep pipette tips below the Krebs when adding agonist
5 minute cycle Empty and refill Empty and refill Readjust tension Add drug Add next conc. W W @ @ @ @ @ 0min 30sec 1min 30sec 5mins ~ 4mins
If you are unsure of what you are doing...think START ADDING YOUR FIRST DRUG first...ask second...
5 minute cycle Empty and refill Empty and refill Readjust tension Add drug Add next conc. W W @ @ @ @ @ 0min 30sec 1min 30sec 5mins ~ 4mins
For part two: Exp A When last contraction is ending, drain and refill chamber twice, start timer for 30 minute equilibration, washing every 5 minutes Exp B & C Drain and refill the reservoir Set the tap to overflow to drain When the reservoir is empty, STOP overflow (or you will waste the new Krebs) Add Krebs with antagonist Drain and refill the chamber twice, start timer for 30 minute equilibration, washing every 5 minutes
Parts of a Laboratory Report MEDSCI 305 Pharmacology Undergraduate Student
Support for Reports Report Writing Guide Rubric Website Piazza Tutors Group
Lab Reports Aim Introduction Method Results Discussion Conclusion Referencing (primarily in Intro & Discussion) PRESENTATION
Introduction Scientist vs Undergraduate Student To learn something about the science of the course you are taking An effective introduction in a lab report Established the learning context for the lab Link practical with lectures (Lecture 3, Chapter 4 Rang and Dale) General background information Your scientific writing skills are important here. A place to assess conciseness, flow of information as well as relevance of information
Materials and Methods What did you do and how did you do it? Animal species, tissue type/origin Experimental setup/process description Equipment used (organ bath, analysis or graphical software) Drugs and Solutions (final conc of exposure not how each working solution is made) Data Analysis Which data are from which experiment Data manipulation, how was it transformed? Include an appendix to highlight which data excluded
Results Display your graphs using the format provided on the web site. Class data Narrative results also required, provide quantitative values where possible so magnitude of effect can be clearly seen Think about flow/layout here too
Discussion 3 pages maximum Answer the questions given to you specifically Depth of answer important Results based support where possible Excellent referencing of facts
Measuring contractions Stop the trace Move the M pointer to the baseline before the first contraction you want to measure. Move your mouse along the line and record the maximum response (g) within the ~30 second window. Move M to the baseline just prior to the next agonist addition and measure the maximum. Do this for each concentration. Change all your contractions into % of maximum, i.e. if your biggest contraction is 8g, then make all other contractions a % of 8g. 4g = 50% etc Record your data on the handouts/in your manual
Normalising Responses Change all your contractions into % of maximum ??????????? ???????? ??????? ???????? x 100% e.g. if your biggest contraction is 8g, then a 4g response = 4 8 ? 100% = 50%
Class Data Record your data into the data sheet in your manual NOW MAKE SURE IT IS CLEAR SO YOUR DEMONSTRATOR CAN UNDERSTAND IT. Class data will be posted on Cecil by 5pm Thurs for you to process and present in your report. You can get started on the rest of the report earlier there is plenty to do!
CONTINUE WITH PART TWO Add agonist (5 min cycle x7) Add agonist (5 min cycle x7) Equilibrate tissue 30 mins Add antagonist (B/C) Equilibrate tissue 30 mins Gather data and post Suspend tissue 0 mins 30mins 65 mins 95 mins 135 mins Empty and refill Empty and refill Readjust tension Add drug Add next conc. @ @ 30sec @ @ @ 0min 1min 30sec 5mins ~ 4mins
Clean-up instructions Empty petri dishes and rinse them under the tap Test tubes emptied in sink & disposed of in waste bin Tissue disposed of in waste bin Upper reservoir drained, then filled with 2 litres of hot water (leave on overflow), leave bubbles flowing Tidy up your bench (pipettes etc.) leave it as it was ! Empty your ice bucket into sink Do not save chart file when closing Chart, log out Tidy away your mouse and keyboard etc. Station must be checked off by a tutor/demonstrator before you leave.