Cybersecurity Lab Assignments and Walkthroughs
Dive into hands-on cybersecurity lab assignments following detailed walkthroughs from the textbook. Document your progress in a shared lab notebook with screenshots. Explore topics such as malware analysis, DLL inspection, network functions, assembly code analysis, and more across various chapters of the book.
Download Presentation

Please find below an Image/Link to download the presentation.
The content on the website is provided AS IS for your information and personal use only. It may not be sold, licensed, or shared on other websites without obtaining consent from the author. Download presentation by click this link. If you encounter any issues during the download, it is possible that the publisher has removed the file from their server.
E N D
Presentation Transcript
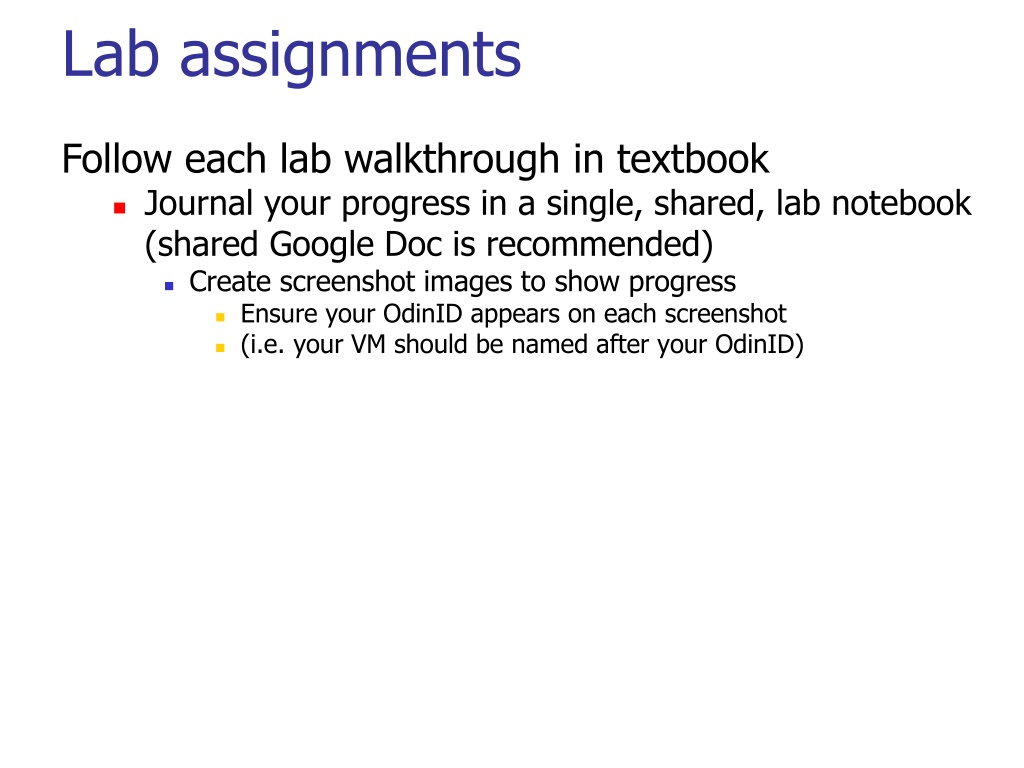
Lab assignments Follow each lab walkthrough in textbook Journal your progress in a single, shared, lab notebook (shared Google Doc is recommended) Create screenshot images to show progress Ensure your OdinID appears on each screenshot (i.e. your VM should be named after your OdinID)
Chapter 1 Lab 1-1 Show the results of virustotal.com In PEView, show the timestamps Show the list of imported system library calls. From these calls, what might this executable be doing? Show the list of imported calls from Lab01-01.dll. From these calls, what might this DLL be doing? Show where the malware is attempting to create its malicious file Lab 1-2 Show the results of virustotal.com In PEView, show the sections that contain the packed executable code Run UPX to unpack the code and load unpacked executable in PEView Show the functions imported from Wininet.dll. What might this executable be doing? Show the URL the malware connects to in memory
Chapter 3 Lab 3-2 Find the functions this DLL exports (Figure 3-5L) Find the imported functions that are used to modify the registry, create services, and make network connections. Which DLLs are they loaded from? Use strings within cygwin to reconstruct the URL being requested Lab 3-4 Copy binary to Desktop and run it. What happens? Examine the binary's strings using a tool of your choice (such as cygwin's strings) to find the cmd.exe command used Use Process Monitor (procmon) to monitor events from this binary to generate Figure 3-11L
Chapter 5 Lab 5-1 (Steps 1-17) Use IDA Pro to bring up the code of DllMain Bring up Figures 5-1L, the equivalent of 5-2L, and 5-3L Find the remote shell routine in which memcmp is used to compare command strings received over the network Show the code for the function called if the command robotwork is invoked Show IDA Pro graphs of DLLMain and sub_10004E79 Explain what the assembly code on p. 499 does Find the socket call referred to in Table 5-1L and change its integer constants to symbolic ones Show the assembly on p. 500. Find the routine that calls this assembly which shows that it is an anti-VM check.
Chapter 6 Lab 6-1 Show the imported network functions in any tool Show the output of executing the binary Load binary in IDA Pro to generate Figure 6-1L Lab 6-2 Generate Listing 6-1L and 6-2L using a tool of your choice. What calls hint at this code's function? Using either Wireshark or netcat with Apate DNS, execute the malware to generate Listing 6-3L (Note that if you wish to use netcat, the version on cygwin does not require the p to specify the port) In IDA Pro, show the functions called by main. What does each one do? In IDA Pro, show the order that the WinINet calls are used and explain what each one does. Generate Listing 6-5L and explain what each cmp does.
Chapter 7 Lab 7-2 Using strings in cygwin, identify the network resource being used by the malware Note that the resource is encoded in unicode Pass e l to the strings command to dump unicode strings instead of ASCII What imports give away the mechanism this malware uses to launch the browser? Go to the code snippet shown on p. 518. Follow the references to show the values of rclsid and riid in memory. Debug the program and break at the call shown on p. 519. Run the call to show the browser being launched with the embedded URL
Chapter 9 Lab 9-2 In OllyDbg, perform the Follow in Dump step to display 1qaz2wsx and ocl.exe Generate Listing 9-6L in IDA Pro. In OllyDbg, set a breakpoint at the strcmp and identify the strings being compared In IDA Pro, show where the network calls are located Change the name of the file to enable the malware to execute Step through and show the DNS name as it is being decoded Within Wireshark, show the connect and its result
Chapter 11 Lab 11-1 Use strings to identify potential target of malware Generate Figure 11-1L (Show TGAD section) Show Resource Hacker extracting TGAD In IDA Pro, show the routine that performs the extraction Generate Listing 11-2L in the extracted DLL Show Listing 11-3L and explain why a jmp is used Show Listing 11-4L and explain why a call is used Show Listing 11-5L and explain the purpose of msutil32.sys
Chapter 12 Lab 12-1 Show the imports and strings Rename the three imports (see Listing 12-1L) Generate Listing 12-2L and explain what its function is Explain how Listing 12-4L uses what is performed in Listing 12-3L Use ProcessExplorer to show injection for Figure 12-1L Generate Listing 12-5L and explain the parameters Lab 12-3 Show the imports that indicate the program's function Generate Listing 12-14L and explain what fn is Navigate fn to generate Listing 12-15L Follow the function called after a KEYDOWN event. What does the code in Listing 12-16L do?
Chapter 13 Lab 13-1 Show strings output Show web request listed in Listing 13-1L in Wireshark (turn off promiscuous mode) In IDA Pro, search for all xor, then bring up Figure 13-1L, rename xorEncode Bring up xrefs to xorEncode to get to Listing 13-2L Bring up binary in PEView to find resource section with type and name listed in Listing 13-2L Install WinHex (winhex.com), open binary, and perform Figure 13-2L Install PEiD (softpedia.com) with caution (should be a Zip file), open binary, and run KANAL at bottom right arrow to obtain Listing 13-3L Bring up Figure 13-3L in IDA Pro From xref to top-level function, bring up and rename base64index function From xref to base64index, bring up Listing 13-4L What does the string in the URL being requested represent?
Chapter 14 Lab 14-1 Run malware and capture the HTTP request it produces shown in Listing 14-1L. Is it different? Find the networking API call this malware uses for its request in IDA Pro Find where the URL string template is stored Generate Figure 14-1L Generate Figure 14-2L by redefining data location where string is stored Locate where the two parts of the URL string are generated (in the %s-%s sprintf) Map out how the character 6 is generated in the encoded URL How could malware break the first Snort rule shown?
Chapter 15 Lab 15-1 In IDA Pro, what anti-disassembly technique is used and how many times is it used? Undo the anti-disassembly in IDA Pro What order is the input checked? Lab 15-2 Explain the false conditional at 0x0040115A. Patch it. (cfg/idagui.cfg , ENABLE_PATCH_SUBMENU NO) Explain the false conditional at 0x004011D0. Patch it. Explain the technique being used at 0x00401215. Patch it. Explain the technique being used at 0x00401269. Patch it. Explain the technique being used at 0x004012E6. Which two methods does it combine? Patch it to reveal Listing 15-7L. Step through analysis of the malicious code What do sub_40130F and sub_401386 do? Show how the first downloaded file is used to generate the second downloaded file Show how the second downloaded file is used
Chapter 16 Lab 16-1 Load the binary in IDA Pro. Bring up Figure 16-1L and explain what the three jz checks are doing Bring up sub_401000 and Listing 16-1L. What does this code do? Load the binary in OllyDbg. Set a breakpoint at 0x00403554. What is the value of eax? Step over several instructions. What happens? Bring up Figure 16-2L or Figure 16-3L (via the Command Line plug-in or Phant0m plug-in) to reset the flag Re-run the first OllyDbg step. What happens? Explain the second anti-debugging check at 0x00403573 and how to bypass it Explain the third anti-debugging check at 0x00403594 and how to bypass it Set the argument to -in and single-step to reach 0x004035D5 (see Lab 9-1)
Chapter 17 Lab 17-1 In IDA Pro, show and explain the three anti-VM checks being performed Run the code. Break before the first anti-VM check. Does this check succeed? If so, NOP or skip the check and run again. Break before the second anti-VM check. Does this check succeed? If so, NOP or skip the check and run again. Break before the third anti-VM check by setting a breakpoint at 0x004012CB and stepping into sub_401100. Does this check succeed? If so, NOP or skip the check and run again. Reach the beginning of malware code at 0x004012DF and generate Listing 17-5L
Chapter 18 Lab 18-1 Load executable in IDA Pro to identify packed code Run PEiD on binary and find section UPX2. Perform a deep scan . What does PEiD return? In OllyDbg, locate the jump to the unpacking stub by finding the register save instruction Set a breakpoint at this location and execute unpacking code. Single-step to the OEP. Use OllyDump to dump the program into a new executable and load the new executable in IDA Pro
Chapter 19 Lab 19-2 In IDA, find the code that opens the registry to find the default web browser Find the code that attempts to create a new web browser process Find the place in the code where the browser process is opened and the malicious payload is injected into it and run In OllyDbg, set a breakpoint in main and single step (F8). What happens? View the buffer containing the shellcode to be injected into the browser (address was found in IDA Pro) In OllyDbg code pane, right click to Go to address, set origin to above address and run Generate Listing 19-4L Use the remaining time to attempt to complete the shellcode analysis. Where does your analysis get blocked?
Chapter 19 Lab 19-3 Run strings on the PDF file to generate Listing 19-11L Implement the Python script in Listing 19-12L and generate the shellcode. Does it differ from the included code? Load shellcode_launcher.exe into IDA Pro or Olly, set arguments to point to match command line shown below Listing 19-12L. Find where the shellcode has been loaded and will be launched Set a breakpoint just before the launch of the shellcode and single-step *into* the call Where has the code been loaded? Generate Listing 19-13L with these run-time addresses Single-step through to find the loop that populates the kernel32 API calls
Chapter 20 Lab 20-1 In IDA Pro, what does the first subroutine called in WinMain do? What does the instruction at 0x0401019 do? What does the instruction at 0x040101C do? Follow the second subroutine call. What does it do? What does the instruction at 0x0401055 do?
