Design and Test Your Own Water Bottle for Purifying Dirty Water
Explore the process of designing and testing a self-cleaning water bottle to purify dirty water. Students will work in groups to create their own designs, test them with dirty water samples, evaluate results, and make improvements for better purification. The project involves observing water quality, testing pH levels, and sharing and refining designs based on efficacy.

Download Presentation

Please find below an Image/Link to download the presentation.
The content on the website is provided AS IS for your information and personal use only. It may not be sold, licensed, or shared on other websites without obtaining consent from the author. Download presentation by click this link. If you encounter any issues during the download, it is possible that the publisher has removed the file from their server.
E N D
Presentation Transcript
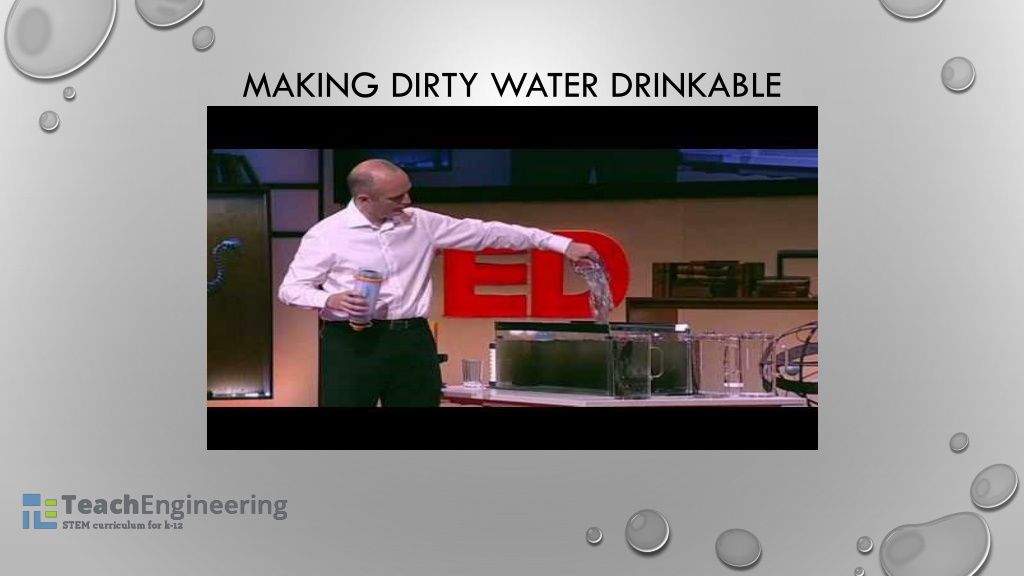
LIFESAVER BOTTLE GENERAL DESIGN TeachEngineering - www.teachengineering.org
BUILD YOUR OWN SELF CLEANING WATER BOTTLE YOU WILL DESIGN YOUR OWN LIFESAVER BOTTLE AND TEST IT WITH A SAMPLE OF DIRTY WATER. IN YOUR GROUP, DESIGN YOUR BOTTLE. WHAT MATERIALS WILL YOU USE? HOW WILL YOU SET IT UP? DRAW YOUR FINAL DESIGN AND HAVE THE TEACHER CHECK IT BEFORE YOU BEGIN. TeachEngineering - www.teachengineering.org
WATER QUALITY OF THE DIRTY WATER POUR 100 ML OF THE DIRTY WATER INTO THE 200 ML BEAKER. MAKE OBSERVATIONS ON THE COLOR AND TRANSPARENCY OF THE WATER. RECORD YOUR OBSERVATIONS. USE THE PH METER (OR STRIP) TO OBTAIN THE PH OF THE DIRTY WATER. RECORD YOUR RESULTS. CLEAN YOUR BEAKER. TeachEngineering - www.teachengineering.org
TESTING YOUR WATER BOTTLE PART 1 POUR 100 ML OF THE DIRTY WATER INTO YOUR WATER BOTTLE. ONCE FILTERED, SQUEEZE OUT THE WATER INTO THE 200 ML BEAKER. MAKE OBSERVATIONS ON THE COLOR AND TRANSPARENCY OF THE WATER. RECORD YOUR OBSERVATIONS ON YOUR STUDENT HANDOUT. USE THE PH METER (OR STRIP) TO OBTAIN THE PH OF THE TEST WATER. RECORD YOUR RESULTS ON THE STUDENT HANDOUT. CLEAN YOUR BEAKER. TeachEngineering - www.teachengineering.org
SHARE RESULTS PICK ONE REPRESENTATIVE TO SHARE THE RESULTS OF YOUR TEST. EXPLAIN YOUR DESIGN AND HOW EFFECTIVELY IT SEEMED TO CLEAN THE WATER. TeachEngineering - www.teachengineering.org
RETEST TALK WITH YOUR GROUP ABOUT WAYS YOU MAY IMPROVE YOUR WATER BOTTLE DESIGN. WHAT WORKED WELL? WHAT CAN YOU IMPROVE UPON? SKETCH YOUR IMPROVED DESIGN AND THEN FINALIZE THE DESIGN PROCESS. TeachEngineering - www.teachengineering.org
TESTING YOUR WATER BOTTLE PART 2 POUR 100 ML OF THE DIRTY WATER INTO YOUR WATER BOTTLE. ONCE FILTERED, SQUEEZE OUT THE WATER INTO THE 200 ML BEAKER. MAKE OBSERVATIONS ON THE COLOR AND TRANSPARENCY OF THE WATER. RECORD YOUR OBSERVATIONS ON YOUR STUDENT HANDOUT. USE THE PH METER (OR STRIP) TO OBTAIN THE PH OF THE TEST WATER. RECORD YOUR RESULTS ON THE STUDENT HANDOUT. CLEAN YOUR BEAKER. TeachEngineering - www.teachengineering.org
REFLECTION DESCRIBE WHAT YOU HAVE LEARNED FROM THE LESSON TODAY. MAKE SURE TO INCLUDE: WHAT YOU HAVE LEARNED ABOUT WATER POLLUTION MATERIALS THAT CAN BE USED TO CLEAN WATER ENGINEERING DESIGN PROCESS THE EFFECT THESE WATER BOTTLES CAN HAVE ON SOCIETY. TeachEngineering - www.teachengineering.org