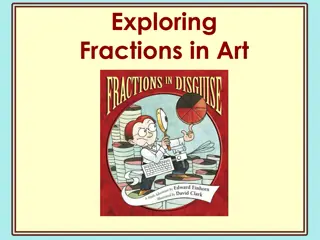
Understanding Centroids in Art: Methods and Definitions
Discover how to find the balance point of your artwork using different methods such as the Plumb Bob, Ruler, Average, and Construction techniques. Learn about centroids and their significance in art and design.

Download Presentation

Please find below an Image/Link to download the presentation.
The content on the website is provided AS IS for your information and personal use only. It may not be sold, licensed, or shared on other websites without obtaining consent from the author. Download presentation by click this link. If you encounter any issues during the download, it is possible that the publisher has removed the file from their server.
E N D
Presentation Transcript
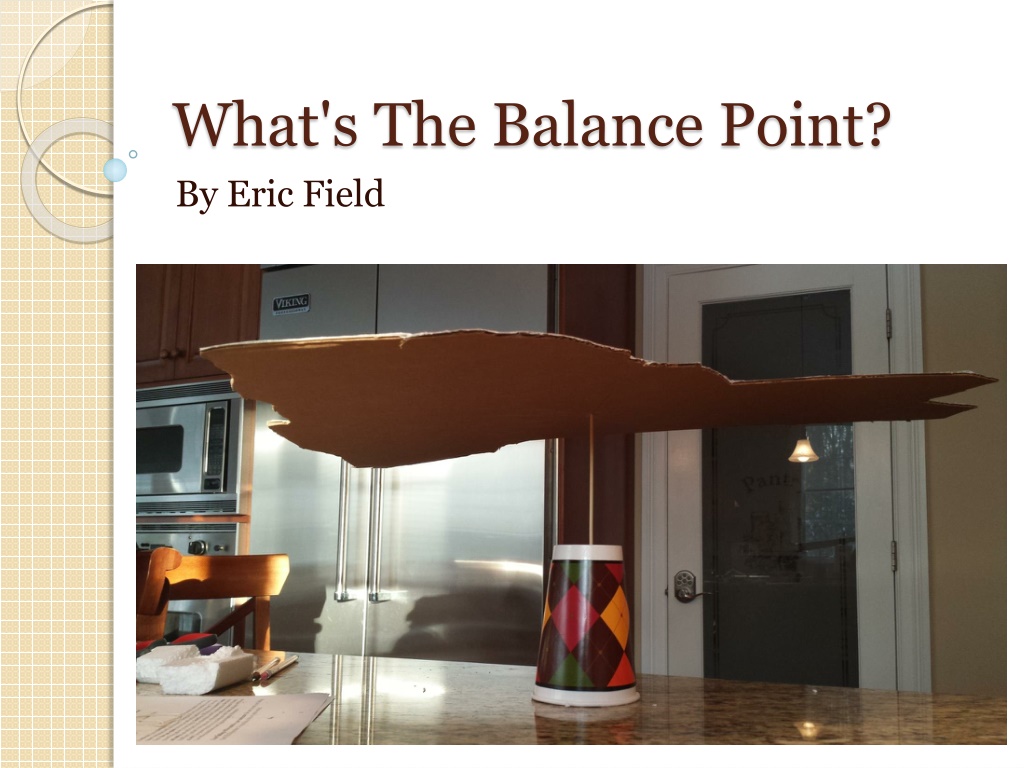
What's The Balance Point? By Eric Field
To the Artist So you re an artist looking to find the centroid of a piece you re working on, but you re unsure of how to find it; not a problem. There are a couple of different methods that can be used to find the centroid; The plumb bob method, Using a ruler to find medians, averaging all points of the polygon or a construction. I used all of these methods.
Centroid Definition The centroid is the balance point of an object or polygon. In other words, it is the center of mass of the object or polygon.
How to use the Plumb Bob method Materials needed: -A pin -A piece of string -Two pencils (one for a weight and one to trace with) Steps 1. Take the string and tie it around the pin. 2. Tie the pencil to the other end of the string. 3. Push the pin through a corner of the polygon. 4. Hold the pin and let the string and polygon hang freely. 5. Once they stop swinging, trace a line where the string is on the polygon. 6. Repeat this process once more from a different corner. 7. Make a point where the two lines intersect and that s the centroid.
How to use the Ruler method ONLY WORKS FOR TRIANGLES Materials needed: -A yard stick (ruler is too small) -A pencil Steps 1. Place the triangle on a flat surface. 2. Take the yard stick and find the half-way point of one of the sides. This is called the midpoint. 3. Draw a line that connects the midpoint to the opposite vertices. 4. Repeat this process for a different side of the triangle. 5. Make a point where the two lines intersect and that s the centroid.
How to use the Average method Materials needed: -A large grid (graph paper) -A pencil -A calculator Steps 1. Take the polygon and line it up on the graph paper so that every vertices is on a point on the grid. 2. Write down all of the point s coordinates. 3. Add up all of the X coordinates and divide it by the amount of coordinates. 4. Add up all of the Y coordinates and divide it by the amount of coordinates. 5. Put the two numbers together to form a coordinate and plot it. This is the centroid.
How to use the Construction method ONLY WORKS FOR TRIANGLES Materials needed: -A pin -A piece of string -A pencil -A large piece of paper Steps 1. Put the triangle on the paper 2. Tie the pin to one side of the string and tie the pencil to the other. 3. Pierce the pin through one of the corners of the triangle. NEXT SLIDE FOR NEXT STEPS
3. Stretch the string past halfway of a side on the triangle and draw an arc above and below the side. 4. Keep the string at the same distance and from a different side, draw an arc above and below the side. These two arcs should form two points because they should intersect twice. 6. Connect the points. 7. The line that connected the points should intersect with a side of the triangle. Make a point at that intersection. 8. Draw a line to connect that point to the opposite vertices to form a median. 9. Repeat this process using a different combination of sides. 10. Where the two medians intersect, place a point and that s the centroid.
Comparing and Contrasting Having used all four methods, I felt that the plumb bob method was the most accurate method. I noticed that all four of the methods gave slightly different centroids but only the plumb bob method was able to balance. Because I cut the polygons (not a machine), the sides weren't perfect. This made some methods difficult. When using the plumb bob method on the irregular shape, the string kept getting stuck on the different sides of the shape. Because of this, it took three attempts to get the true balance point.