Caterpillar Cat D3K2 LGP TRACK-TYPE TRACTOR (Prefix KL2) Service Repair Manual Instant Download (KL200001 and up)
Please open the website below to get the complete manualnn// n

Download Presentation

Please find below an Image/Link to download the presentation.
The content on the website is provided AS IS for your information and personal use only. It may not be sold, licensed, or shared on other websites without obtaining consent from the author. Download presentation by click this link. If you encounter any issues during the download, it is possible that the publisher has removed the file from their server.
E N D
Presentation Transcript
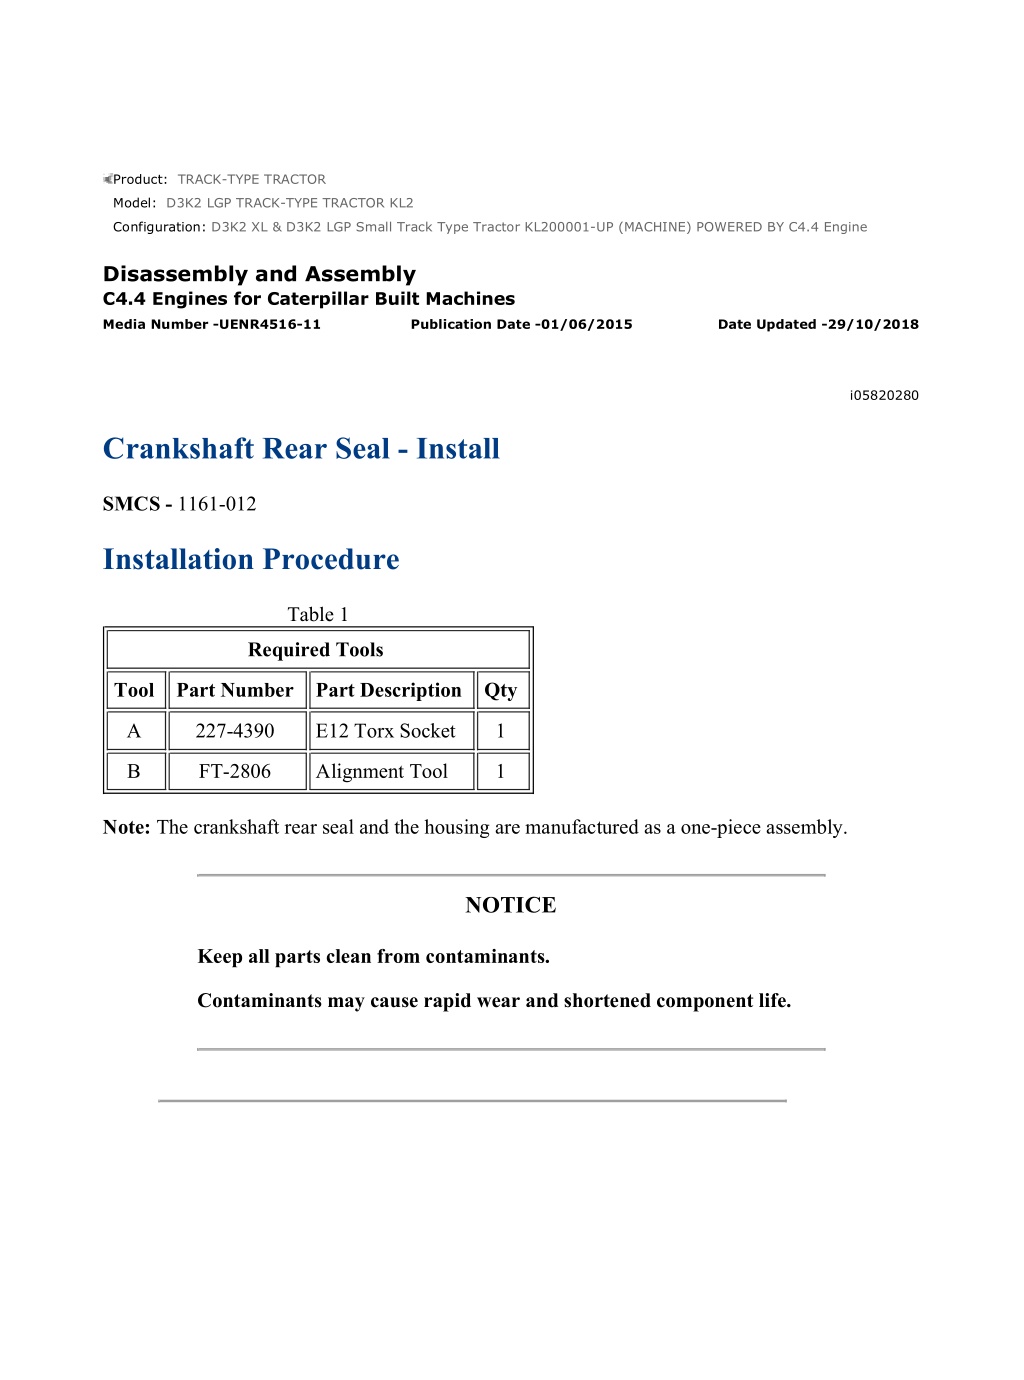
D3K2 XL & D3K2 LGP Small Track Type Tractor KL200001-UP (MACHINE) POW... 1/4 Product: TRACK-TYPE TRACTOR Model: D3K2 LGP TRACK-TYPE TRACTOR KL2 Configuration: D3K2 XL & D3K2 LGP Small Track Type Tractor KL200001-UP (MACHINE) POWERED BY C4.4 Engine Disassembly and Assembly C4.4 Engines for Caterpillar Built Machines Media Number -UENR4516-11 Publication Date -01/06/2015 Date Updated -29/10/2018 i05820280 Crankshaft Rear Seal - Install SMCS - 1161-012 Installation Procedure Table 1 Required Tools Tool Part Number Part Description Qty A 227-4390 E12 Torx Socket 1 B FT-2806 Alignment Tool 1 Note: The crankshaft rear seal and the housing are manufactured as a one-piece assembly. NOTICE Keep all parts clean from contaminants. Contaminants may cause rapid wear and shortened component life. https://127.0.0.1/sisweb/sisweb/techdoc/techdoc_print_page.jsp?returnurl=/sisw... 2022/6/1
D3K2 XL & D3K2 LGP Small Track Type Tractor KL200001-UP (MACHINE) POW... 2/4 Illustration 1 g02450219 https://127.0.0.1/sisweb/sisweb/techdoc/techdoc_print_page.jsp?returnurl=/sisw... 2022/6/1
D3K2 XL & D3K2 LGP Small Track Type Tractor KL200001-UP (MACHINE) POW... 3/4 Illustration 2 g02450222 1. Ensure that crankshaft flange (1) is clean, dry, and free from damage. 2. Ensure that the face of the cylinder block and the bridge piece are clean and dry. 3. A new crankshaft rear seal is supplied with a plastic sleeve (3). Ensure that the plastic sleeve is squarely installed within crankshaft rear seal (2). Note: The plastic sleeve is included in order to protect the lip of the seal as the seal is pushed over the crankshaft flange. Note: Do not lubricate the crankshaft rear seal or the crankshaft flange. The crankshaft rear seal must be installed dry. 4. Align plastic sleeve (3) with crankshaft flange (1). Ensure that the plastic sleeve is engaged onto the crankshaft flange. Push new crankshaft rear seal (2) squarely onto the crankshaft flange. During this process, the plastic sleeve will be forced out of the crankshaft rear seal. Discard the plastic sleeve. 5. Align the two molded locators on crankshaft rear seal (2) with the holes in the cylinder block. Ensure that the crankshaft rear seal is seated against the cylinder block. https://127.0.0.1/sisweb/sisweb/techdoc/techdoc_print_page.jsp?returnurl=/sisw... 2022/6/1
https://www.ebooklibonline.com Hello dear friend! Thank you very much for reading. Enter the link into your browser. The full manual is available for immediate download. https://www.ebooklibonline.com
D3K2 XL & D3K2 LGP Small Track Type Tractor KL200001-UP (MACHINE) POW... 4/4 Illustration 3 g02451996 6. Install torx screws (4) finger tight. Tightening sequence for the crankshaft rear seal Note: Do not install torx screws to Positions (X) at this stage. 7. Install Tooling (B) to crankshaft rear seal (2) and to crankshaft flange (1). 8. Use Tooling (A) in order to tighten torx screws (4) to a torque of 22 N m (16 lb ft). Tighten torx screws (4) in the sequence that is shown in Illustration 3. 9. Remove Tooling (B). 10. Install remaining torx screws (4) to Positions (X). Use Tooling (A) in order to tighten the torx screws to a torque of 22 N m (16 lb ft). Refer to Illustration 3. End By: a. Install the flywheel. Refer to Disassembly and Assembly, "Flywheel - Install" for the correct procedure. https://127.0.0.1/sisweb/sisweb/techdoc/techdoc_print_page.jsp?returnurl=/sisw... 2022/6/1
D3K2 XL & D3K2 LGP Small Track Type Tractor KL200001-UP (MACHINE) POW... 1/8 Product: TRACK-TYPE TRACTOR Model: D3K2 LGP TRACK-TYPE TRACTOR KL2 Configuration: D3K2 XL & D3K2 LGP Small Track Type Tractor KL200001-UP (MACHINE) POWERED BY C4.4 Engine Disassembly and Assembly C4.4 Engines for Caterpillar Built Machines Media Number -UENR4516-11 Publication Date -01/06/2015 Date Updated -29/10/2018 i05820282 Flywheel Housing - Remove and Install - Wet Back End Housing SMCS - 1157-010 Removal Procedure Table 1 Required Tools Tool Part Number Part Description Qty Guide Stud M10 by 100 mm A - 2 Start By: a. Remove the flywheel. Refer to Disassembly and Assembly, "Flywheel - Remove" for the correct procedure. NOTICE Keep all parts clean from contaminants. Contaminants may cause rapid wear and shortened component life. Note: The wet back end flywheel housing may be installed on standard engines. When the wet back-end flywheel housing is installed, to a standard engine a seal will not be installed to the flywheel housing. https://127.0.0.1/sisweb/sisweb/techdoc/techdoc_print_page.jsp?returnurl=/sisw... 2022/6/1
D3K2 XL & D3K2 LGP Small Track Type Tractor KL200001-UP (MACHINE) POW... 2/8 Illustration 1 g01986178 Typical example https://127.0.0.1/sisweb/sisweb/techdoc/techdoc_print_page.jsp?returnurl=/sisw... 2022/6/1
D3K2 XL & D3K2 LGP Small Track Type Tractor KL200001-UP (MACHINE) POW... 3/8 Illustration 2 g01988515 1. Remove the bolts from Position (X) from flywheel housing (1). 2. Install Tooling (A) into Position (X) on flywheel housing (1). 3. Install a suitable lifting device to the flywheel housing in order to support the flywheel housing. The flywheel housing can weigh 40 kg (88 lb). 4. Remove bolts (2) and remaining bolts (3) from flywheel housing (1). 5. Use the lifting device in order to remove flywheel housing (1) from the cylinder block. https://127.0.0.1/sisweb/sisweb/techdoc/techdoc_print_page.jsp?returnurl=/sisw... 2022/6/1
D3K2 XL & D3K2 LGP Small Track Type Tractor KL200001-UP (MACHINE) POW... 4/8 Illustration 3 g01988534 Typical example 6. Remove dust seal (5). https://127.0.0.1/sisweb/sisweb/techdoc/techdoc_print_page.jsp?returnurl=/sisw... 2022/6/1
D3K2 XL & D3K2 LGP Small Track Type Tractor KL200001-UP (MACHINE) POW... 5/8 Illustration 4 g01988535 Typical example 7. Remove gasket (6). 8. If necessary, remove dowels (4) from the cylinder block. 9. Remove oil seal (7) from flywheel housing (1). Installation Procedure (Wet Back End Housing) Table 2 Required Tools Tool Part Number Part Description Qty Guide Studs M10 by 100 mm A - 2 NOTICE Keep all parts clean from contaminants. Contaminants may cause rapid wear and shortened component life. https://127.0.0.1/sisweb/sisweb/techdoc/techdoc_print_page.jsp?returnurl=/sisw... 2022/6/1
D3K2 XL & D3K2 LGP Small Track Type Tractor KL200001-UP (MACHINE) POW... 6/8 1. Ensure that the flywheel housing is clean and free from damage. If necessary, replace the flywheel housing. Illustration 5 g01988676 Typical example 2. Install a new oil seal (7) to flywheel housing (1). Note: Press the oil seal into the flywheel housing from the rear. Ensure that the front edge of the oil seal is flush with the gasket surface of the flywheel housing . https://127.0.0.1/sisweb/sisweb/techdoc/techdoc_print_page.jsp?returnurl=/sisw... 2022/6/1
D3K2 XL & D3K2 LGP Small Track Type Tractor KL200001-UP (MACHINE) POW... 7/8 Illustration 6 g01988677 Typical example 3. Inspect crankshaft rear seal (8) for leaks. If there are any oil leaks, replace the crankshaft rear seal. Refer to Disassembly and Assembly, "Crankshaft Rear Seal - Remove" and refer to Disassembly and Assembly, "Crankshaft Rear Seal - Install" for the correct procedure. 4. Clean the rear face of the cylinder block. If necessary, install dowels (4) to the cylinder block. 5. Install Tooling (A) to the cylinder block. 6. Align a new gasket (6) with Tooling (A). Install the gasket to the cylinder block. 7. Install dust seal (5). 8. Install a suitable lifting device to the flywheel housing. The flywheel housing can weigh 40 kg (88 lb). 9. Use the lifting device to align flywheel housing (1) with Tooling (A). Install the flywheel housing to the cylinder block. 10. Install bolts (2) and bolts (3). 11. Remove Tooling (A). Install remaining bolts (3). https://127.0.0.1/sisweb/sisweb/techdoc/techdoc_print_page.jsp?returnurl=/sisw... 2022/6/1
D3K2 XL & D3K2 LGP Small Track Type Tractor KL200001-UP (MACHINE) POW... 8/8 Illustration 7 g01984554 Identification of the bolt Grade. 12. When 8.8 Graded bolts are installed, follow Step 12.a through Step 12.b. a. Tighten bolts (3) to a torque of 63 N m (46 lb ft). b. Tighten bolts (2) to a torque of 78 N m (58 lb ft). 13. When 10.9 Graded bolts are installed, follow Step 13.a through Step 13.b. a. Tighten bolts (3) to a torque of 115 N m (85 lb ft). b. Tighten bolts (2) to a torque of 190 N m (140 lb ft). 14. Check the alignment of flywheel housing (1) with the crankshaft. Refer to System Operation, Testing and Adjusting, "Flywheel Housing - Inspect" for further information. End By: a. Install the flywheel. Refer to Disassembly and Assembly, "Flywheel - Install" for the correct procedure. https://127.0.0.1/sisweb/sisweb/techdoc/techdoc_print_page.jsp?returnurl=/sisw... 2022/6/1
D3K2 XL & D3K2 LGP Small Track Type Tractor KL200001-UP (MACHINE) POW... 1/8 Product: TRACK-TYPE TRACTOR Model: D3K2 LGP TRACK-TYPE TRACTOR KL2 Configuration: D3K2 XL & D3K2 LGP Small Track Type Tractor KL200001-UP (MACHINE) POWERED BY C4.4 Engine Disassembly and Assembly C4.4 Engines for Caterpillar Built Machines Media Number -UENR4516-11 Publication Date -01/06/2015 Date Updated -29/10/2018 i06987814 Flywheel Housing - Remove and Install - Standard Housing SMCS - 1157-010 Removal Procedure Table 1 Required Tools Tool Part Number Part Description Qty Guide Studs M10 by 100 mm A - 2 Start By: a. Remove the flywheel. Refer to Disassembly and Assembly, "Flywheel - Remove" for the correct procedure. NOTICE Keep all parts clean from contaminants. Contaminants may cause rapid wear and shortened component life. https://127.0.0.1/sisweb/sisweb/techdoc/techdoc_print_page.jsp?returnurl=/sisw... 2022/6/1
D3K2 XL & D3K2 LGP Small Track Type Tractor KL200001-UP (MACHINE) POW... 2/8 Illustration 1 g01983516 Typical example https://127.0.0.1/sisweb/sisweb/techdoc/techdoc_print_page.jsp?returnurl=/sisw... 2022/6/1
D3K2 XL & D3K2 LGP Small Track Type Tractor KL200001-UP (MACHINE) POW... 3/8 Illustration 2 g01981253 1. Remove the bolts from Position (X) from flywheel housing (1). 2. Install Tooling (A) into Position (X) on flywheel housing (1). 3. Install a suitable lifting device to the flywheel housing to support the flywheel housing. The flywheel housing can weigh 40 kg (88 lb). 4. Remove bolts (2) and remaining bolts (3) from flywheel housing (1). 5. Use a suitable lifting device to remove flywheel housing (1) from the cylinder block. https://127.0.0.1/sisweb/sisweb/techdoc/techdoc_print_page.jsp?returnurl=/sisw... 2022/6/1
D3K2 XL & D3K2 LGP Small Track Type Tractor KL200001-UP (MACHINE) POW... 4/8 Illustration 3 g01983533 Typical example 6. Remove dust seal (5). 7. If necessary, remove dowels (4) from the cylinder block. Do not replace the dowels unless the dowels are damaged. Installation Procedure (Standard Housing) Table 2 Required Tools Tool Part Number Part Description Qty Guide Studs M10 by 100 mm A - 2 NOTICE Keep all parts clean from contaminants. Contaminants may cause rapid wear and shortened component life. https://127.0.0.1/sisweb/sisweb/techdoc/techdoc_print_page.jsp?returnurl=/sisw... 2022/6/1
D3K2 XL & D3K2 LGP Small Track Type Tractor KL200001-UP (MACHINE) POW... 5/8 1. Ensure that the flywheel housing is clean and free from damage. If necessary, replace the flywheel housing. Illustration 4 g01983535 Typical example 2. Inspect crankshaft rear seal (6) for leaks. If there are any oil leaks, replace the crankshaft rear seal. Refer to Disassembly and Assembly, "Crankshaft Rear Seal - Remove" and refer to Disassembly and Assembly, "Crankshaft Rear Seal - Install" for the correct procedure. 3. Clean the rear face of the cylinder block. If necessary, install dowels (4) to the cylinder block. 4. Install Tooling (A) to the cylinder block. 5. Install dust seal (5). https://127.0.0.1/sisweb/sisweb/techdoc/techdoc_print_page.jsp?returnurl=/sisw... 2022/6/1
D3K2 XL & D3K2 LGP Small Track Type Tractor KL200001-UP (MACHINE) POW... 6/8 Illustration 5 g01981253 Typical example 6. Ensure that bolts (2) and bolts (3) are clean and free from oil or grease. Ensure that all threaded holes in the cylinder block are clean and free from oil or grease. 7. Install a suitable lifting device to the flywheel housing. The flywheel housing can weigh 40 kg (88 lb). 8. Use the lifting device to align flywheel housing (1) with Tooling (A). Install the flywheel housing to the cylinder block. 9. Install bolts (2) and bolts (3). 10. Remove Tooling (A). Install remaining bolts (3). https://127.0.0.1/sisweb/sisweb/techdoc/techdoc_print_page.jsp?returnurl=/sisw... 2022/6/1
D3K2 XL & D3K2 LGP Small Track Type Tractor KL200001-UP (MACHINE) POW... 7/8 Illustration 6 g06188473 Tightening sequence Illustration 7 g01984554 Identification of the bolt Grade bolts (3) and bolts (2) 11. Follow Step 11.a through Step 11.b to tighten bolts (3) and bolts (2) in the tightening sequence. Refer to Illustration 6. https://127.0.0.1/sisweb/sisweb/techdoc/techdoc_print_page.jsp?returnurl=/sisw... 2022/6/1
D3K2 XL & D3K2 LGP Small Track Type Tractor KL200001-UP (MACHINE) POW... 8/8 a. Tighten bolts (3) to a torque of 63 N m (46 lb ft). b. Tighten bolts (2) to a torque of 78 N m (58 lb ft). 12. Check the alignment of flywheel housing (1) with the crankshaft. Refer to System Operation, Testing and Adjusting, "Flywheel Housing - Inspect" for the correct procedure. End By: a. Install the flywheel. Refer to Disassembly and Assembly, "Flywheel - Install" for the correct procedure. https://127.0.0.1/sisweb/sisweb/techdoc/techdoc_print_page.jsp?returnurl=/sisw... 2022/6/1
D3K2 XL & D3K2 LGP Small Track Type Tractor KL200001-UP (MACHINE) POW... 1/4 Product: TRACK-TYPE TRACTOR Model: D3K2 LGP TRACK-TYPE TRACTOR KL2 Configuration: D3K2 XL & D3K2 LGP Small Track Type Tractor KL200001-UP (MACHINE) POWERED BY C4.4 Engine Disassembly and Assembly C4.4 Engines for Caterpillar Built Machines Media Number -UENR4516-11 Publication Date -01/06/2015 Date Updated -29/10/2018 i05820283 Crankshaft Pulley - Remove and Install SMCS - 1205-010 Removal Procedure Start By: a. Remove the alternator belt. Refer to Disassembly and Assembly, "Alternator Belt - Remove and Install" for the correct procedure. NOTICE Keep all parts clean from contaminants. Contaminants may cause rapid wear and shortened component life. https://127.0.0.1/sisweb/sisweb/techdoc/techdoc_print_page.jsp?returnurl=/sisw... 2022/6/1
D3K2 XL & D3K2 LGP Small Track Type Tractor KL200001-UP (MACHINE) POW... 2/4 Illustration 1 g02449658 1. Use a suitable tool in order to prevent the crankshaft from rotating. Remove bolts (1). 2. Remove crankshaft pulley (2) from the crankshaft. Installation Procedure Table 1 Required Tools Tool Part Number Part Description Qty A 8T-3052 Degree Wheel 1 NOTICE Keep all parts clean from contaminants. Contaminants may cause rapid wear and shortened component life. https://127.0.0.1/sisweb/sisweb/techdoc/techdoc_print_page.jsp?returnurl=/sisw... 2022/6/1
Suggest: For more complete manuals. Please go to the home page. https://www.ebooklibonline.com If the above button click is invalid. Please download this document first, and then click the above link to download the complete manual. Thank you so much for reading
D3K2 XL & D3K2 LGP Small Track Type Tractor KL200001-UP (MACHINE) POW... 3/4 1. Ensure that the pulley is clean and free from damage. Replace any components that are damaged. Illustration 2 g02449658 2. Install a new front seal to the front cover. Refer to Disassembly and Assembly, "Crankshaft Front Seal - Remove and Install" for the correct procedure. 3. Install crankshaft pulley (2) to the crankshaft. Note: Do not lubricate the front seal or the seal face of the crankshaft pulley. 4. Install bolts (1). 5. Use a suitable tool in order to prevent the crankshaft from rotating. Tighten the bolts to a torque of 22 N m (195 lb in). 6. Use tooling (A) in order to turn bolts (1) through an additional 120 degrees. End By: a. Install the alternator belt. Refer to Disassembly and Assembly, "Alternator Belt - Remove and Install" for the correct procedure. https://127.0.0.1/sisweb/sisweb/techdoc/techdoc_print_page.jsp?returnurl=/sisw... 2022/6/1
D3K2 XL & D3K2 LGP Small Track Type Tractor KL200001-UP (MACHINE) POW... 1/4 Product: TRACK-TYPE TRACTOR Model: D3K2 LGP TRACK-TYPE TRACTOR KL2 Configuration: D3K2 XL & D3K2 LGP Small Track Type Tractor KL200001-UP (MACHINE) POWERED BY C4.4 Engine Disassembly and Assembly C4.4 Engines for Caterpillar Built Machines Media Number -UENR4516-11 Publication Date -01/06/2015 Date Updated -29/10/2018 i05820284 Crankshaft Front Seal - Remove and Install SMCS - 1160-010 Removal Procedure Table 1 Required Tools Tool Part Number Part Description Qty A 367-3534 Oil Seal Removal & installer Tool 1 Start By: a. Remove the crankshaft pulley. Refer to Disassembly and Assembly, "Crankshaft Front Pulley- Remove and Install" for the correct procedure. NOTICE Keep all parts clean from contaminants. Contaminants may cause rapid wear and shortened component life. https://127.0.0.1/sisweb/sisweb/techdoc/techdoc_print_page.jsp?returnurl=/sisw... 2022/6/1
https://www.ebooklibonline.com Hello dear friend! Thank you very much for reading. Enter the link into your browser. The full manual is available for immediate download. https://www.ebooklibonline.com