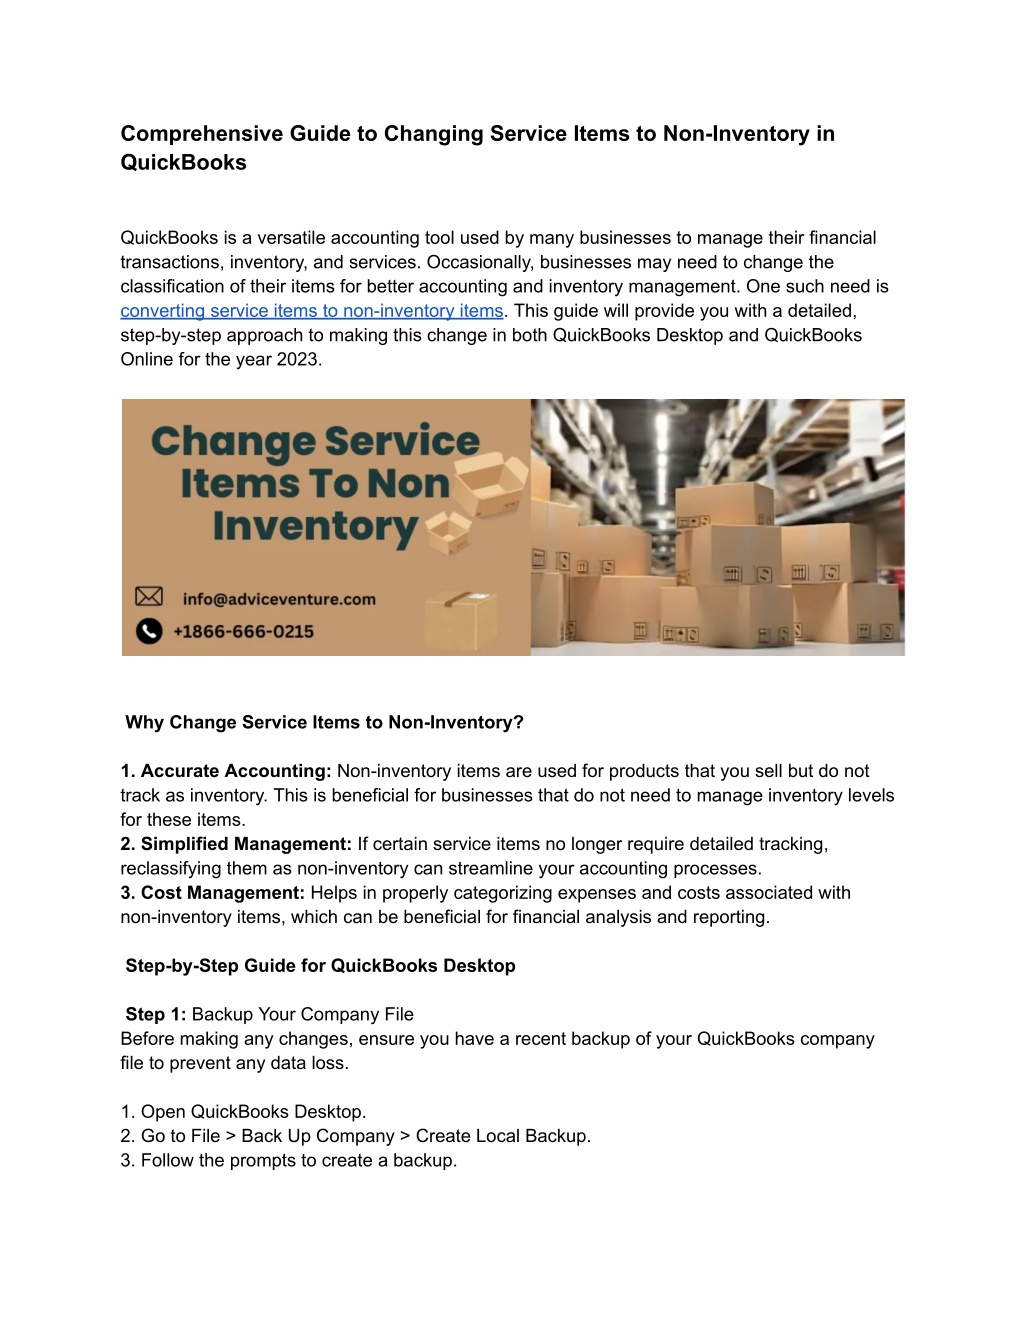
Comprehensive Guide to Changing Service Items to Non-Inventory in QuickBooks
Learn how to change service items to non-inventory items in QuickBooks with our comprehensive guide. This step-by-step resource will help you efficiently manage your inventory and service items, ensuring accurate financial records. Whether you're using QuickBooks Desktop or Online, our guide provides clear instructions to streamline your item categorization process. Avoid common pitfalls and optimize your inventory management with confidence. Transform your service items into non-inventory items seamlessly

Download Presentation
Please find below an Image/Link to download the presentation.
The content on the website is provided AS IS for your information and personal use only. It may not be sold, licensed, or shared on other websites without obtaining consent from the author. Download presentation by click this link. If you encounter any issues during the download, it is possible that the publisher has removed the file from their server.
Presentation Transcript
Comprehensive Guide to Changing Service Items to Non-Inventory in QuickBooks QuickBooks is a versatile accounting tool used by many businesses to manage their financial transactions, inventory, and services. Occasionally, businesses may need to change the classification of their items for better accounting and inventory management. One such need is converting service items to non-inventory items. This guide will provide you with a detailed, step-by-step approach to making this change in both QuickBooks Desktop and QuickBooks Online for the year 2023. Why Change Service Items to Non-Inventory? 1. Accurate Accounting: Non-inventory items are used for products that you sell but do not track as inventory. This is beneficial for businesses that do not need to manage inventory levels for these items. 2. Simplified Management: If certain service items no longer require detailed tracking, reclassifying them as non-inventory can streamline your accounting processes. 3. Cost Management: Helps in properly categorizing expenses and costs associated with non-inventory items, which can be beneficial for financial analysis and reporting. Step-by-Step Guide for QuickBooks Desktop Step 1: Backup Your Company File Before making any changes, ensure you have a recent backup of your QuickBooks company file to prevent any data loss. 1. Open QuickBooks Desktop. 2. Go to File > Back Up Company > Create Local Backup. 3. Follow the prompts to create a backup.
Step 2: Identify the Service Items to Be Changed 1. Go to Lists > Item List. 2. Identify the service items that need to be changed to non-inventory. Step 3: Edit the Service Items 1. Right-click on the service item you want to change and select Edit Item. 2. In the Edit Item window, note down any important information related to the item (such as descriptions and rates). 3. Select the Type drop-down menu and change it from Service to Non-inventory Part. 4. Enter any additional information required for non-inventory items, such as the account to track the expense or income. 5. Click OK to save the changes. Step 4: Update Transactions Review and update any existing transactions involving the items you ve changed. This ensures that past transactions are correctly categorized. 1. Go to Reports > Report Center. 2. Run a report such as Item QuickReport to find all transactions involving the changed items. 3. Edit each transaction to ensure they reflect the non-inventory status of the items. Step-by-Step Guide for QuickBooks Online Step 1: Prepare Your Account Ensure you have administrative access and consider exporting a backup of your data. 1. Navigate to Settings > Export Data to back up your QuickBooks Online data. Step 2: Identify the Service Items to Be Changed 1. Go to Sales > Products and Services. 2. Identify the service items that need to be changed to non-inventory. Step 3: Edit the Service Items 1. Click on the service item you want to change. 2. In the Edit Product or Service window, note down any important information related to the item. 3. Change the Type from Service to Non-inventory. 4. Enter any additional required information, such as the account to track expenses or income. 5. Click Save and close to apply the changes.
Step 4: Update Transactions Review and update any existing transactions involving the items you ve changed. This ensures that past transactions are correctly categorized. 1. Go to Reports > Standard. 2. Run a report such as Sales by Product/Service Detail to find all transactions involving the changed items. 3. Edit each transaction to ensure they reflect the non-inventory status of the items. Common Issues and Troubleshooting Issue 1: Item Not Editable If QuickBooks does not allow you to edit an item type: 1. Ensure there are no open transactions involving the item. 2. If transactions are open, close or delete them if possible. 3. Check user permissions to ensure you have the required access to edit items. Issue 2: Transactions Not Updating If changes to items do not reflect in transactions: 1. Manually update each affected transaction. 2. Use the Find feature to locate transactions quickly by item name. 3. Ensure no filters are applied that might hide certain transactions. Issue 3: Reports Showing Incorrect Data If reports show incorrect data after making changes: 1. Refresh the report or clear filters. 2. Re-run the report to capture the latest data. 3. Verify that all changes to transactions were saved properly. Benefits of Correct Classification 1. Improved Financial Reporting: Ensures financial statements accurately reflect the nature of transactions. 2. Efficient Inventory Management: Helps avoid unnecessary tracking of service items. 3. Simplified Tax Preparation: Correct classification aids in accurate tax filing and compliance.
Conclusion Changing service items to non-inventory in QuickBooks can enhance your accounting accuracy and streamline your financial management processes. By following the detailed steps provided for both QuickBooks Desktop and QuickBooks Online, you can ensure a smooth transition and maintain the integrity of your financial data. Remember to back up your data before making changes, and review all transactions to confirm that they are accurately categorized. By mastering these changes, you can optimize your QuickBooks experience and maintain precise financial records, ultimately supporting better decision-making and business success in 2023 and beyond. Visit for more info https://www.adviceventure.com/service-items-to-non-inventory/