Gear Reducer Repair and Rebuild Initial Considerations
Understanding the initial considerations for gear reducer repair and rebuild is crucial before diving into the teardown and inspection process. From identifying gearbox variations to assessing the cause of failures related to lubrication, this guide covers essential aspects such as cost analysis for repair versus replacement and the capabilities required for completing the repair. By examining factors like gear types, seals, bearings, and maintenance practices, you can ensure a thorough and successful gear reducer repair or rebuild.

Download Presentation

Please find below an Image/Link to download the presentation.
The content on the website is provided AS IS for your information and personal use only. It may not be sold, licensed, or shared on other websites without obtaining consent from the author. Download presentation by click this link. If you encounter any issues during the download, it is possible that the publisher has removed the file from their server.
E N D
Presentation Transcript
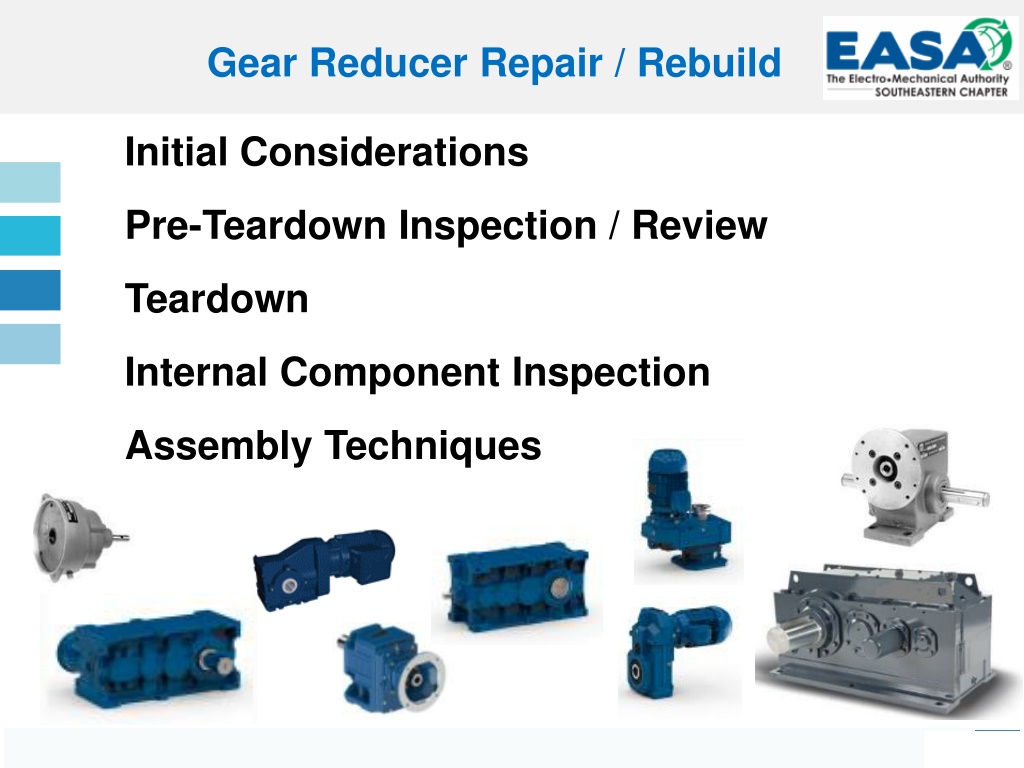
Gear Reducer Repair / Rebuild Initial Considerations Pre-Teardown Inspection / Review Teardown Internal Component Inspection Assembly Techniques
Initial Considerations How Gearboxes vary from motors No NEMA standard instead AGMA guidelines What s Inside? Cam-style covers gaskets/ shims Special shafts spline, taper, knurl Preload/ play in shafts Gears many types: worm, helical, bevel Press fits to OEM spec. Various bearing types Oil / oil seals Heating elements No wires
Initial Considerations Reason for repair order Routine Maintenance Seals, bearings, vent and general inspection Oil Leaks Modifications ie: output shaft orientation Failure Understand customer complaint Inspect to find root cause Add value to finished product
Understanding Cause of Failure Lubricant related failures (#1 Reason) Run without oil shipped dry from factory Low oil level variable based on mounting orientation Improper oil/ lube follow mfg. recommendations Seal/ gasket leaks seal life: 3000-5000 hrs; depends on environment Plugged / lack of a pressure vent Other common modes of failure Broken shaft/ gear reversing or shock load Failed brg/ worn gear - heavy loads over time, lube Cracked/ split housing shock load Side Note: Gearboxes don t stall they break
Initial Considerations Cost of repair vs replace? Customer financial budget Customer timeline If under $500-700: consider replacement Gearmotors, worm reducers, miter boxes Are replacement components available? Does OEM offer replacement parts? Will manufacturer share detail specs? Is a comparable gearbox available complete? Older models often require reverse engineering and custom gear or shaft mfg.
Initial Considerations Can your shop complete the repair? Authorized Service Centers Covered under manufacturer warranty Typically approved/ trained by manufacturer Similar to EASA motor shop set-up Equipment / Resources (for the big ones) Crane Presses Gear design / cutting equipment Shaft machining Vibration analysis Thermographic analysis Oil analysis
Pre-Teardown Inspection / Review Check exterior before cleaning/ disassembly Oil Leaks Overheating (tempered colors, burnt paint, seal or gasket, melted plastic plugs) Corrosion Contamination (blocked vent) Damage (housing, shafts, vent) Measure shaft endplay/ backlash (if needed) Record findings Obtain assembly/ exploded-view drawings
Teardown Take photos as needed through process Match-mark cover positions to housing Tapered covers for bearing setting Unique covers Non-symmetrical bolt patterns Identify covers/ pry points for disassembly Screwdriver slots Push-off holes
Assembly Techniques Seal Removal Procedures similar to motors
Teardown Note location/ quantity of gaskets and shims Duplicate factory settings with new ones Usually vary by color New gears/ bearings may require new stack-up of shims Manufacturers sell replacement kits
Teardown Locate/ remove internal fasteners Gearmotors may require pinion removal for access / disassembly Some gearmotors have integral pinions Look for snap rings, locking collars and keys
Teardown Clean all components Remember - It can t leak when finished Gear mesh must be clean Open bearings should be flushed Prepare parts for visual inspection
Internal Component Inspection Check gears for damage / wear Failed gears warrant replacement Always replace gears in pairs Gears wear together Mis-matched gears may create uneven wear, inefficiencies, noise and shorter life Consider damage to other components the broken pieces may cause additional damage
Internal Component Inspection Check shafts / seals for damage / wear Inspect seal lip and casing Inspect/ measure seal contact area on shaft Common causes for seal failure Heat/ lack of lube at lip Leaking oil collects debris Cut seal lip during assembly Improper assembly - squareness
Internal Component Inspection Check vent for blockage Plugged vent = high pressure leaks Common root cause for seal leaks Good practice to replace on any rebuild Add value with a pressure relief vent or filtered design. Consider alternate vent location
Internal Component Inspection General Inspection Inspect for oxidation or condensation Inspect oil galleys & oil pumps - debris build-up to impede flow Inspect auxiliary equipment ie: heat exchanger Inspect dynamic surfaces of all bearings and gears Gear wear pattern Gear teeth (from root to tip) Inspect all connection points Keys / keyways Shaft/ gear bores and mating surfaces Record findings / take pictures
Assembly Techniques Reversal of Disassembly Obtain manufacturer specifications Assembly instructions (if available) Tightening torques Clutch settings Axial preload / float settings for bearings/ shafts Oil-fill levels (specific to orientation) Take extra care: Seal installation Sealing surface preparation Bearing and gear prep Gear mesh optimization Motor Installation Lubrication
Assembly Techniques Seal Installation Procedures Similar to motors Remove burrs from shaft keyways/ splines Determine if seal should be installed in bore/ cover prior to fitting shaft through it Cover shaft to protect seal Apply grease to seal lip Use proper seal drivers Clean excess lubricant from seal area Attention to detail Avoid leaks
Assembly Techniques Sealing Surface Prep Wipe surfaces clean Apply sealants/ gaskets Internal Surface Prep (optional) Degrease casting surfaces Use epoxy coat / Glyptal - avoid bearing bores
Assembly Techniques Bearing Installation Pre-lube open bearings Use proper bearing drivers as needed Gear Installation Remove burrs / high points on gears and mating surfaces Review OEM specs Proper fit class press/ slip Location on shaft Replace any collars, snap rings, etc. Don t use hammers
Assembly Techniques Properly Set Gears Check backlash Use dial indicator on tooth of one gear Rotate the gear while holding its mating gear Measure play & compare to spec. Set tooth contact pattern If contact pattern is not centered , verify shims, bearings and shafts are installed properly Check endplay (float/ preload on shaft)
Assembly Techniques Take Precaution when mounting motors Single bearing on input shaft quill style Motor end of shaft positioned on the seal Maintain steady hand for installation to avoid seal damage
Assembly Techniques Motor Assembly for Gearmotor Be conscious of input pinion design DAMAGE CAN OCCUR A slight tilt to the motor allows tooth engagement
Assembly Techniques Lubrication Follow mfg recommendations Level, type, grade Oil * grease * semi-fluid grease Do not mix oil types Extreme Pressure Oil (Mineral) Compounded Mineral Oil Polyglycol Food-grade Confirm level after fill Sight glass / Oil level plug Dipstick
Summary Gearboxes are different from motors Attention to detail prior to disassembly Inspect all components (re-use vs discard) Clean/ prepare sealing surfaces prior to assembly Protect the seals