Understanding Different Types of Laboratory Flasks and Cylinders
Explore the features and uses of various laboratory glassware including volumetric flasks, Erlenmeyer flasks, Kohlrausch flasks, sugar flasks, and measuring cylinders. Learn about their design, markings, and best practices for accurate measurements in scientific experiments and processes.

Download Presentation

Please find below an Image/Link to download the presentation.
The content on the website is provided AS IS for your information and personal use only. It may not be sold, licensed, or shared on other websites without obtaining consent from the author. Download presentation by click this link. If you encounter any issues during the download, it is possible that the publisher has removed the file from their server.
E N D
Presentation Transcript
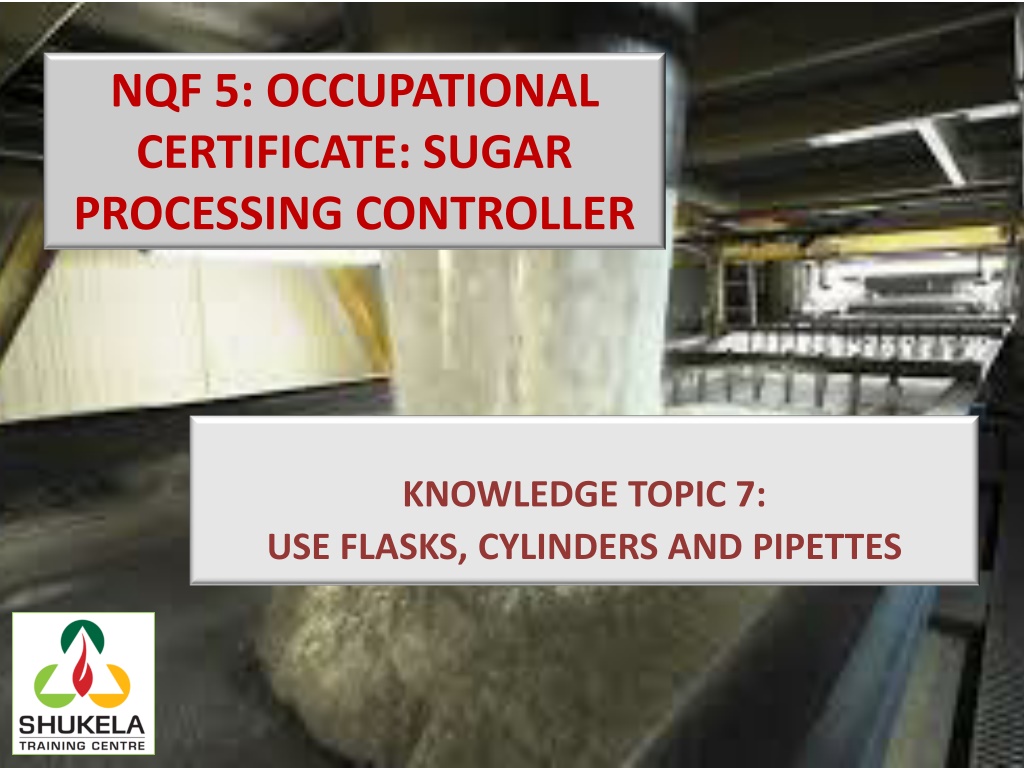
NQF 5: OCCUPATIONAL CERTIFICATE: SUGAR PROCESSING CONTROLLER KNOWLEDGE TOPIC 7: USE FLASKS, CYLINDERS AND PIPETTES
VOLUMETRIC FLASKS Flat-bottomed, pear-shaped vessel with a long narrow neck. The neck is made narrow so that a small change in volume will have a large effect upon the height of the meniscus. Any error in adjustment of the meniscus is therefore small. A thin line etched around the neck indicates the volume that it holds at a specific temperature (usually 20 C). The capacity and temperature are clearly marked on the flask.
VOLUMETRIC FLASKS Contains a specified volume (it is important to note that it will not deliver that volume because if the contents of a volumetric flask are poured out, some of the solution remains behind on the inside surface of the volumetric flask). The graduation mark extends completely around the neck in order to avoid the error due to parallax. The concave surface of the meniscus should be in line with the mark and both the back and front of the mark should be seen as a single line if the error of parallax is to be avoided. Used extensively when making up solutions.
ERLENMEYER FLASKS Come in capacities ranging from 50cm3 to 500cm3 Commonly used for titrations Graduation marks are approximate volumes and should not be used for measuring purposes Certain titrations require the application of heat When placed on the hot plate, make sure that there are no cracks or moisture present on the outside of the flask (moisture between the hot plate and the flask can cause the flask to crack or break)
KOHLRAUSCH FLASKS Mill laboratories use either 100cm3 and 200cm3 Kohlrausch flasks Have wide mouths so that pre- massed solid materials can be transferred into them. When dissolving solids in a Kohlrausch flask, use a clean, dry, rubber stopper which has a tight fit to close the mouth of the flask.
SUGAR FLASKS Very similar to Kohlrausch flasks Sugar flasks have narrower necks than Kohlrausch flasks to ensure greater accuracy
MEASURING CYLINDERS A graduated vessel available in capacities ranging from 2 to 2 000cm3 Accuracy is not very high Cannot be used for work demanding a high degree of accuracy Useful when rough measurements are required
PIPETTES A volumetric glass cylinder with a jet at one end and a mouthpiece at the other A bulk pipette has one calibration mark and the cylinder expands into a bulb about halfway along its length A graduated pipette has a number of calibration marks depending on its size General purpose bulb pipettes are used for delivering or transferring a definite volume of liquid under certain specified conditions of temperature and method of use Pipettes are normally calibrated at 20 C and will not deliver the same volume of liquid at any other temperature. The exact volume of solution delivered by a pipette is called an aliquot of solution
USE OF A PIPETTE (1) Select a pipette of the required volume. Make sure that it is clean, both inside and outside and dry on the outside. Use a pipette filler when working with dangerous liquids. When sucking ensure that the tip of the pipette is well below the liquid surface. Rinse the pipette twice with distilled water. Draw the water up to the bottom of the bulb. Any more is wasteful.
USE OF A PIPETTE (2) Rotate the pipette horizontally to wash the entire inner surface of the pipette to above the graduation mark. Steady the pipette by supporting it with the fingertips of the left hand just above the jet. Discard the waste into a waste beaker through the jet not through the mouthpiece. Rinse with solution a total of three times. Hold the pipette in a vertical position with the tip well below the surface of the solution to prevent sucking in air.
USE OF A PIPETTE (3) Do not touch the bulb because of the effect of temperature expansion. Hold the pipette by the stem. Draw up the solution until the level is about 2cm above the graduation mark. Close the top of the pipette with your index finger (A slightly moist finger forms a better seal). Check that there are no air bubbles, especially in the jet. Wipe the outside of the pipette with a clean tissue. Hold the pipette vertically. By manipulating the index finger, allow the liquid level to drop until the concave base of the meniscus coincides with the graduation mark. Remember to avoid the error of parallax. Use the waste beaker to collect this excess solution.
USE OF A PIPETTE (4) Any liquid adhering to the jet must be removed. DO NOT use a tissue. Hold the pipette vertically and bring the side of the waste beaker into contact with the jet by tilting the vessel. Place the receiving vessel beneath the pipette and allow the liquid to drain by removing the index finger. Hold the pipette vertically and tilt the vessel so that the side is in contact with the jet. Do not allow any splashing to occur. Steady the bottom of the pipette by resting it between the index and the middle fingers, while holding the receiving vessel with the thumb, third and fourth fingers (This technique is worth learning).
USE OF A PIPETTE (5) As the level drops, keep your eye on the meniscus. When the meniscus stops falling, start counting. Keep the jet in contact with the side of the vessel for 15 seconds. DO NOT BLOW. The pipette has been calibrated to take account of the last bit of solution remaining in the jet of the pipette. Clean the pipette with distilled water, dry the outside and place in proper storage i.e. use a pipette stand. In order to protect the tip of the pipette it must always be stored in the pipette stand with the tip facing upward. This also prevents particles of dust etc. from entering the pipette and clogging the jet.
USE OF A PIPETTE FILLER (PUMPETTE) (1) Fit the pipette filler onto the pipette. Immerse the tip / jet of the pipette into the relevant solution. Press valve A (atmosphere) which opens the pipette filler to the atmosphere and squeeze the bulb of the pipette filler to force air out. Release valve A.
USE OF A PIPETTE FILLER (PUMPETTE) (2) Press valve S (suck) which connects the pipette to the vacuum inside the bulb of the pipette filler. This allows solution to be sucked into the pipette to above the graduation mark. Gently press valve E (eject) while holding the pipette above the waste beaker to release the solution until the bottom of the meniscus is on the graduation mark. Place the receiving vessel beneath the pipette and press valve E to release the solution. Valve E allows air from the atmosphere to move into the bulb of the pipette filler.


")
")
")
")
")
 (1)")
 (2)")