Professional Slide Design Guidelines
Learn how to enhance your presentations with a step-by-step guide on adding logos, deleting slides, and exporting documents as images. Follow these clear instructions to create visually appealing slides effortlessly.

Download Presentation

Please find below an Image/Link to download the presentation.
The content on the website is provided AS IS for your information and personal use only. It may not be sold, licensed, or shared on other websites without obtaining consent from the author. If you encounter any issues during the download, it is possible that the publisher has removed the file from their server.
You are allowed to download the files provided on this website for personal or commercial use, subject to the condition that they are used lawfully. All files are the property of their respective owners.
The content on the website is provided AS IS for your information and personal use only. It may not be sold, licensed, or shared on other websites without obtaining consent from the author.
E N D
Presentation Transcript
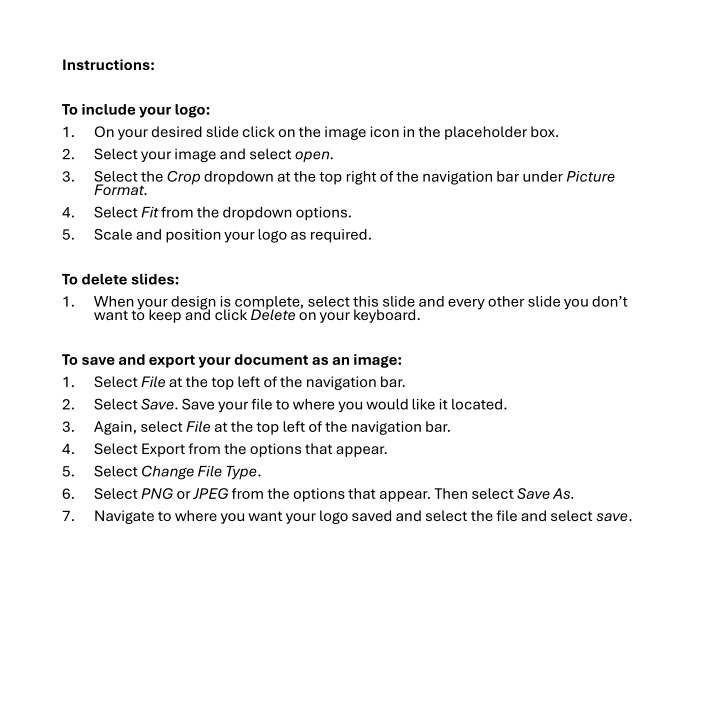
Instructions: To include your logo: 1. On your desired slide click on the image icon in the placeholder box. 2. Select your image and select open. 3. Select the Crop dropdown at the top right of the navigation bar under Picture Format. 4. Select Fit from the dropdown options. 5. Scale and position your logo as required. To delete slides: 1. When your design is complete, select this slide and every other slide you don t want to keep and click Delete on your keyboard. To save and export your document as an image: 1. Select File at the top left of the navigation bar. 2. Select Save. Save your file to where you would like it located. 3. Again, select File at the top left of the navigation bar. 4. Select Export from the options that appear. 5. Select Change File Type. 6. Select PNG or JPEG from the options that appear. Then select Save As. 7. Navigate to where you want your logo saved and select the file and select save.