Mastering Sketching Techniques: Oblique, Isometric, and Shading Tips
Learn how to create 3D effects in your sketches using oblique and isometric sketching methods, along with shading techniques to add depth and dimension. Master the art of drawing cubes and other shapes with step-by-step instructions and visual examples. Enhance your sketching skills with tips on hatching, blending, and creating different tones for a realistic look.

Download Presentation

Please find below an Image/Link to download the presentation.
The content on the website is provided AS IS for your information and personal use only. It may not be sold, licensed, or shared on other websites without obtaining consent from the author.If you encounter any issues during the download, it is possible that the publisher has removed the file from their server.
You are allowed to download the files provided on this website for personal or commercial use, subject to the condition that they are used lawfully. All files are the property of their respective owners.
The content on the website is provided AS IS for your information and personal use only. It may not be sold, licensed, or shared on other websites without obtaining consent from the author.
E N D
Presentation Transcript
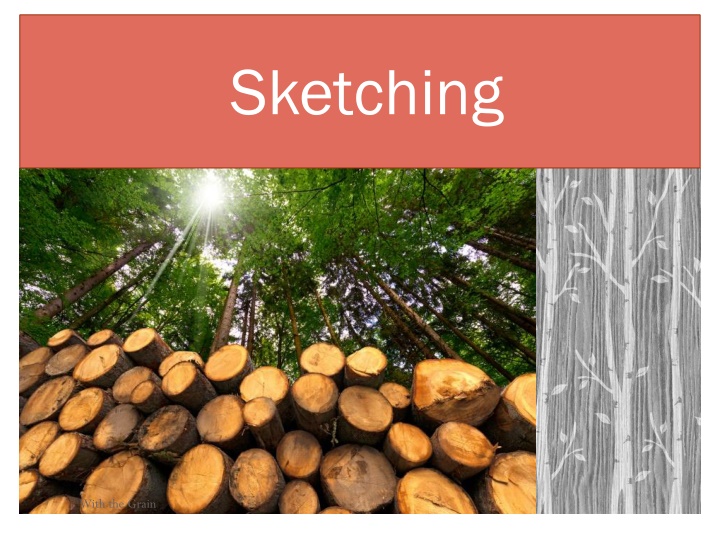
Sketching With the Grain
Oblique sketching EXAMPLE Oblique sketching is a simple method of sketching which gives a 3D effect. To draw a cube for example there are only three line directions you will need vertical, horizontal and lines at 45 Step 1 Start by drawing the front view of your shape. Make sure all your line are parallel where necessary Step 2 Now project lines at 45 from all your corners except the bottom left corner. these lines should all be equal in length. When starting it is best to practice on grid paper as shown and then progress onto sketching paper as your ability grows Identical Step 3 The final stage is to close out the shape. The back lines will be identical to the front lines With the Grain
Isometric sketching EXAMPLE Step 1 Create a crow s foot which usually represents the bottom of your object. Draw a vertical line and two 30 lines as shown. Isometric sketching is a more complex method of sketching which also gives a 3D effect. To draw a cube for example there are only three line directions you will need vertical, 30 to the left and 30 to the right. When these lines are put together you will have what's known as a crow s foot Crow s Foot Step 2 Using the crow s foot as a guide now draw one surface of the object remembering to keep lines parallel and at the correct angle and length. Step 3 Now project lines at 30 from all your corners. These lines should all be equal in length and direction Identical Step 4 The final stage is to close out the shape. The back lines will be identical to the front lines When starting it is best to practice on grid paper as shown and then progress onto sketching paper as your ability grows With the Grain
Shading Shading is a technique used when sketching to represent light and shade by varying the colour and intensity. This helps create an impression of depth and shape in otherwise flat work. 1 2 3 4 5 6 7 8 9 Above is a scale with 9 squares increasing in darkness from 1 to 9. Using these scales helps us to apply shading of different tones when appropriate Step 1 Hatched Hatching When you start to shade your drawing begin by hatching your drawing . You will notice that there are small gaps where the pencil didn t shade. Step 2 Blending To remove these gaps you now use your index finger to rub over the hatching. This will blend in your shading and give a Blended With the Grain