Marijuana Legalization in Nevada
In Nevada, recreational marijuana use is legal but restricted to private homes, including yards and porches. Prohibited areas include casinos, bars, restaurants, parks, concerts, and federal properties. Despite state legalization, marijuana remains illegal under federal law, creating complexities in housing policies. The Controlled Substances Act categorizes marijuana as a controlled substance, impacting housing regulations under the Quality Housing and Work Responsibility Act of 1998. HUD guidelines further address marijuana use in assisted housing properties, emphasizing the conflict between state legalization and federal laws.

Download Presentation

Please find below an Image/Link to download the presentation.
The content on the website is provided AS IS for your information and personal use only. It may not be sold, licensed, or shared on other websites without obtaining consent from the author.If you encounter any issues during the download, it is possible that the publisher has removed the file from their server.
You are allowed to download the files provided on this website for personal or commercial use, subject to the condition that they are used lawfully. All files are the property of their respective owners.
The content on the website is provided AS IS for your information and personal use only. It may not be sold, licensed, or shared on other websites without obtaining consent from the author.
E N D
Presentation Transcript
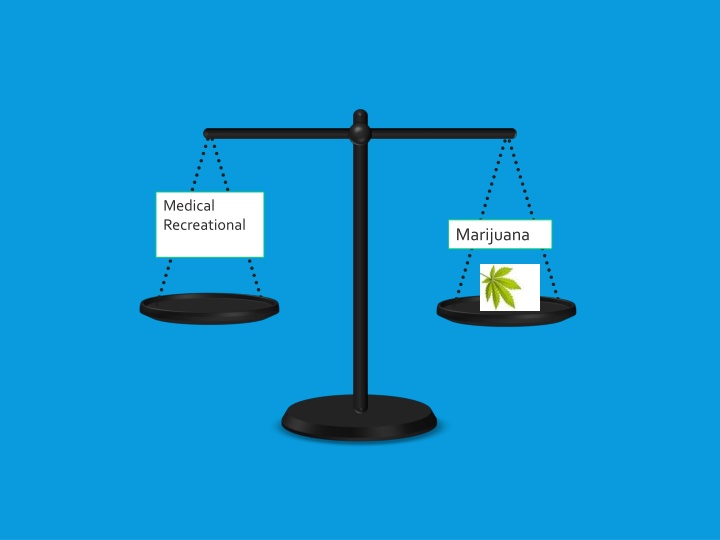
Medical Recreational Marijuana
HERES WHATS LEGAL IN NEVADA NOW THAT RECREATIONAL USE IS HERE Where can people use pot? ONLY IN A PRIVATE HOME, INCLUDING YARDS AND PORCHES
WHERE IS IT PROHIBITED? CASINOS BARS RESTAURANTS PARKS CONCERTS ANY FEDERAL PROPERTY
STATE VS FEDERAL REGARDLESS OF THE PURPOSE OF LEGALIZATION (MEDICAL OR RECREATIONAL) UNDER STATE LAW, THE USE OF MARIJUANA IN ANY FORM, IS ILLEGAL UNDER THE CONTROLLED SUBSTANCES ACT (CSA) AND THEREFORE IS AN ILLEGAL CONTROLLED SUBSTANCE UNDER SECTION 577 OF THE QUALITY HOUSING AND WORK RESPONSIBILITY ACT OF 1998 (QHWRA)
LETS TAKE A CLOSER LOOK THE CONTROLLED SUBSTANCES ACT (CSA), 21 U.S.C. SECTION 801 ET. SEQ: IS THE FEDERAL DRUG POLICY UNDER WHICH THE MANUFACTURE, IMPORTATION, POSSESSION, USE AND DISTRIBUTION OF CERTAIN SUBSTANCES IS REGULATED. PURSUANT TO THE CSA, MARIJUANA IS A CONTROLLED SUBSTANCE.
CONT. THE QUALITY HOUSING AND WORK RESPONSIBILITY ACT OF 1998 (QHWRA) 42 U.S.C. SECTION 13662. AMONG OTHER THINGS, THE QHWRA REMOVED DISINCENTIVES FOR RESIDENTS TO WORK AND BECOME SELF- SUFFICIENT AND PROVIDED RENTAL PROTECTION FOR LOW-INCOME RESIDENTS. SECTION 577 OF QHWRA ALSO EXTENDED STANDARDS ON DENYING ADMISSION AND TERMINATING TENANCIES FOR ILLEGAL DRUG USE FROM PHA S TO ALL OWNERS AND OPERATORS OF OTHER FEDERALLY SUBSIDIZED PROJECTS
ADDITIONAL GUIDANCE FROM HUD On December 29, 2014 HUD released their Memorandum Use of Marijuana in Multifamily Assisted Properties In the memo they acknowledge that various states have legalized marijuana for medicinal purposes and that some states have broadened that to include recreational use. But they still cite the illegal use in any form under the Controlled Substance Act.
SO IN SUMMARY Owners must deny admission to assisted housing for any household with a member determined to be illegally using a controlled substance Owners must may not establish lease provisions or policies that affirmatively permit occupancy by any member of a household who uses marijuana. Owners must establish policies which allow the termination of tenancy of any hh member who is illegally using marijuana or whose use interferes with the health, safety, or right to peaceful enjoyment of the premises by other residents
AND FINALLY Section 577 of QHWRA affords owners the discretion to evict or not evict current tenants for their use of marijuana.
WHAT SHOULD WE DO? 1. Establish a policy 2. Memorialize it in writing 3. Uniformly enforce the policy
CONT. Policy must allow you to terminate tenancy, but you cannot have a written provision that allows you to preserve a tenancy in cases of medical marijuana use that seems harmless and is not disturbing others.