Creating a Cyclic Arrow Diagram in PowerPoint
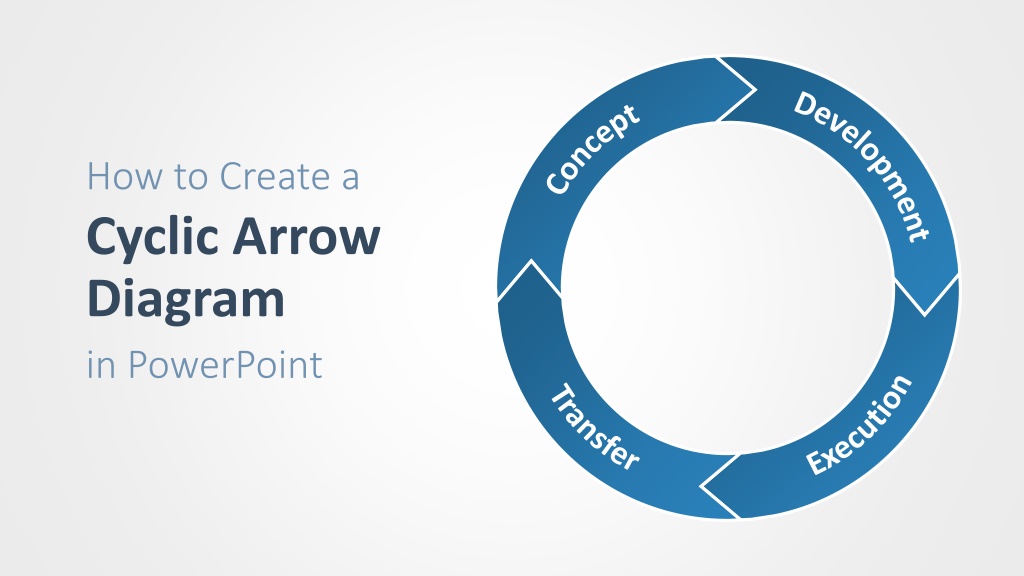
How to Create a
Cyclic Arrow
Diagram
in PowerPoint
2.
Select the circle and press
Ctrl+D
to duplicate it.
3.
Move the new circle on top of
the existing one.
4.
Reduce the size of the circle by
grabbing the handle with the
mouse and dragging it (hold
Ctrl+Shift
while resizing).
8.
Add a
Triangle
shape und
duplicate it three times (
Ctrl+D
).
9.
Move and rotate the triangles so
they form the heads of the four
arrows (hold
Shift
while rotating
to snap to steps of 15 degrees).
10.
Select the circle and the
triangles.
11.
Choose
FORMAT
→
Merge
Shapes
→
Fragment
to break up
the shapes into smaller parts.
12.
Select and delete the parts that
are not needed for the diagram.
13.
Select a part of the circle.
14.
Hold
Shift
and select the
matching arrowhead to add it to
the selection.
15.
Choose
FORMAT
→
Merge
Shapes
→
Union
to turn the
selected shapes into one single
shape.
16.
Repeat the above steps for all
four arrows.
17.
Select the four arrows and
change their fill to a gradient
(
FORMAT
→
Shape File
→
Gradient
).
18.
Increase the outline width of the
shapes to 3 pt (
FORMAT
→
Shape Outline
→
Weight
).
19.
If necessary, change the outline
color to white (
FORMAT
→
Shape Outline
).
23.
Increase the size of the text box
to almost match the size of the
circle and center it within the
circle.
24.
Grab the pink handle left to the
text and position the text within
the first arrow.
25.
Change the text bold and change
it’s font color to white.
26.
Duplicate the arrow text shape
and use the pink handle to move
the text to the second arrow.
27.
Duplicate the text shape again
and change it’s text effect to
Arch Down
(
FORMAT
→
WordArt Styles
→
Text Effects
→
Transform
→
Follow Path
→
Arch Down
).
28.
Change the alignment of the text
to
Align Right
(
Ctrl+R
).
29.
Move the text to the third arrow
and increase the size of the text
box a bit (hold
Ctrl+Shift+Alt
while resizing).
30.
Repeat the above steps for the
fourth arrow.
Graphic and Chart
Library
for PowerPoint
WWW
.
SHAPECHEF
.
COM
Learn how to design a visually engaging cyclic arrow diagram in PowerPoint by following a step-by-step tutorial. Start by adding shapes, duplicating, merging, and styling elements to create a professional and dynamic visualization of concepts or processes. Enhance your presentation skills with this creative diagram creation technique.

Download Presentation

Please find below an Image/Link to download the presentation.
The content on the website is provided AS IS for your information and personal use only. It may not be sold, licensed, or shared on other websites without obtaining consent from the author.If you encounter any issues during the download, it is possible that the publisher has removed the file from their server.
You are allowed to download the files provided on this website for personal or commercial use, subject to the condition that they are used lawfully. All files are the property of their respective owners.
The content on the website is provided AS IS for your information and personal use only. It may not be sold, licensed, or shared on other websites without obtaining consent from the author.
E N D
Presentation Transcript
Development Concept How to Create a Cyclic Arrow Diagram in PowerPoint Execution Transfer
1. Add an Oval shape to the slide (hold the Shift key while drawing to make it a circle).
2. Select the circle and press Ctrl+D to duplicate it. 3. Move the new circle on top of the existing one. 4. Reduce the size of the circle by grabbing the handle with the mouse and dragging it (hold Ctrl+Shift while resizing).
5. Select the large circle. 6. Hold the Shift key and click on the small circle to add it to the selection. 7. Choose FORMAT Merge Shapes Subtract to cut out the small circle from the large one.
8. Add a Triangle shape und duplicate it three times (Ctrl+D). 9. Move and rotate the triangles so they form the heads of the four arrows (hold Shift while rotating to snap to steps of 15 degrees).
10. Select the circle and the triangles. 11. Choose FORMAT Merge Shapes Fragment to break up the shapes into smaller parts.
12. Select and delete the parts that are not needed for the diagram.
13. Select a part of the circle. 14. Hold Shift and select the matching arrowhead to add it to the selection. 15. Choose FORMAT Merge Shapes Union to turn the selected shapes into one single shape. 16. Repeat the above steps for all four arrows.
17. Select the four arrows and change their fill to a gradient (FORMAT Shape File Gradient). 18. Increase the outline width of the shapes to 3 pt (FORMAT Shape Outline Weight). 19. If necessary, change the outline color to white (FORMAT Shape Outline).
20. Add a Text Box to the slide and fill it with some text for the first arrow. 21. Increase the font size for the text box to 32 pt. Concept 22. Choose FORMAT WordArt Styles Text Effects Transform Follow Path Arch Up.
23. Increase the size of the text box to almost match the size of the circle and center it within the circle. Concept 24. Grab the pink handle left to the text and position the text within the first arrow. 25. Change the text bold and change it s font color to white.
26. Duplicate the arrow text shape and use the pink handle to move the text to the second arrow. Development Concept 27. Duplicate the text shape again and change it s text effect to Arch Down (FORMAT WordArt Styles Text Effects Transform Follow Path Arch Down). 28. Change the alignment of the text to Align Right (Ctrl+R). 29. Move the text to the third arrow and increase the size of the text box a bit (hold Ctrl+Shift+Alt while resizing). Execution Transfer 30. Repeat the above steps for the fourth arrow.
Graphic and Chart Library for PowerPoint www.shapechef.com WWW.SHAPECHEF.COM