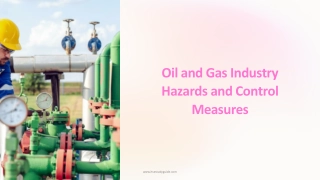
Understanding LEL Monitors and Gas Safety in Industrial Settings
A detailed explanation of LEL (Lower Explosive Limit) monitors and their importance in detecting combustible gases to prevent explosions in industrial environments. Learn how LEL monitors work, their role in ensuring safety, and the significance of regular testing for gas monitors to safeguard personnel from hazardous situations.
Download Presentation
Please find below an Image/Link to download the presentation.
The content on the website is provided AS IS for your information and personal use only. It may not be sold, licensed, or shared on other websites without obtaining consent from the author. Download presentation by click this link. If you encounter any issues during the download, it is possible that the publisher has removed the file from their server.

Presentation Transcript
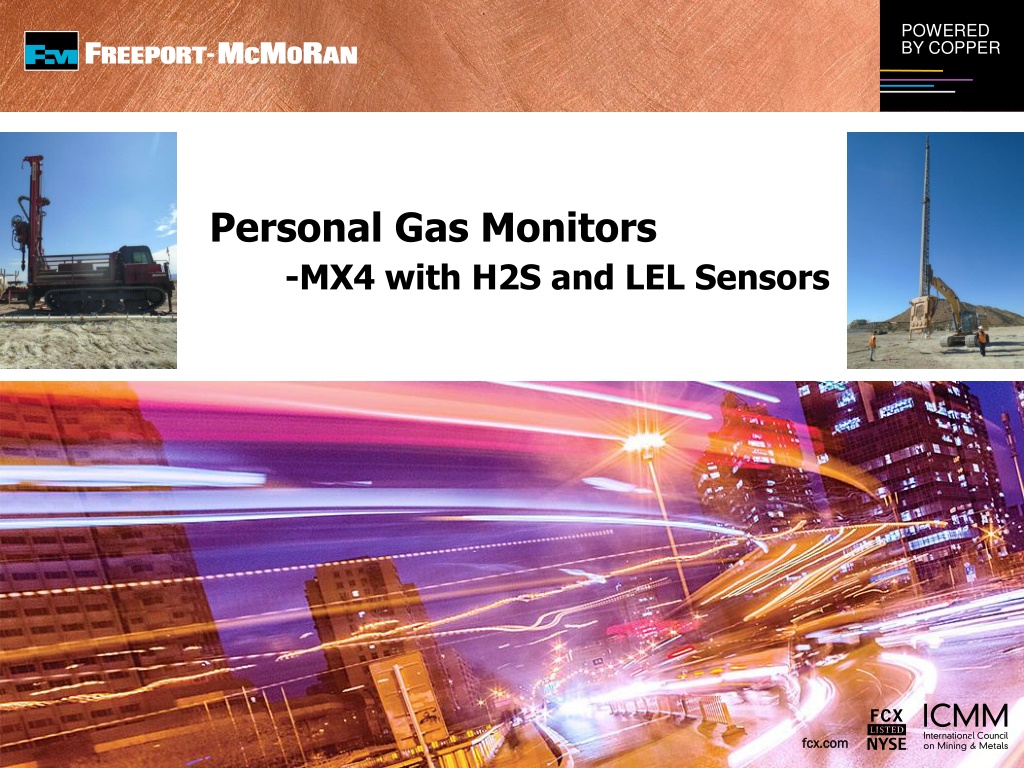
POWERED BY COPPER Personal Gas Monitors -MX4 with H2S and LEL Sensors 1 fcx.com fcx.com
POWERED BY COPPER MX4-Leaching: Wicking and Drilling Each monitor is for a dual specific gas (H2S and LEL) ***All personnel involved in wicking or drilling on Leach Stockpiles must use these monitors in addition to the Ventis Pro 5 *** H2S- Sulphur Dioxide is set to alarm when levels reach 10ppm. This triggers a low alarm condition. At 20ppm a high alarm will be triggered. LEL- Lower Explosive Limit is set to alarm when levels reach 10%. This triggers a low alarm condition. At 20% a high alarm will be triggered. 2
POWERED BY COPPER MX4-Leaching: Wicking and Drilling What is LEL? Lower Explosive Limit (LEL): The minimum concentration of a combustible gas mixed with air where an explosion may occur. This concentration is expressed in % of volume. For combustible gas instruments used to detect explosive atmospheres; the concentration is expressed as a percentage factor of the LEL point. A reading of 100% LEL corresponds to the % of volume concentration where combustion can occur. 3
POWERED BY COPPER MX4-Leaching: Wicking and Drilling Understanding LEL and LEL Monitors Combustible gas and solvents which can form explosive vapor in air when spilled, or are leaking into an area, have a Lower Flammable Limit found on a specific materials MSDS or Material Safety Data Sheet. LFL is synonymous with LEL, which stands for Lower Explosive Limit. Combustible Gases and Solvents also have a UFL, or Upper Flammable Limit, which is synonymous with UEL, which stands for Upper Explosive Limit. LEL Monitors only detect, indicate and alarm at levels between 0-100% LEL of the material it is calibrated to monitor and detect for LEL safety. Because an LEL Gas Monitor is monitoring combustible gas or solvent vapor in the LEL range as described, the LEL Monitor is operating and monitoring levels in a safe range, before the LEL level reaches 100% LEL, which is the minimum level that is required to support ignition or combustion. An LEL analyzer is a safety instrument and as a fixed gas detection instrument, monitors, indicates and alarms when levels of LEL are above 0%, indicating the presence of combustible gas or solvent vapor, well before a fuel/air mixture that can combust exists where LEL Monitors are located. An LEL Monitor is typically used wherever a combustible gas or solvent is stored or used in a process, such as oil and gas refineries, chemical plants and industrial manufacturing facilities. Typically, the hazardous areas where these combustible materials are stored or used are regulated by local, state and federal regulations and classified as hazardous locations. LEL Monitors are also classified to be used in the hazardous locations where these materials are stored or used for improved LEL safety. A gas monitor LEL cannot be a source of ignition or explosion should the LEL analyzer be in an area where a combustible gas or solvent vapor reaches a level to support ignition or combustion. 4
POWERED BY COPPER Gas Monitor The gas monitor is a life saving instrument. It must be put through a series of tests each day to ensure that is working properly and the sensors are measuring properly. 5
POWERED BY COPPER Ventis MX4 Visual Alarm Indicator Pump Inlet LCD Display Audible Alarm Ports Enter Button On/Off Button 6
POWERED BY COPPER Turning on a Monitor There are 2 buttons on the front of the monitor. The on/off button is on the left as you look at it. The enter button is on the right. To turn the instrument on hold down the On/Off button on the left. 7
POWERED BY COPPER User Functions You will then see the number of days until full calibration is due. (Once every month) Let the instrument warm up for 20 seconds. You will see the count down. The type of gas it is measuring. At this point you should see a check mark. This means the instrument is ready. If you see and exclamation point (!) Do not use the instrument. 8
POWERED BY COPPER User Functions The final screen is your instrument reading screen. This should read 0.00. You will also see a battery in the lower corner. Make sure you have battery life for the entire shift. 9
POWERED BY COPPER Docking Station The MX4 uses the same docking stations as the Ventis Pro 5. However, there are only certain docking stations set up to bump and calibrate the MX4. There are 10 docking stations in the Leaching MFL Connex box that have the additional H2S Gas available for these. They will not bump/calibrate on any other docking stations. 10
POWERED BY COPPER Let the Docking Station Do the Work. The docking station will do all the calibration, zero, bump testing and clearing of the peaks for you. Prior to each use, install the monitor into the docking station. (This must be done each time you use the monitor) The docking station has three different alarm colors which consists of: Yellow = wait has not completed the calibration, etc. Red = do not use the instrument. Green = the instrument is ready for use. Remove the monitor and turn it on. Version 5.201 (MX6) SN: 070600W- 106 11
POWERED BY COPPER Alarm Three things will occur in the event that the personal monitor alarms Alarm Vibrate Blink Monitors are to be carried on the upper chest area at all times. 18 inches from airway. Monitors on hard hats/belt or waist will NOT be tolerated 12
POWERED BY COPPER Alarms Alarm levels. Low alarms. H2S will alarm at 10 ppm. Evacuate area and do not re-enter until cleared to do so. High alarms. H2S will alarm at 20 ppm. Evacuate area and do not re-enter until cleared to do so. Low alarms. LEL will alarm at 10 % LEL. High alarms. LEL will alarm at 20% LEL. 13
POWERED BY COPPER Alarms TWA alarm- This indicates you have reached your time weighted average for the shift. You may have no additional exposure. STEL alarm. You have reached your 15 minute exposure. You must stay out of exposure for 1 hour. This can only occur 4 times per shift. 14